11 min to read
Allen Edmonds MacNeil Longwing Blucher Repair
Introduction
The gunboat is a particularly American take on the dress shoe. British country brogues share some of its bulk, while Italian dress shoes often favour a lighter, slimmer shape. The American longwing went heavy, with broad uppers and thick leather soles. In postwar America, makers like Alden, Florsheim and Allen Edmonds helped make this substantial version of the country brogue a staple of business dress, worn with sack suits and button-down shirts.
The renewed interest in American menswear during the 2010s brought those shoes back into view, alongside workwear, Ivy clothes and midcentury tailoring. Thom Browne made the slim grey suit and heavy wingtip his signature. The short, close-fitting jacket and narrow trousers cropped above the ankle gave the heavy wingtip a different setting, leaving its broguing and thick sole edges exposed against an otherwise restrained suit. That pairing became one of the decade’s defining menswear looks, helping push tailoring toward slimmer cuts and shorter hems well beyond his own label.
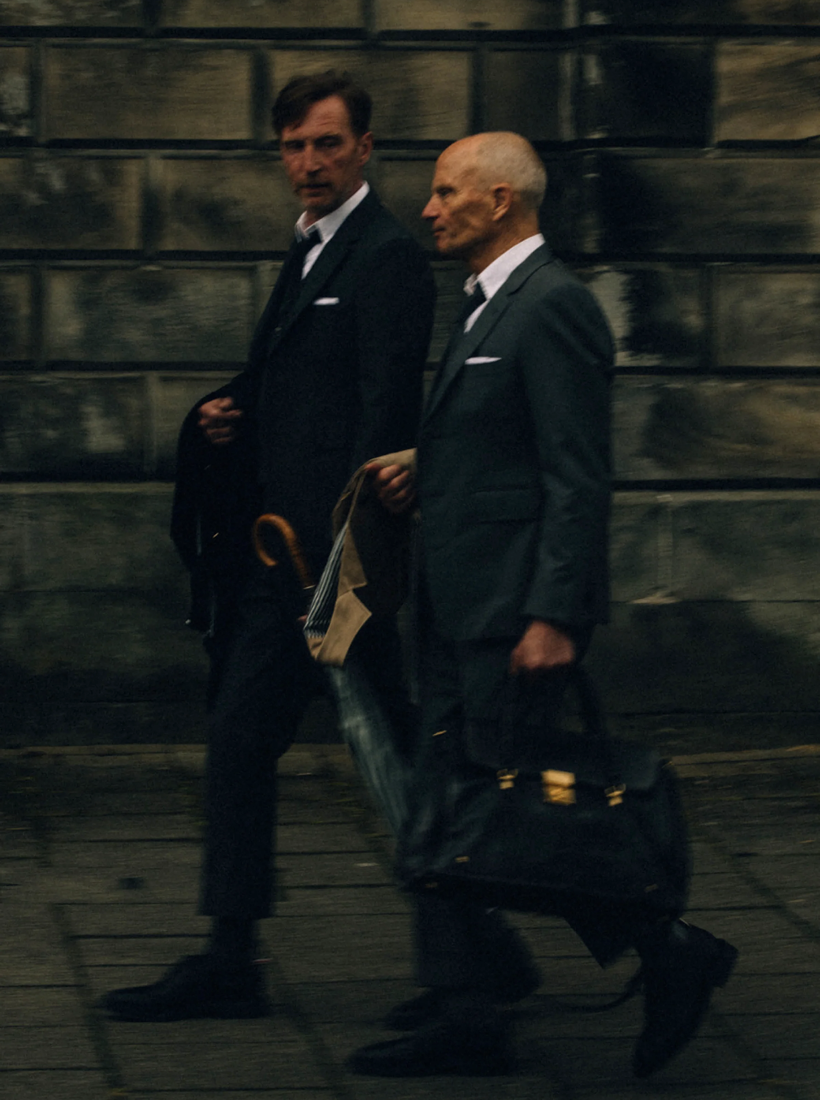
My own Allen Edmonds MacNeils date from that same period. I’ve had them for over fifteen years, and they’ve seen me through countless memories. I’d already had them resoled once, but the repair was poorly done and the shoe came apart. I’d been wanting to get into shoemaking, and with plenty of leatherworking experience to draw on, I figured there was no harm in attempting the repair myself.
Leatherwork and shoemaking
Shoemaking shares plenty of tools and techniques with other leatherwork, but some of the differences are substantial. I have some experience with pattern work and constructing uppers, but sole assembly is still a big unknown for me. I have never done any welting, cut sole leather, or assembled a heel.
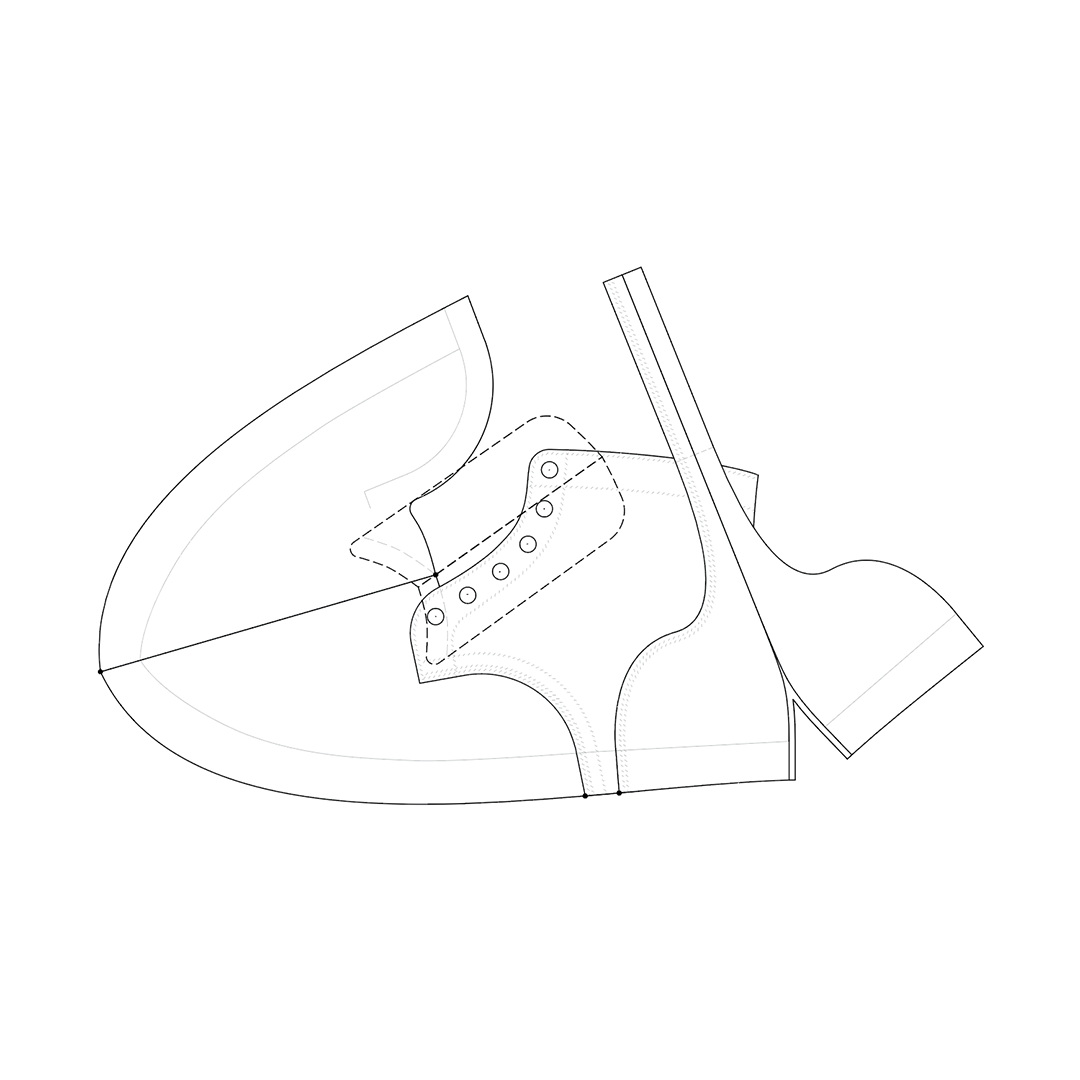
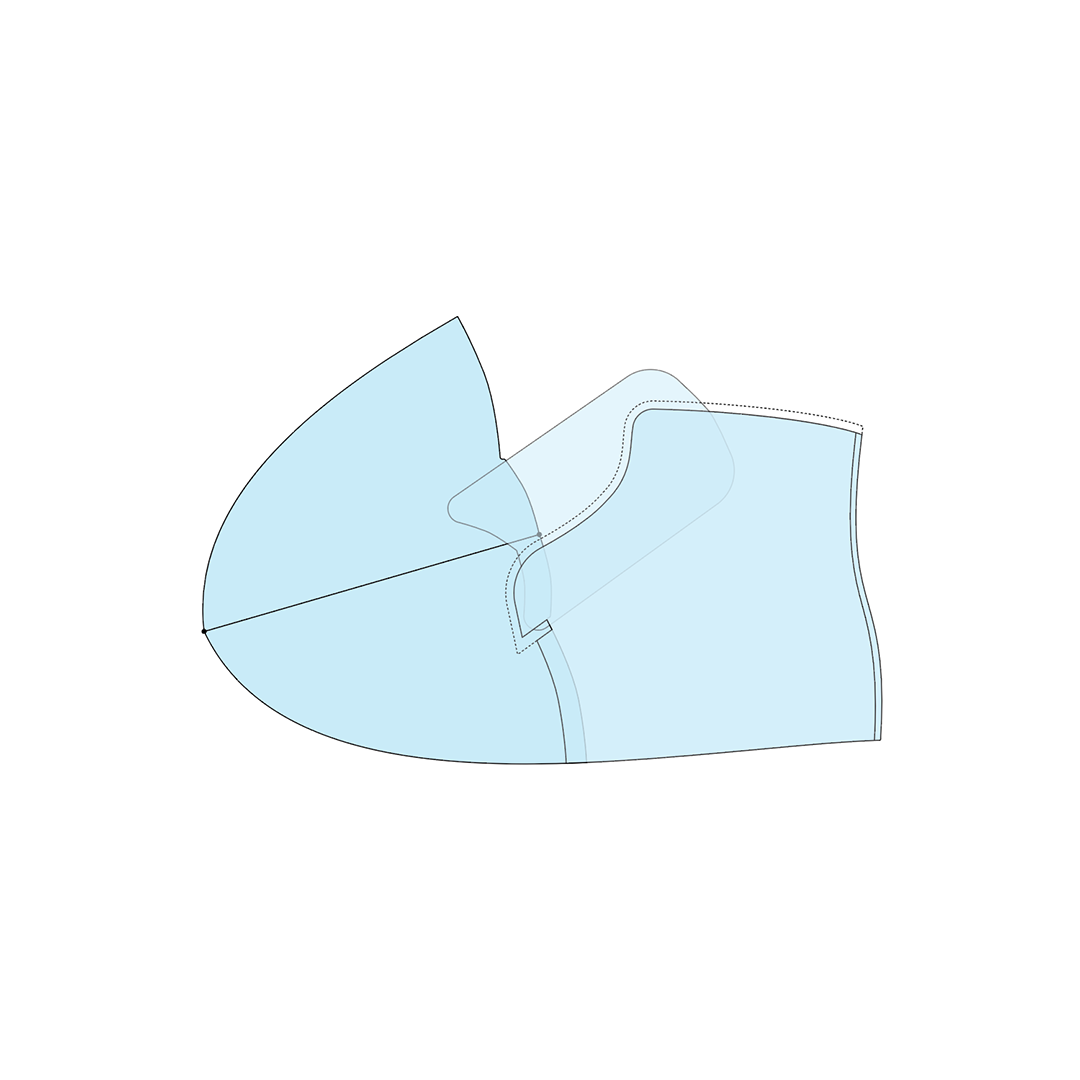
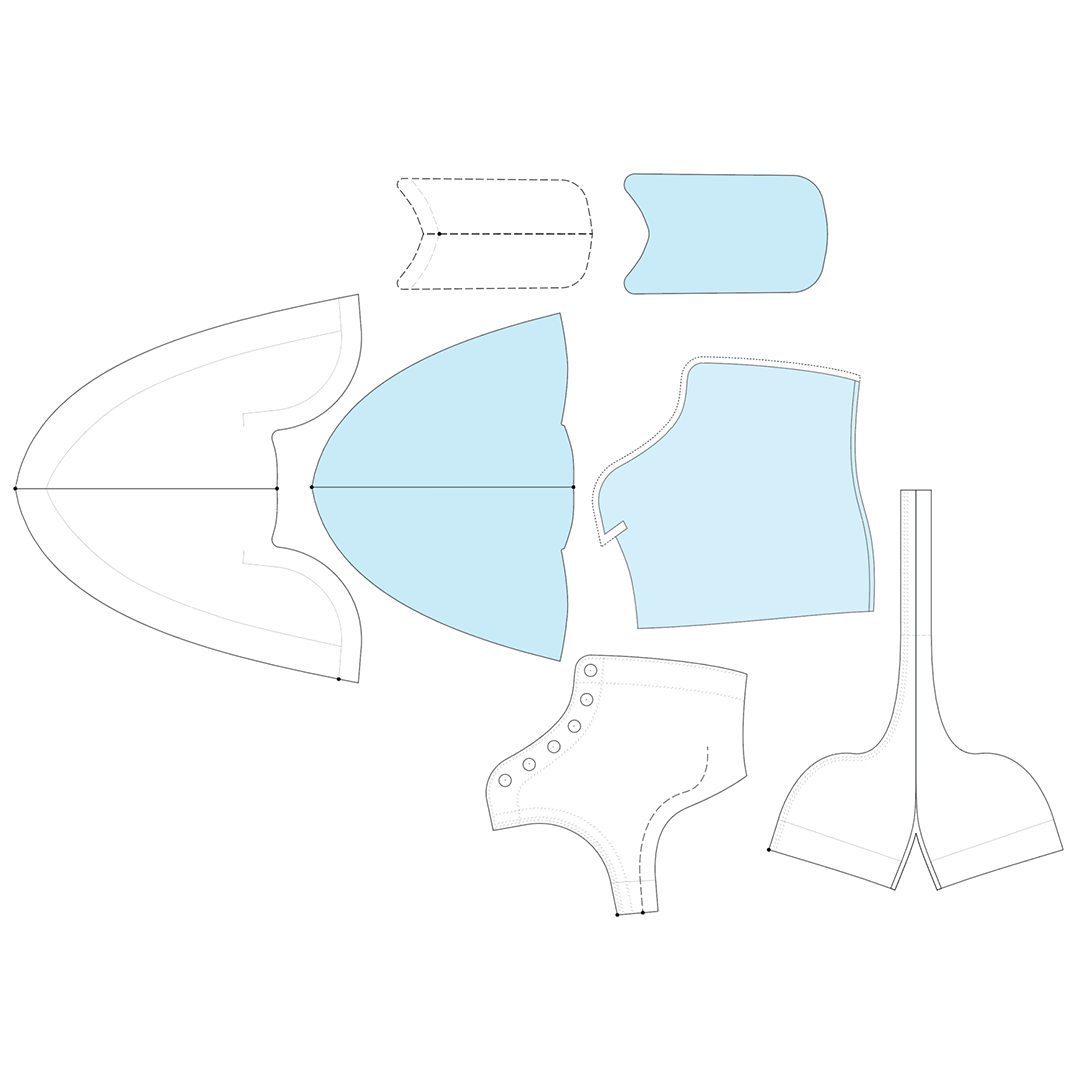
So as it happened, the MacNeils coming apart at the sole gave me a chance to sample shoemaking by means of repair. Despite their age, the uppers were in great shape and the sole itself was still sound. It had simply come away from the welt and needed to be resewn.
Rebuild
Assessing the damage
The MacNeil is a welted shoe with a double leather sole. The layers had separated both between the welt and midsole and between the midsole and outsole.
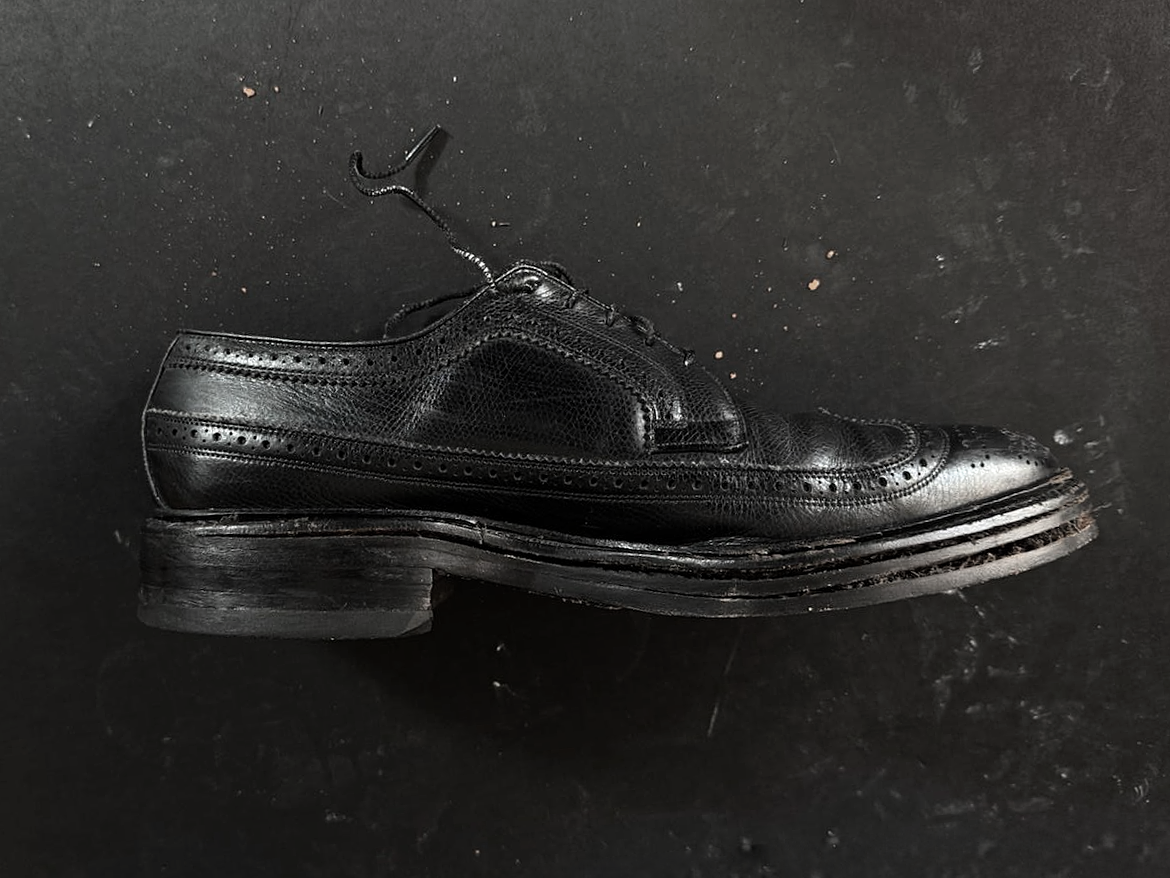
Peeling apart the sole was confusing at first. The stitching had clearly been cut at the seam between the midsole and outsole, but the outsole itself was original. Despite the work having been presented as a resole, it appeared to have been abandoned after the outsole was removed.
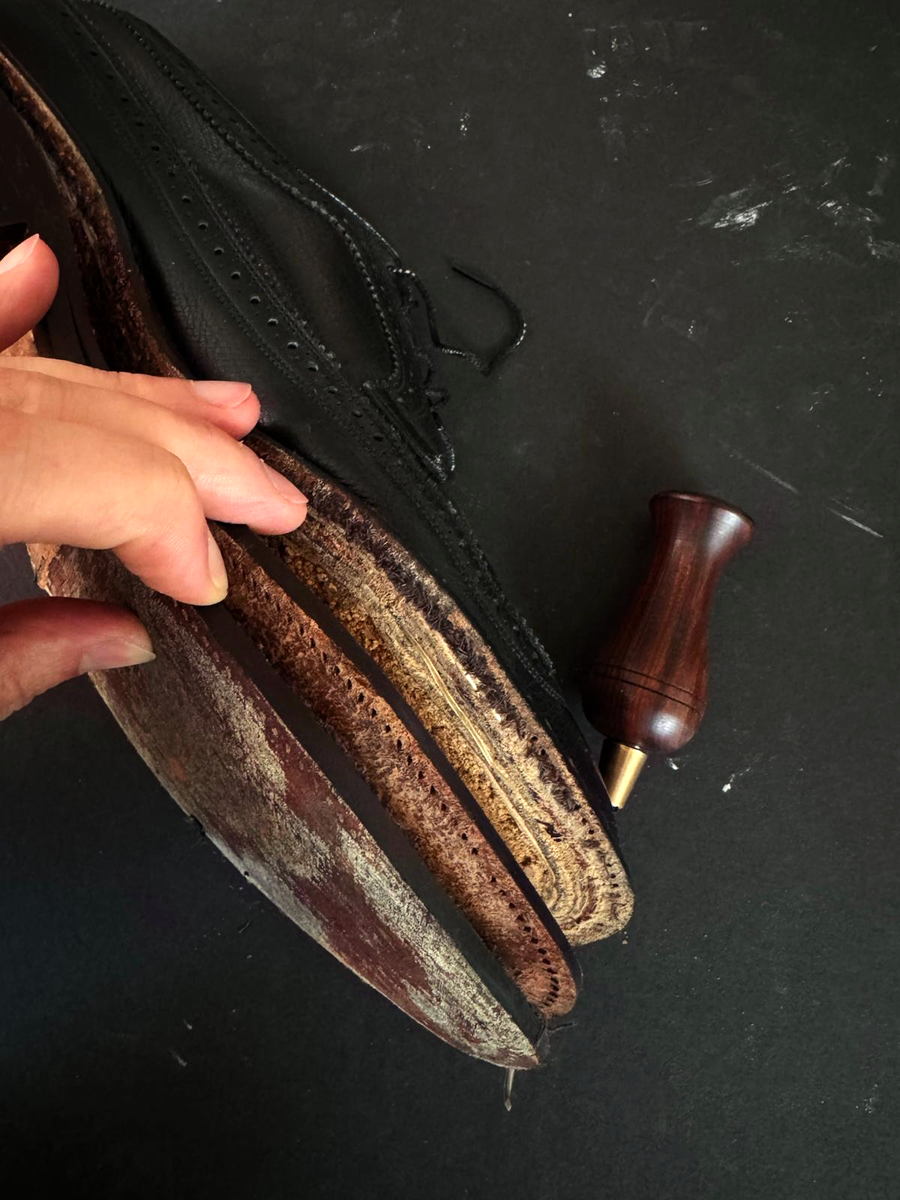
The shoes were never restitched, instead, the original layers were simply glued back together, leaving the old stitching in the welt. A plastic sole protector covered the bottom of the outsole, hiding the incomplete work.
Deconstruction
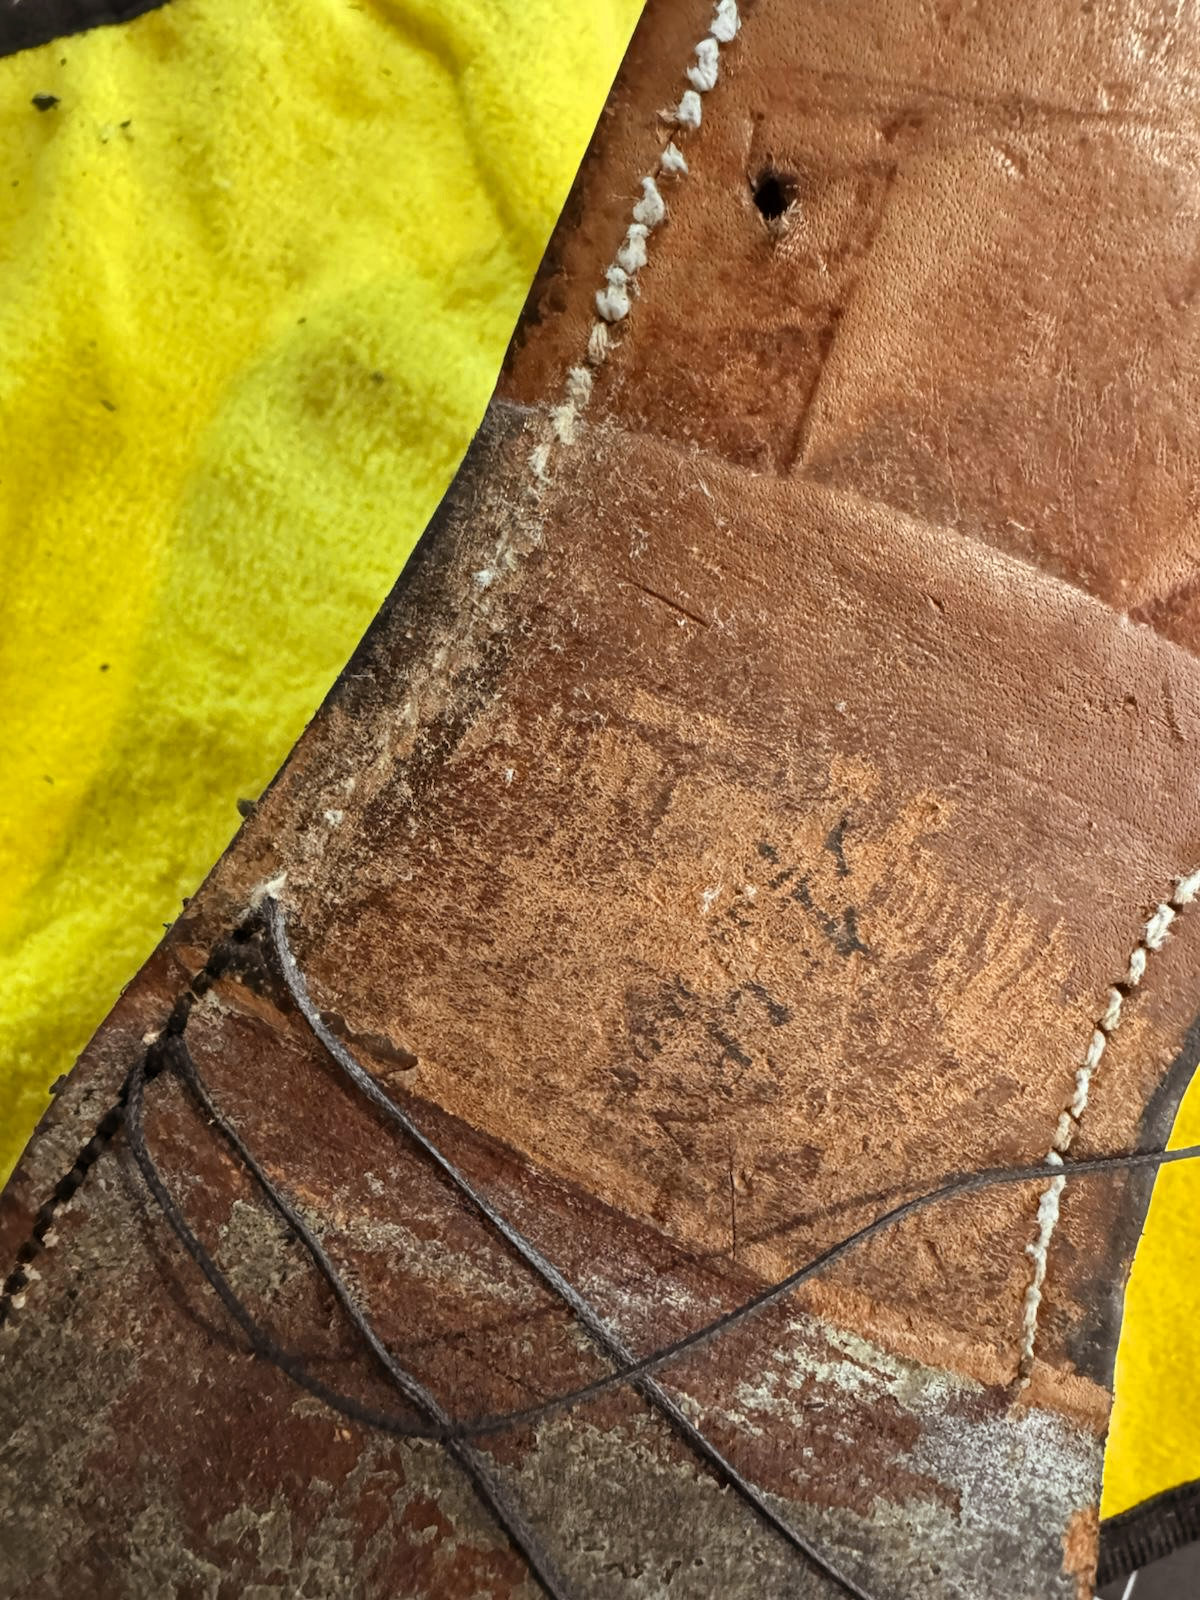
I started by removing the cut thread, which was tedious but otherwise straightforward on the welt. The outsole was more difficult: between the deteriorated cotton thread and the adhesive, the thread separated into its individual strands as I tried to pull it out.
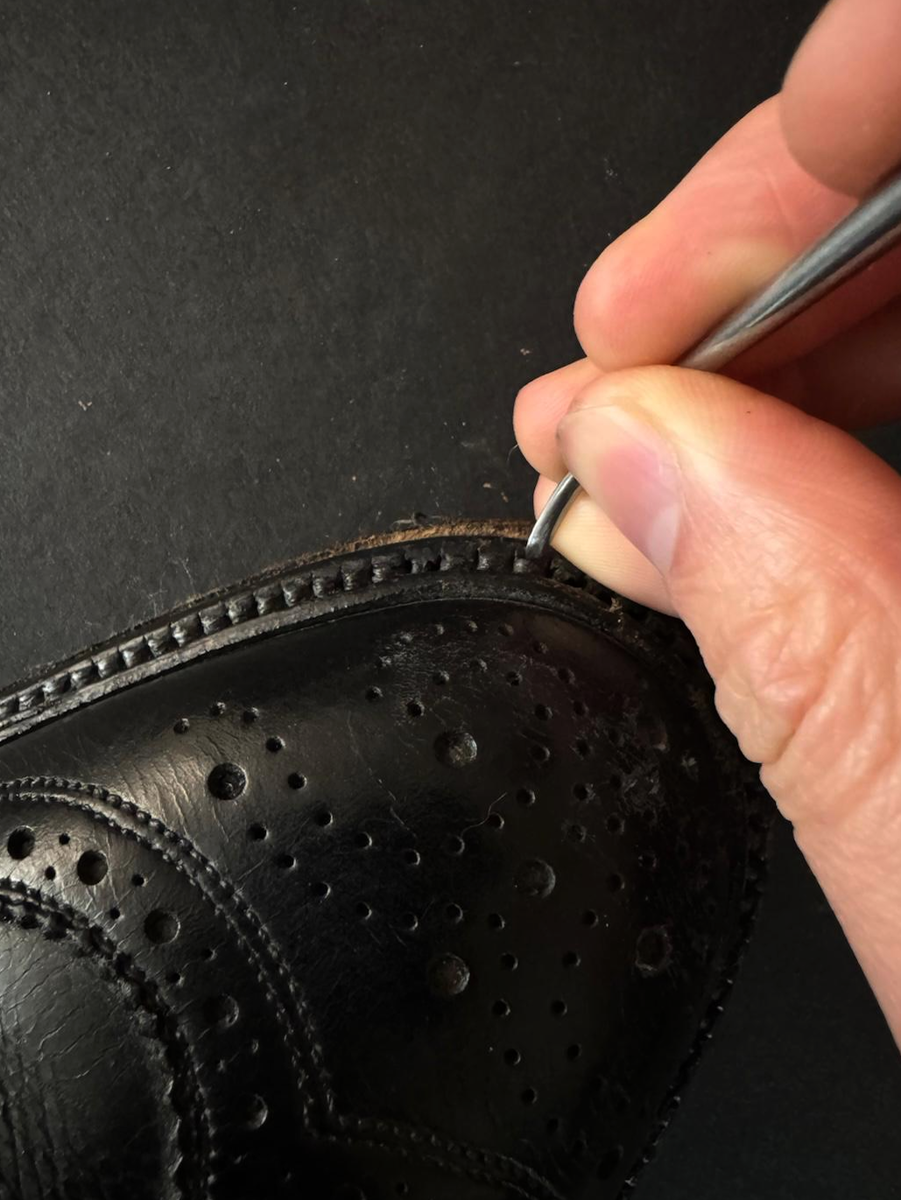
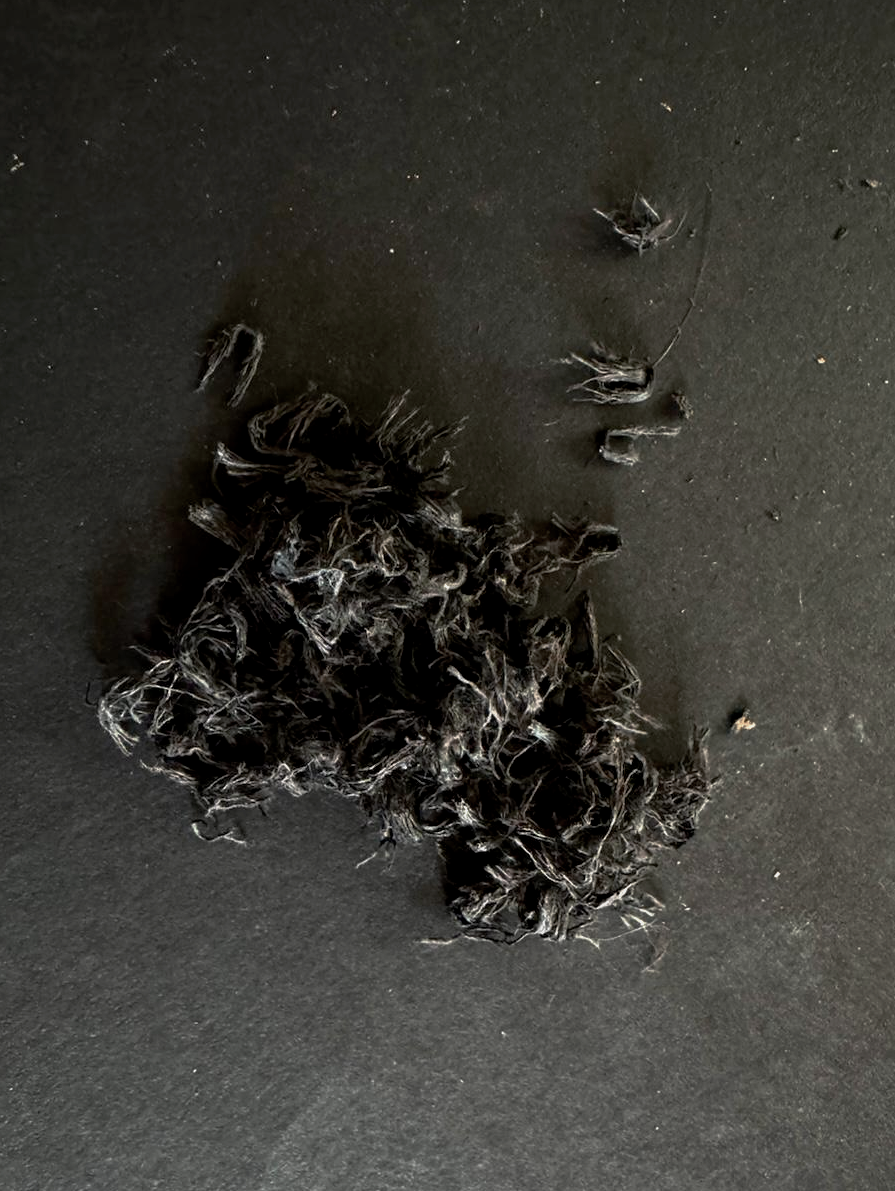
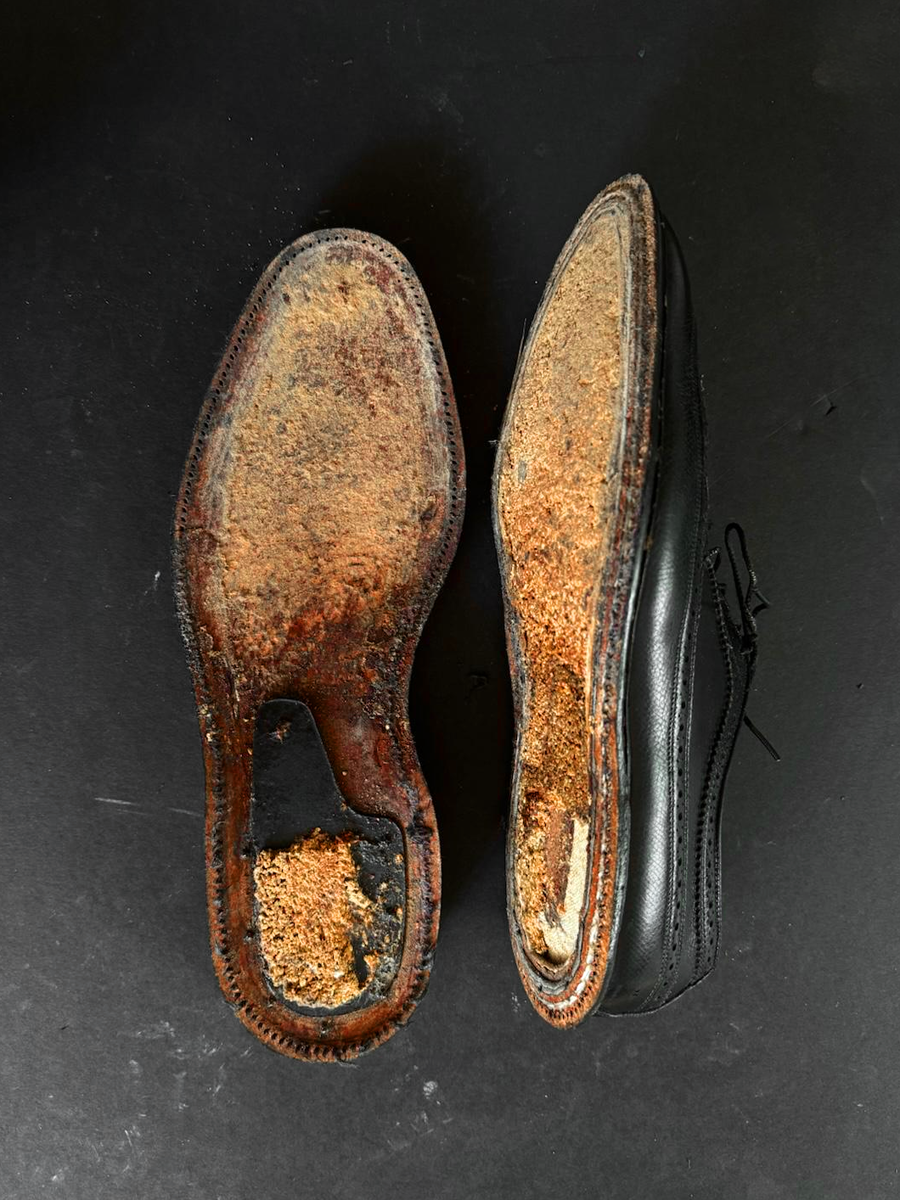
A handful of stitches had already been removed, which makes me think whoever worked on the shoes before me started cleaning out the old thread, realized how daunting the job would be, and took the easy way out. Removing the old thread was only necessary if the existing sole material was going to be reused and restitched. They seemingly decided to reuse original sole material without restitching them, so they stopped cleaning the holes and glued everything back together instead.
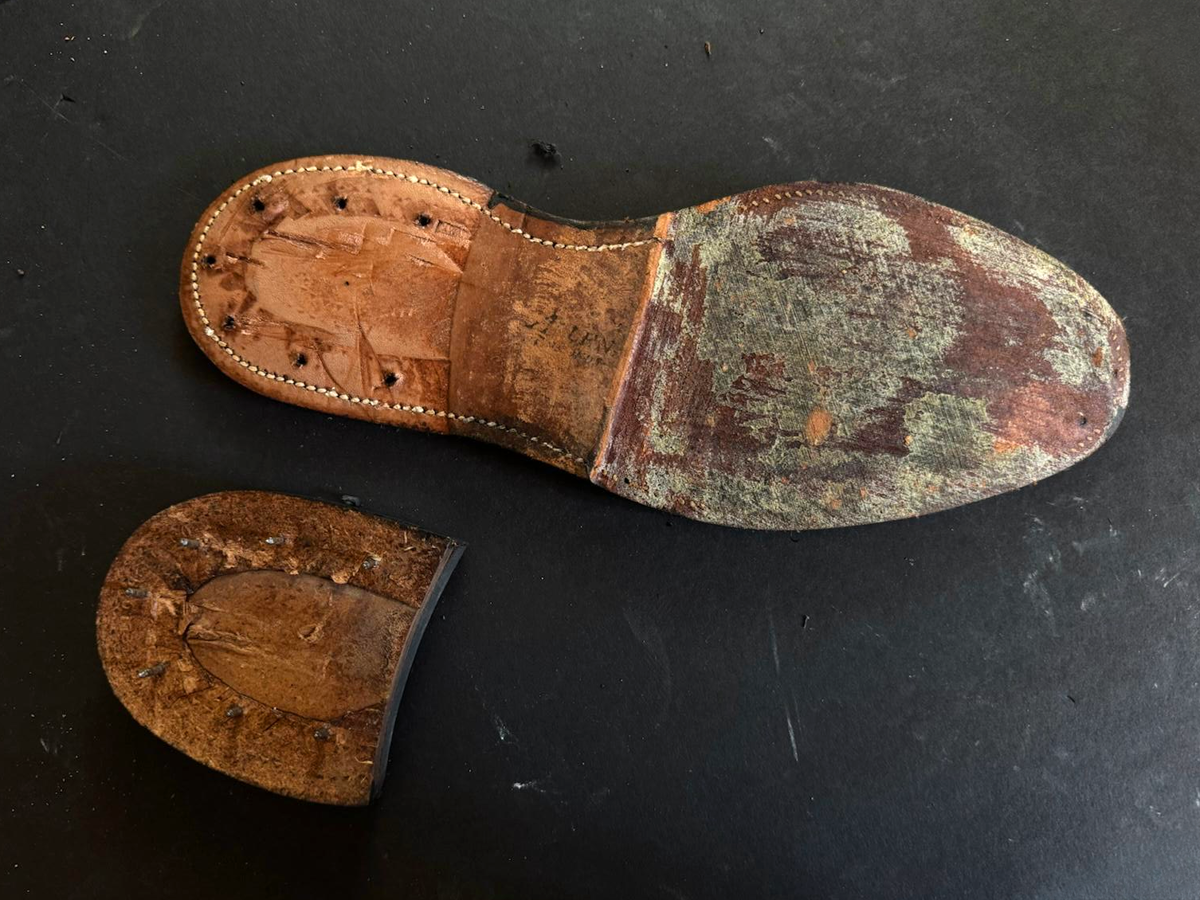
Removing the old thread from the welt was necessary because it would remain visible; sewing over it would be messy and inappropriate. On the outsole, the stitching is visible only through the arch, with the rest covered by the heel and sole protector. Since the bobbin thread had, for all intents and purposes, become one with the outsole, I removed what remained with an abrasive.
Restitching
I repositioned the plastic shank, then glued the sole back together with Renia Colle de Cologne contact cement, taking care to align the old stitching holes as closely as possible. This gave me the option of reusing the holes directly or using them as guides for the awl.
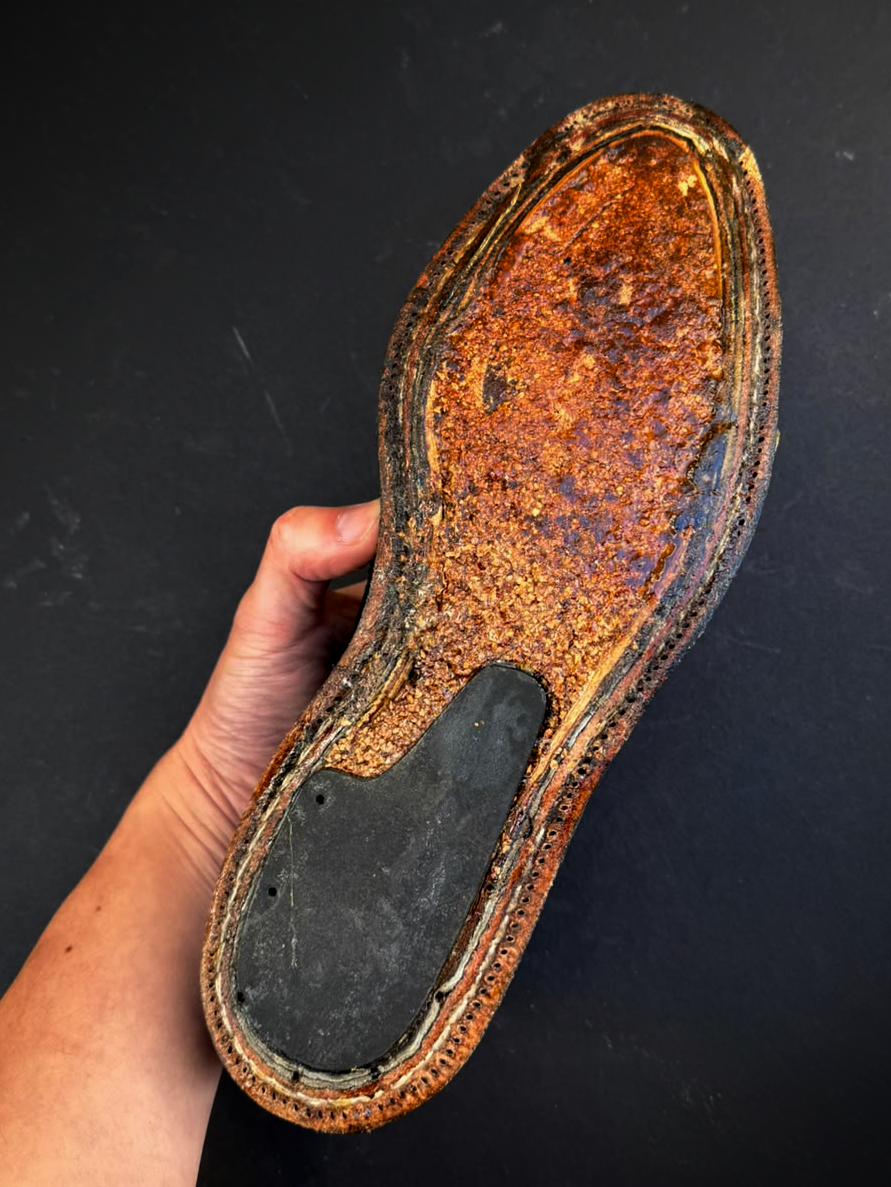
Then came the sewing. I am no stranger to hand sewing, and I can confidently say that sole leather was by far the most difficult material I have ever sewn. Even though I managed to line up the vast majority of the existing stitching holes, they tended to close back up in the dense leather. I frequently had to reopen them with an awl and pull the needles through with pliers.
Because the stitching holes overlap the upper, especially through the arch, flexible or curved needles are better suited to the work. Traditionally, shoemakers attached the thread to boar bristles; twisted wire is a modern substitute. Both are flexible and carry the thread without a conventional eye, allowing them to follow the path opened by the awl.
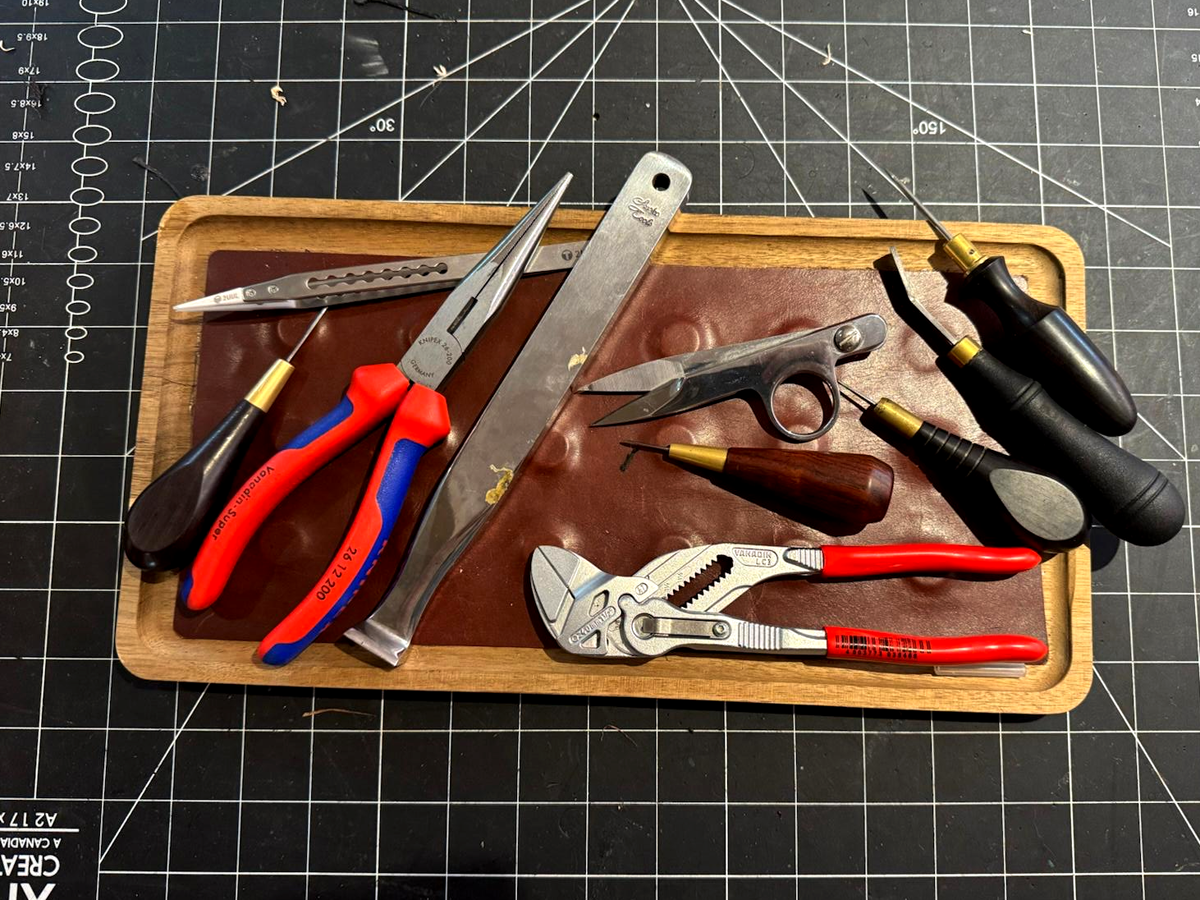
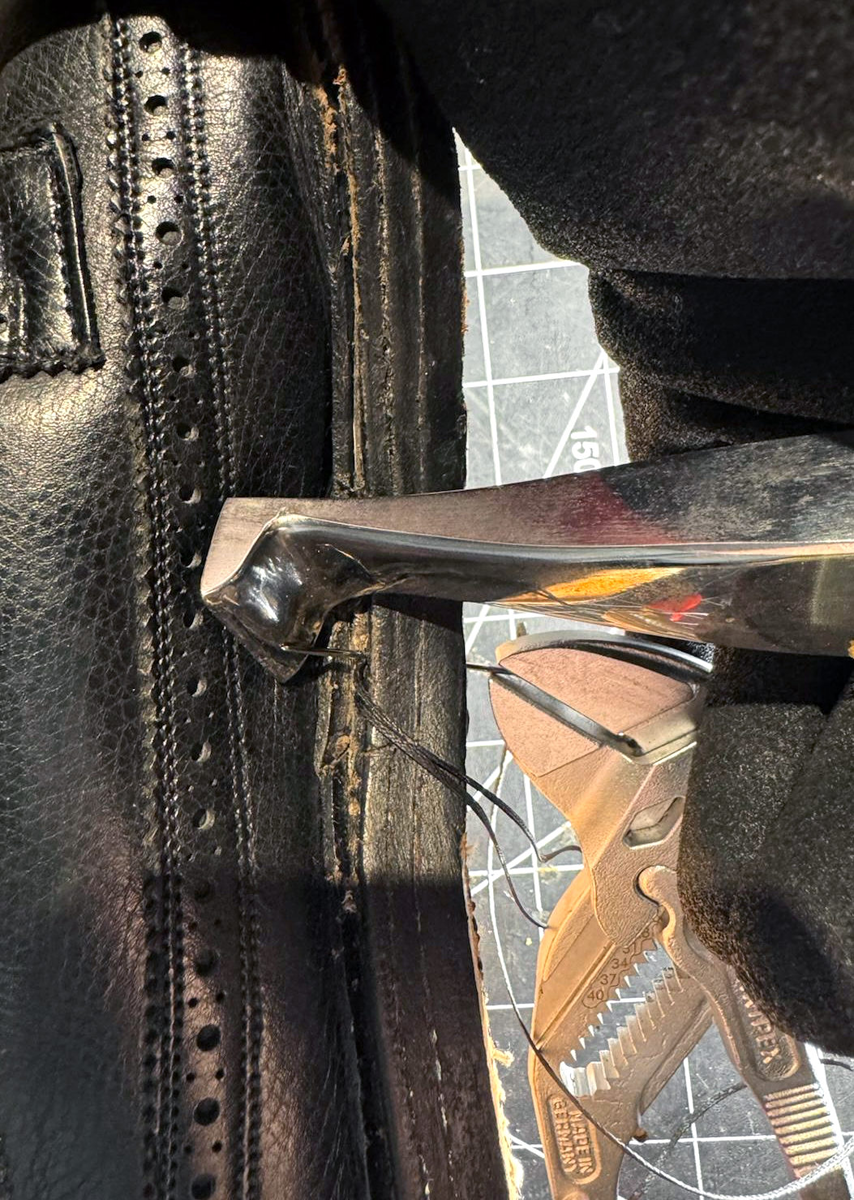
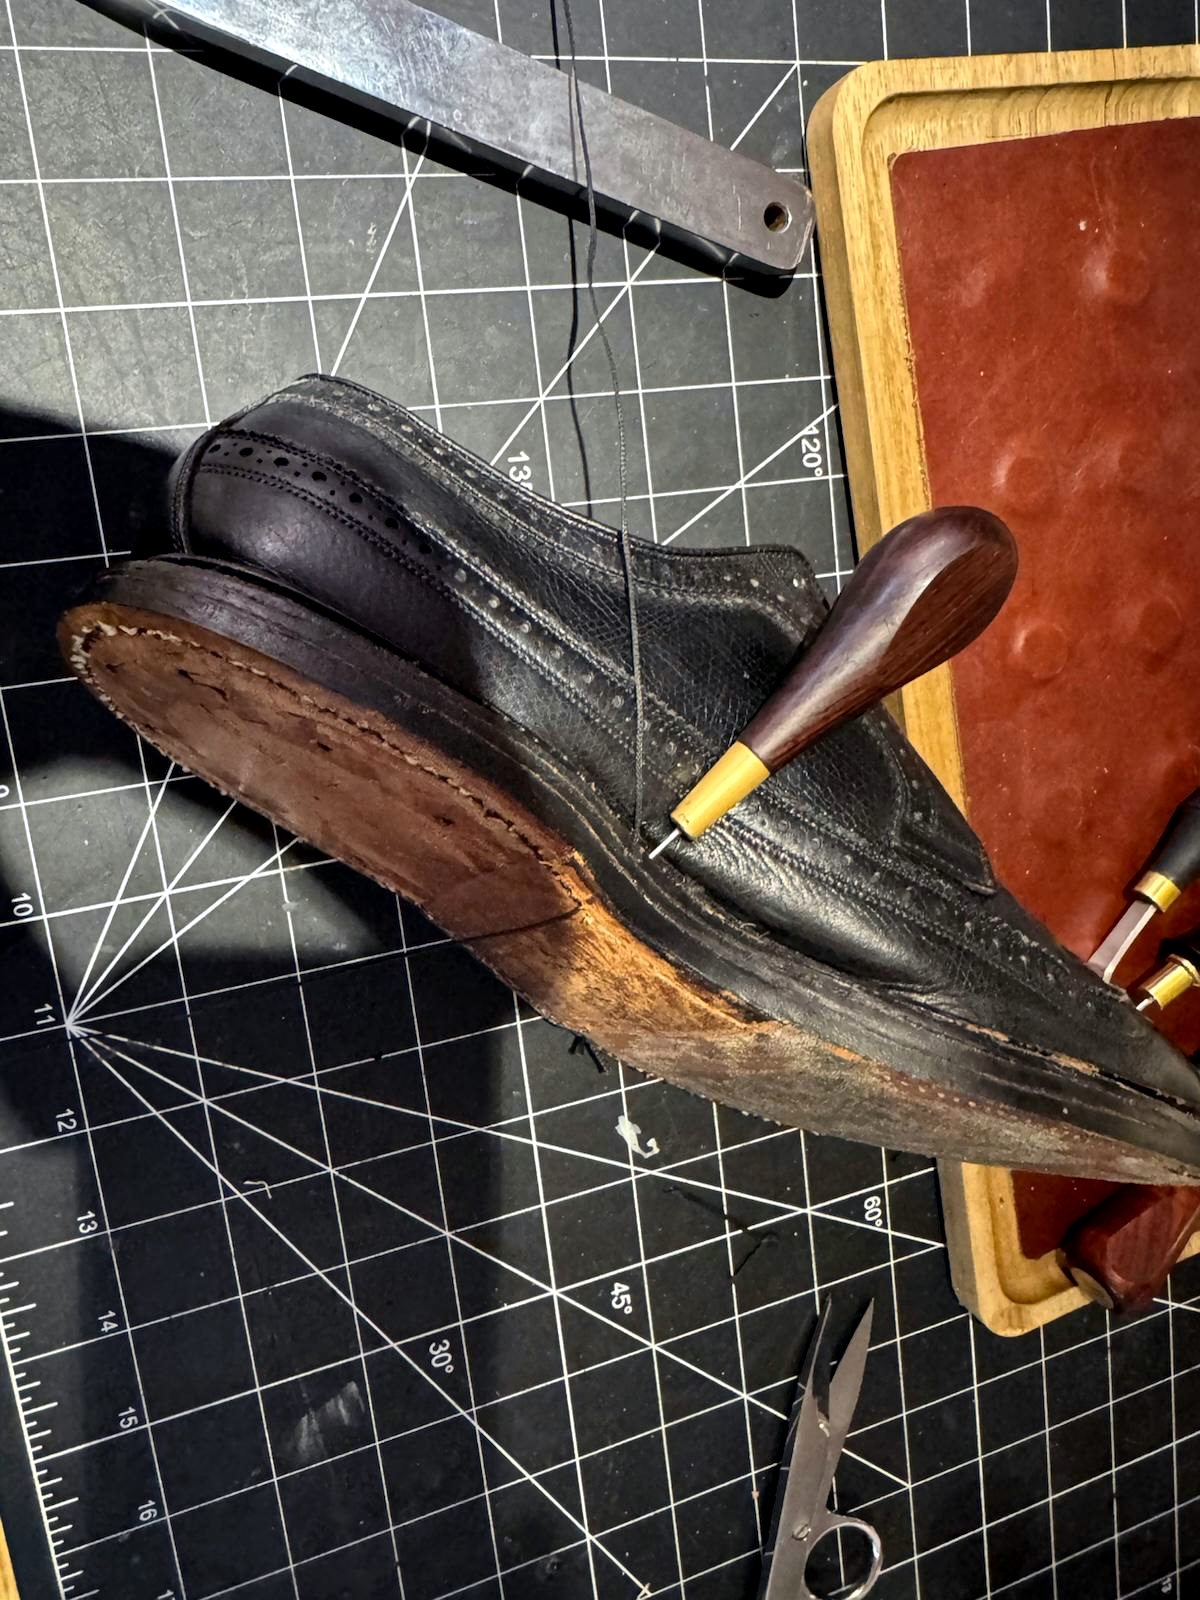
I had neither bristles nor wire, so I bent a slight curve into a pair of ordinary straight needles. The MacNeil’s characteristic gunboat proportions and chunky, exposed welt made hand stitching somewhat easier, but the arch was still difficult. There, the upper overlapped the stitching holes, so I had to take care not to pierce it.
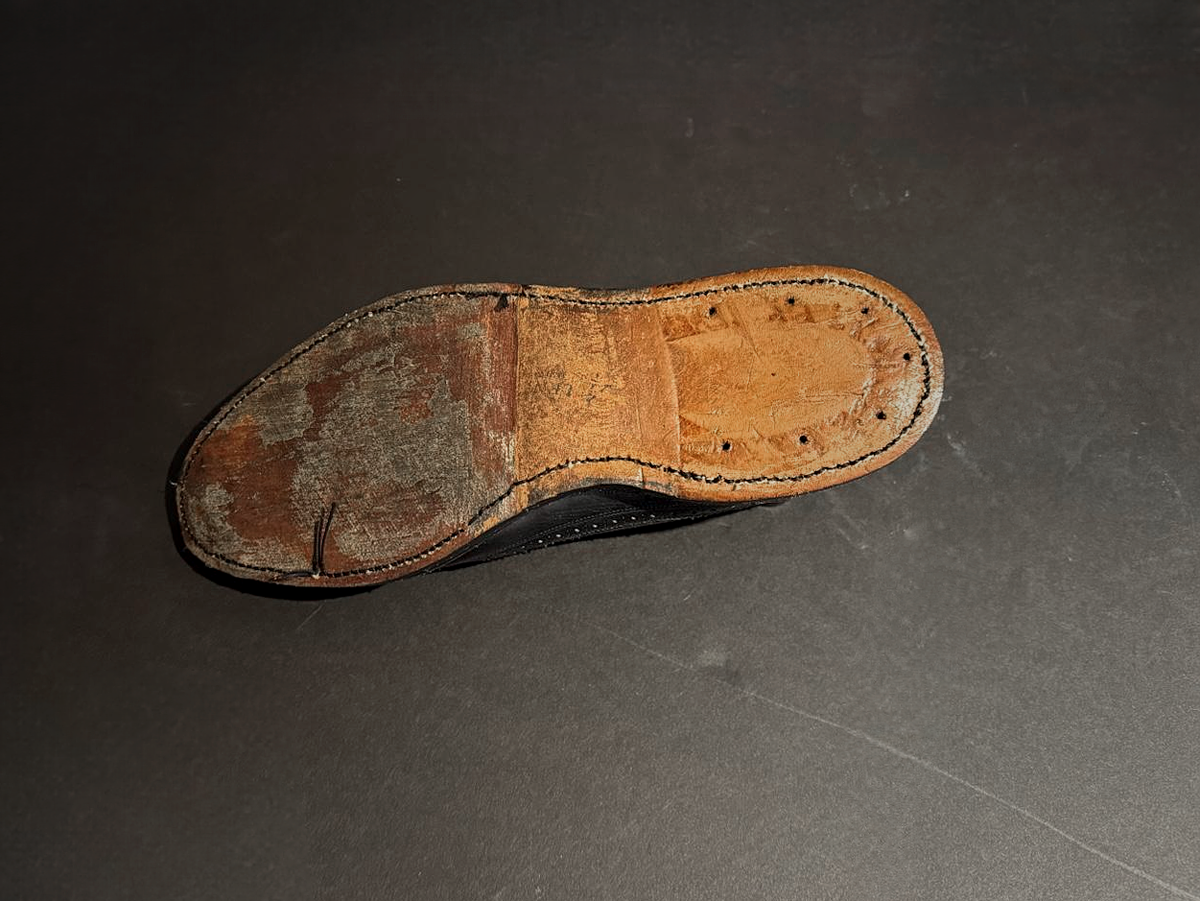
Judged purely as sewing, the outsole stitch line is a failure. Getting the needles through 15 mm of leather while managing the stitching channel, welt, and upper, without piercing the opposing thread, took priority over consistent thread order, tension, and pitch. Still, it is stitched, not merely glued.
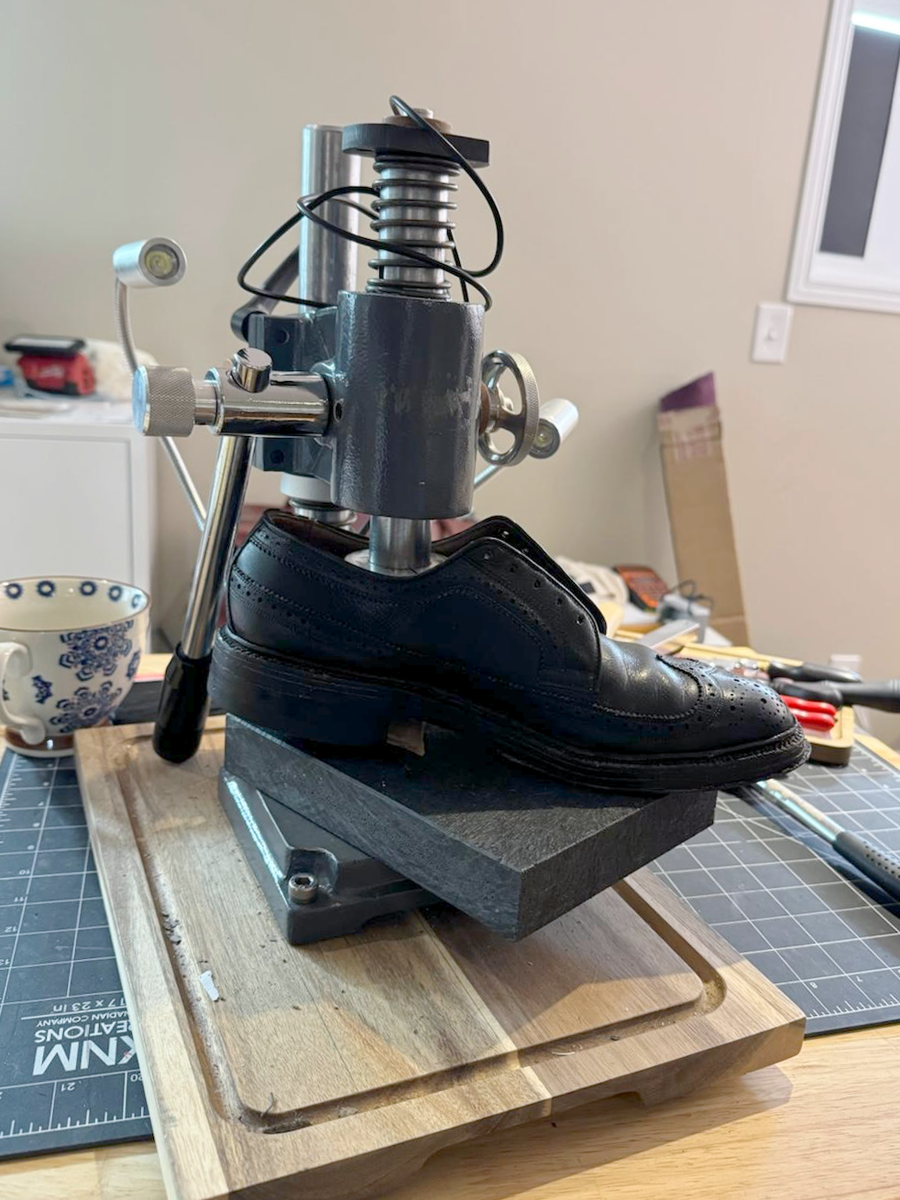
I put a slight bend in the nails used to affix the heel block. As they are driven, the bend creates tension and helps draw the layers together. After filling the existing nail holes with contact cement, I used an arbor press to progressively work the heel block back into place. With the heel seated, I glued the sole protector back on.
Edge finishing
My dear reader, things will look a lot worse before they look better.
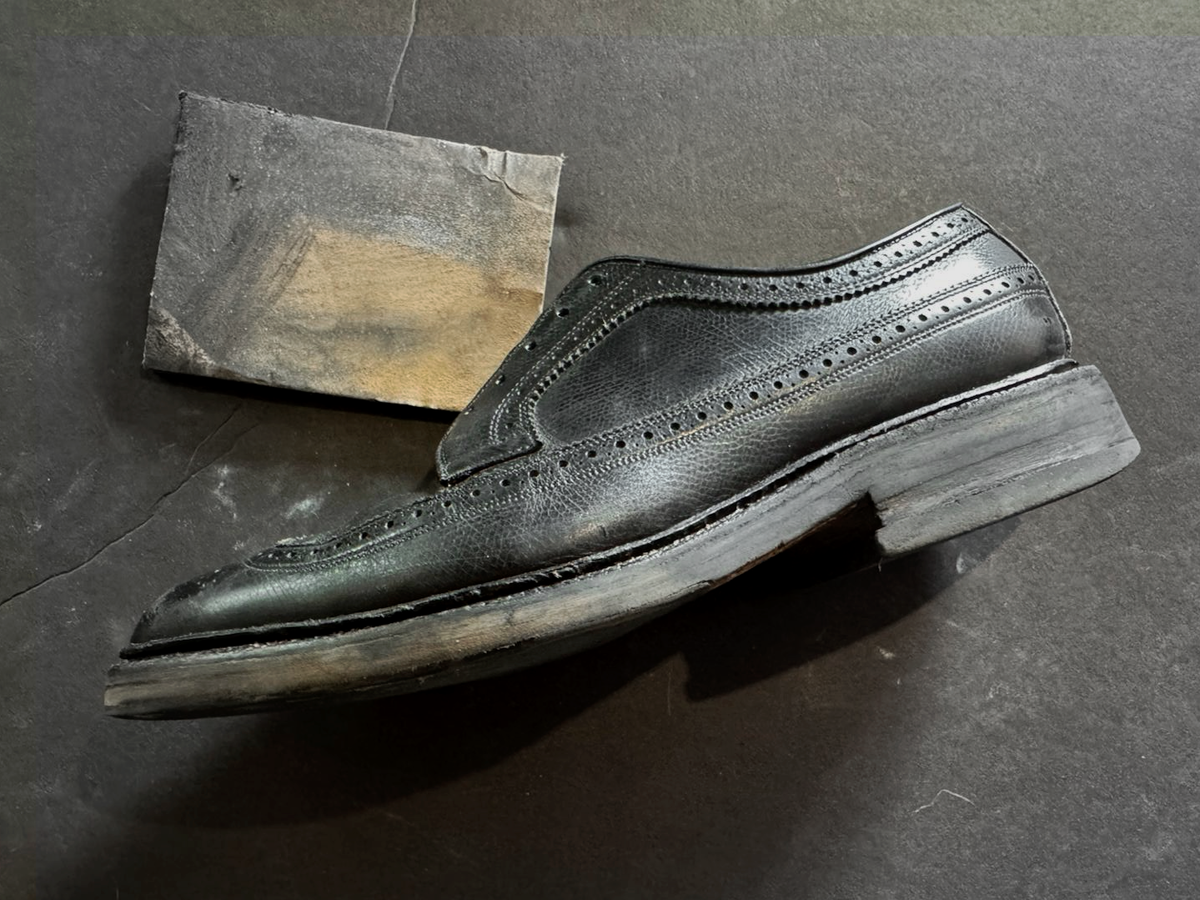
With the original welt, soles, and heel back together, I sanded the edges to even out any slight misalignment between the layers.
I applied dye, then worked through repeated rounds of sanding and dyeing with progressively finer abrasives, using the dye almost like a burnishing agent to smooth the edge. I could only take this so far because the previous repair had already left very little material between the stitching holes and the edge, and I did not want to sand into the stitch line. I filled the remaining imperfections with a Tarrago hard wax compound.
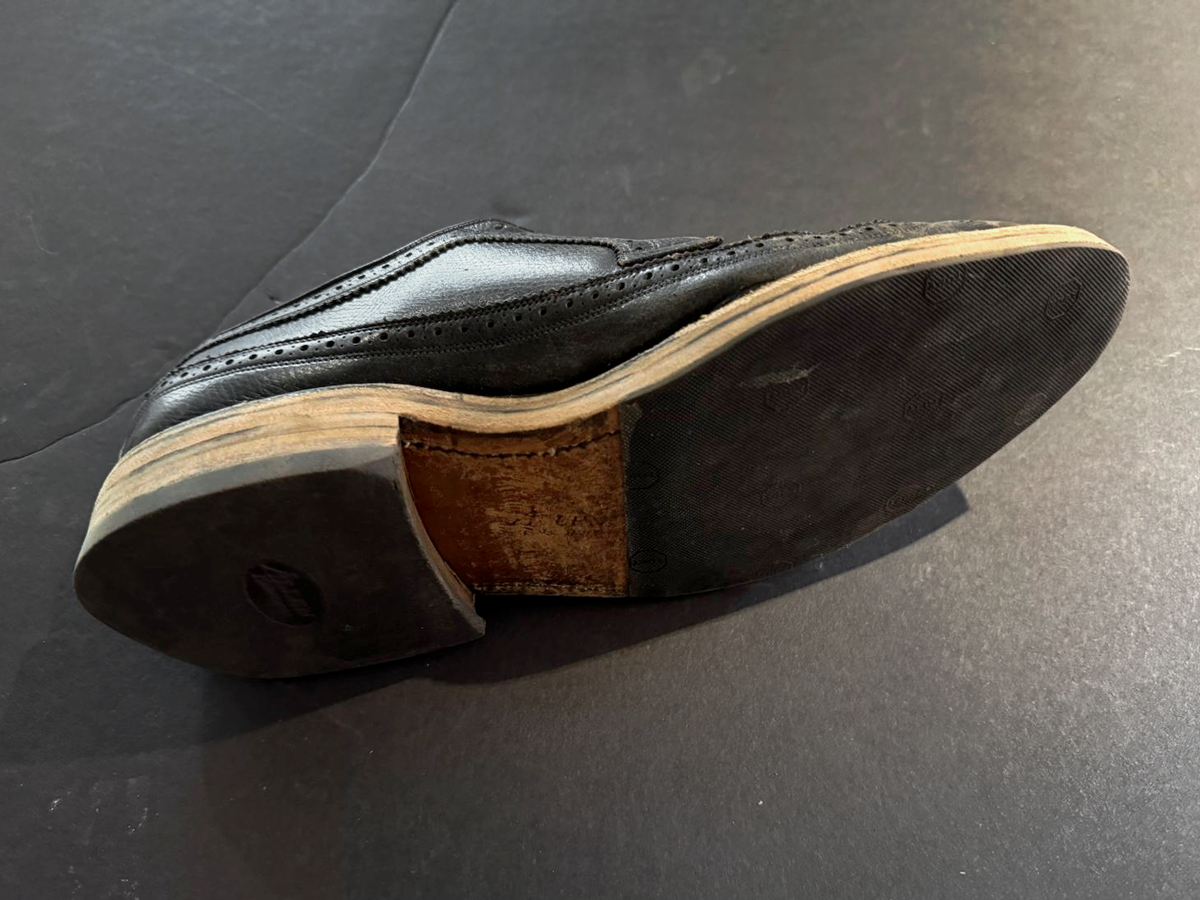
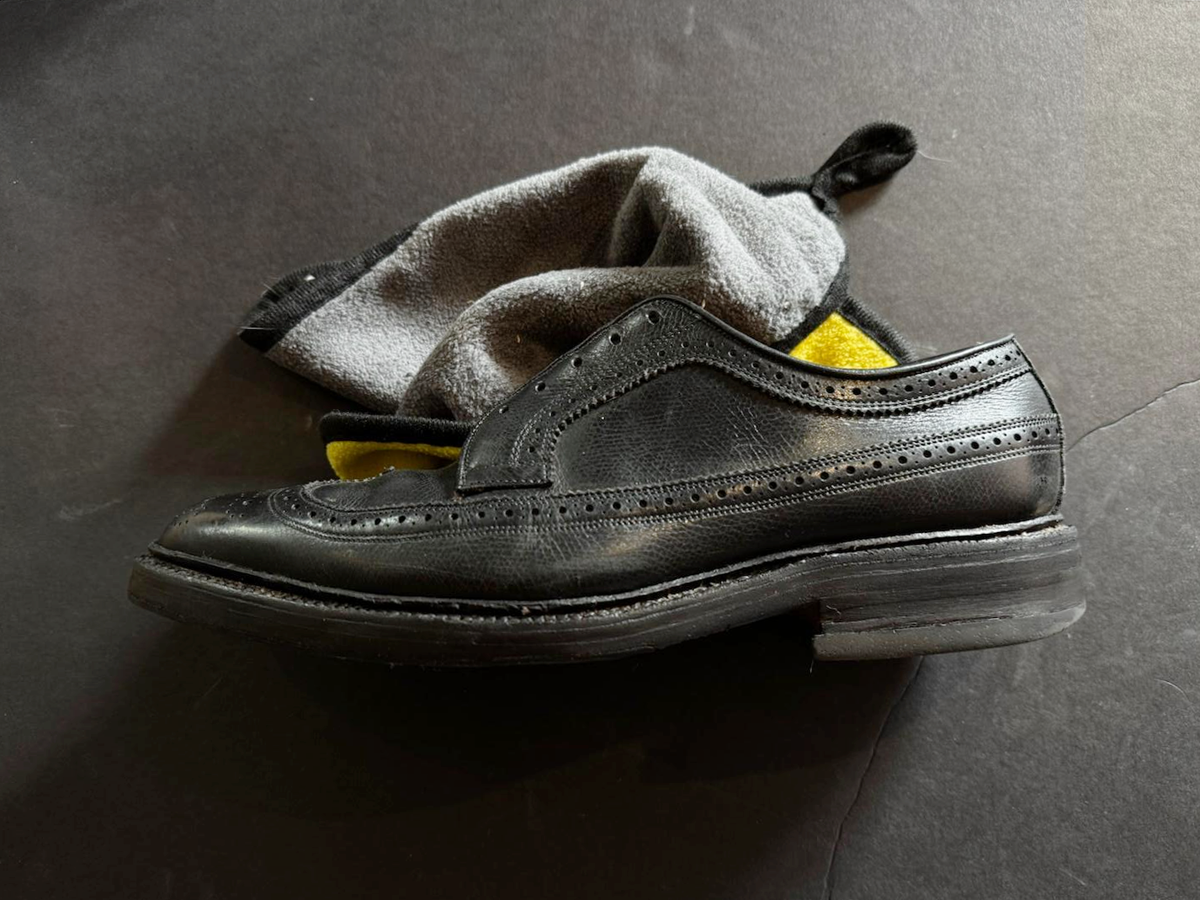
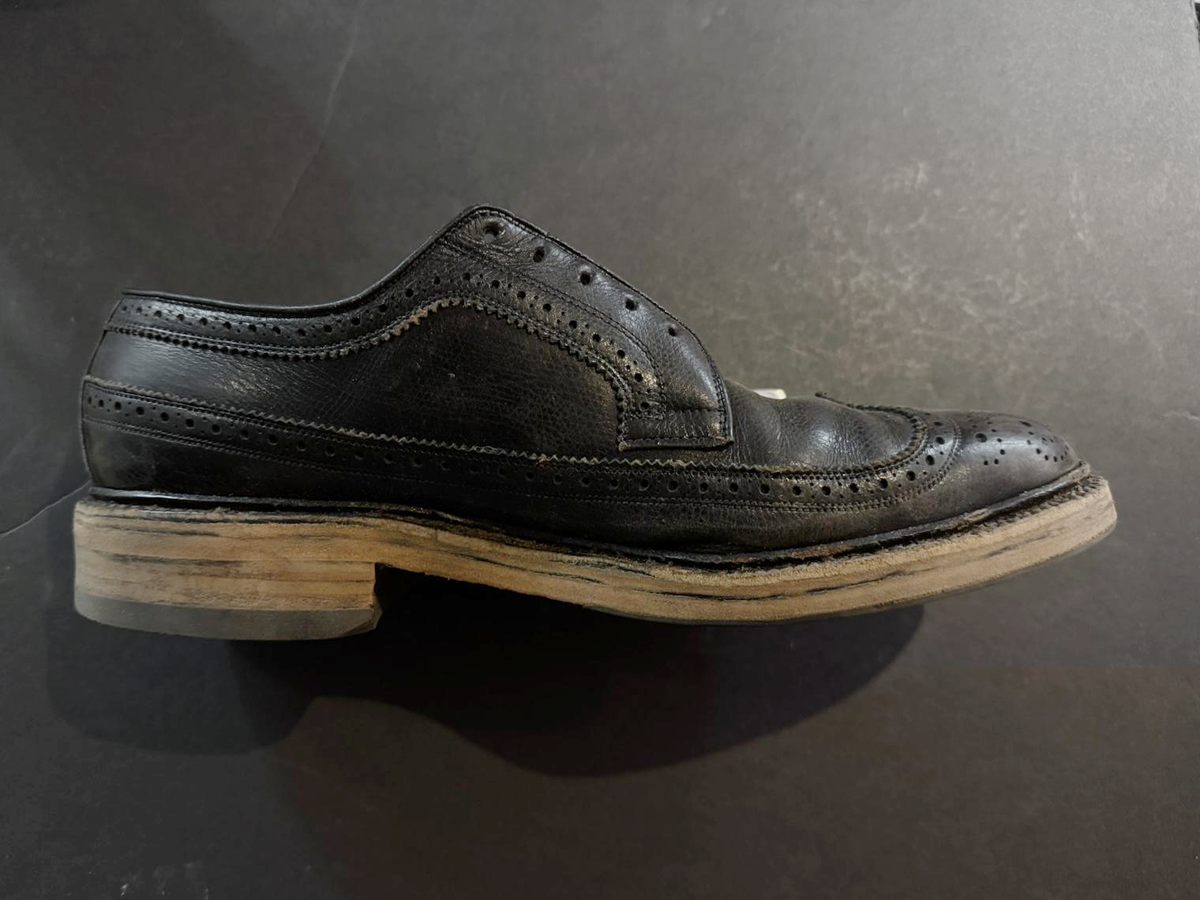
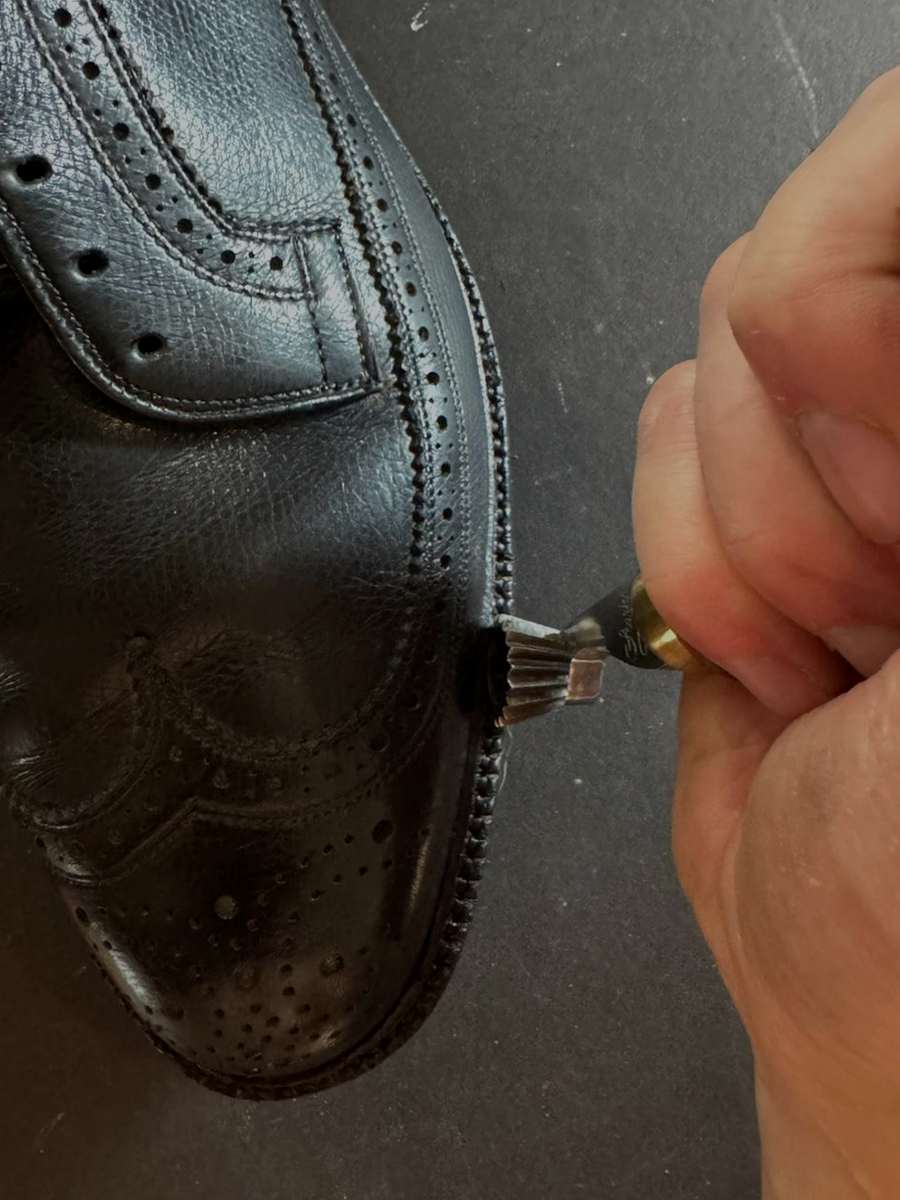
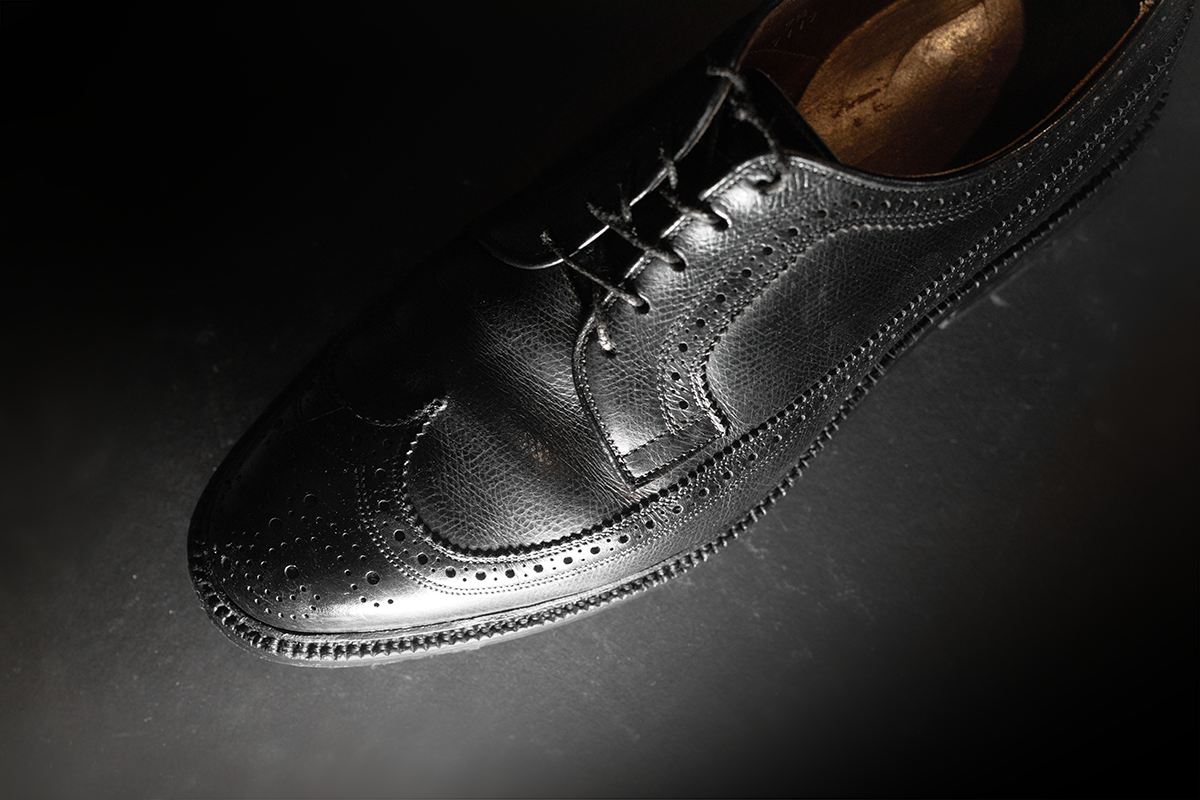
I finished the welt with a fudge wheel, adding definition around each stitch and giving the edge a more refined finish.
Conclusion
I chose to reuse the original sole because it kept the project manageable while still giving me a useful introduction to soling work. Preparing the existing layers and stitching them back to the welt gave me plenty to contend with, without also taking on the separate job of cutting and shaping new sole leather. The outsole stitching is far from perfect, but the sole is properly attached again, and enough material remains to carry the MacNeils another few years before a full resole.
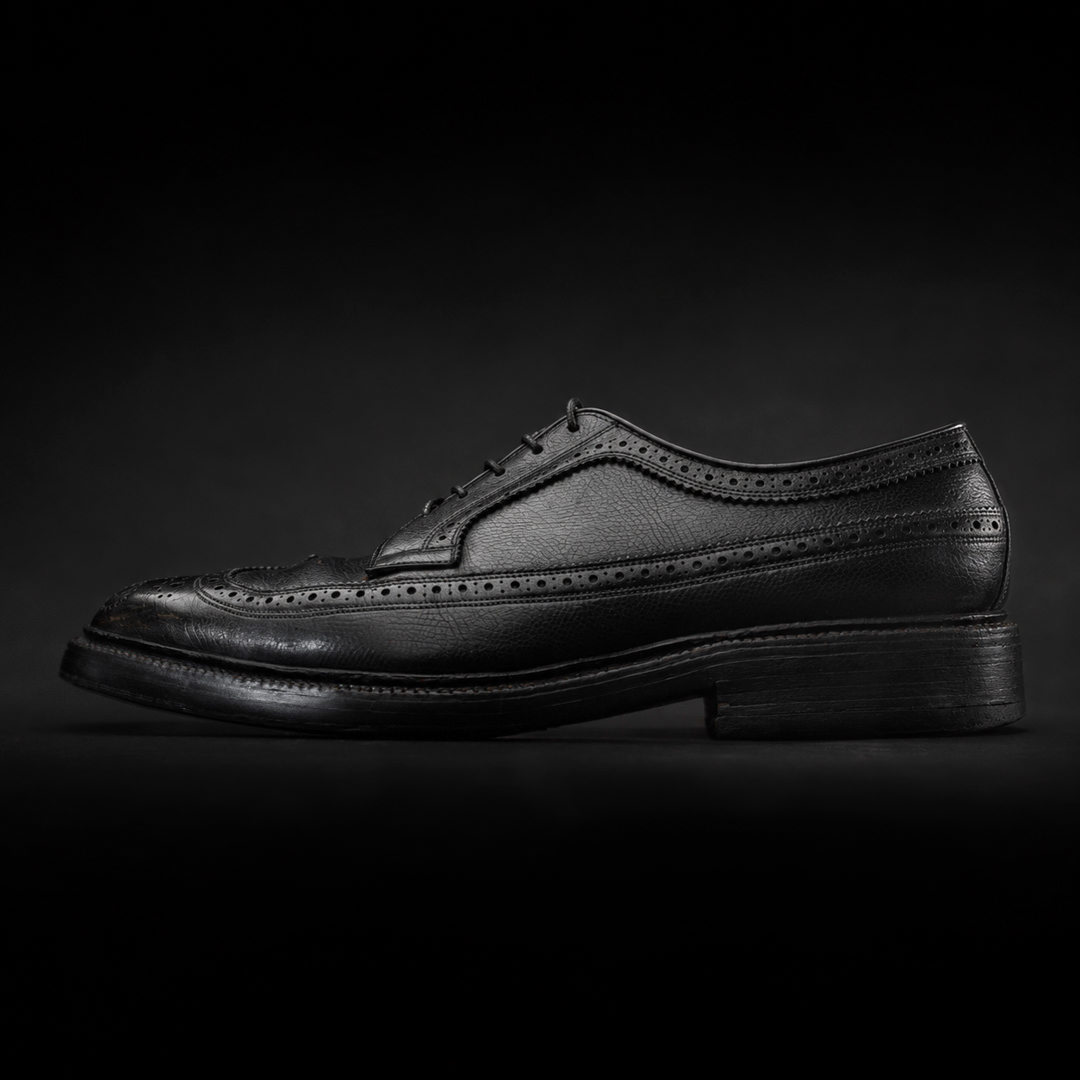
Now I just need to do the other shoe.