2 min to read
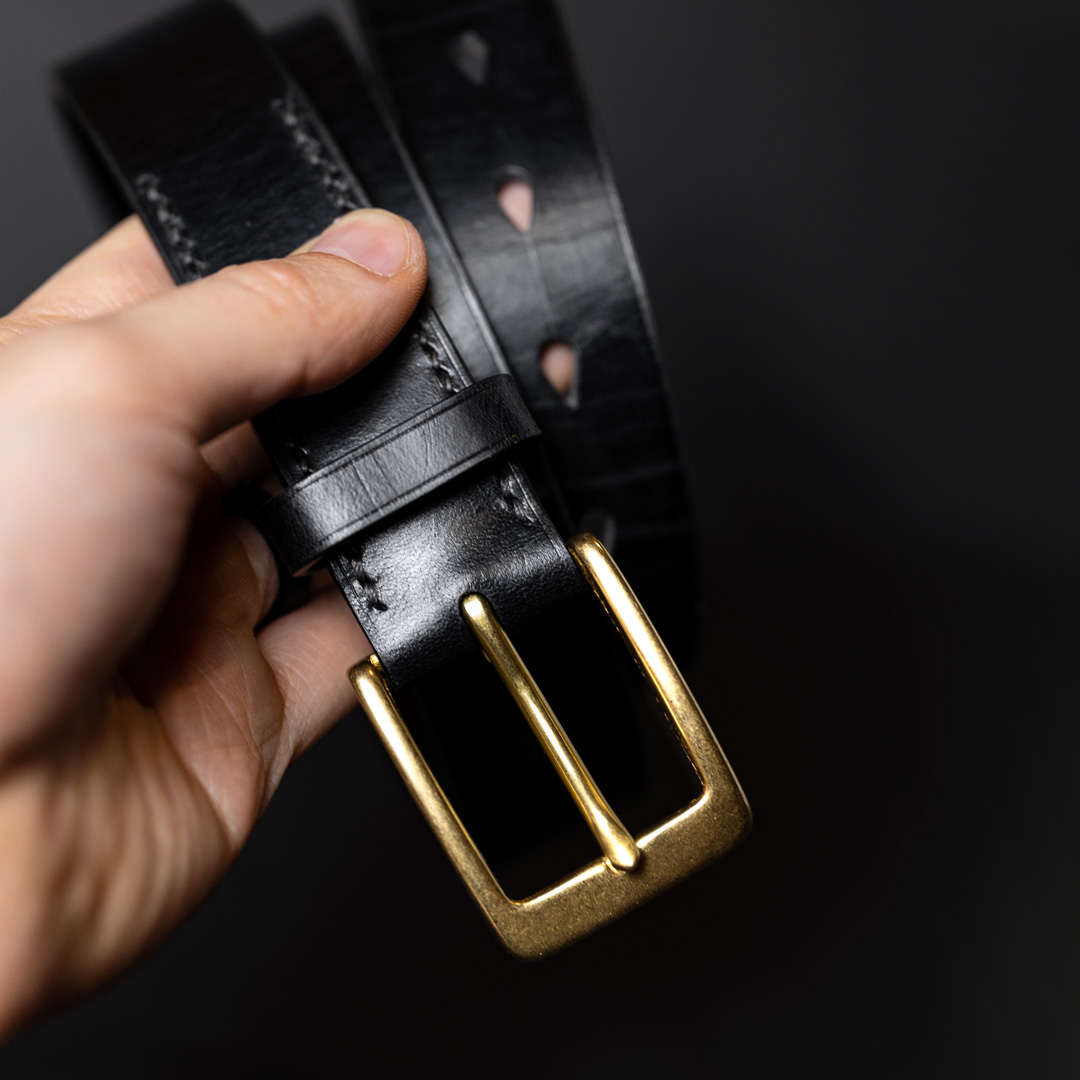
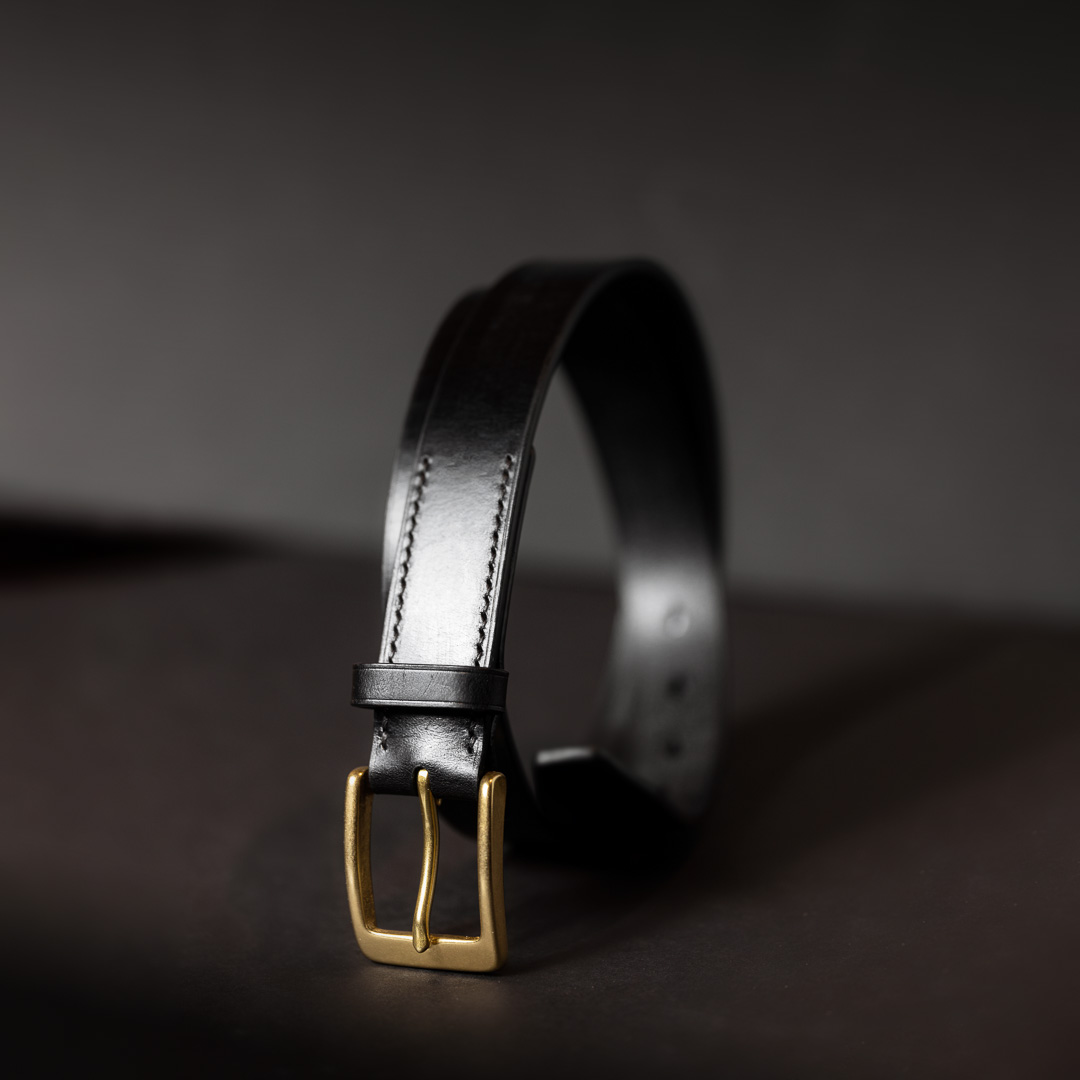
Ghost Bridle Belt
About
My goal was to craft an everyday belt with a touch of sophistication in design and construction.
To facilitate the finishing process, I constructed a basic jig designed to secure the belt’s length during sanding and painting. This enabled tensioning of the belt, ensuring a consistently straight edge.
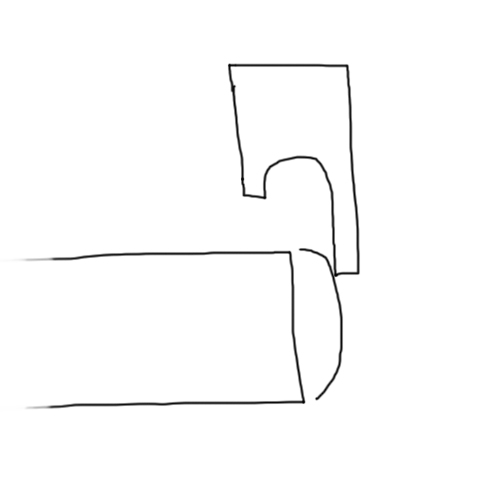
Forming the buckle end
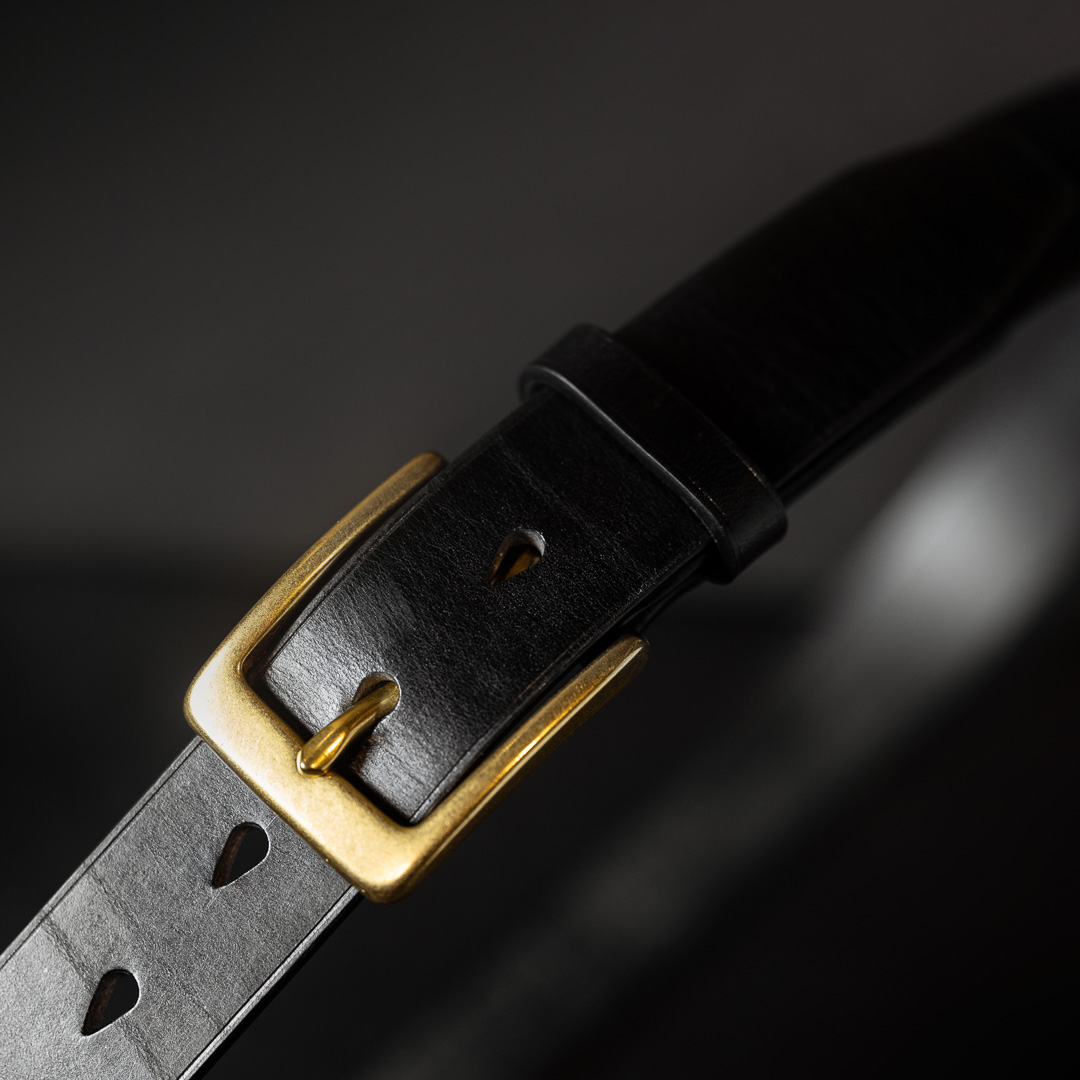
I punched the slot for the buckle pin using a 20x5mm oval punch. A 22x5mm punch might work better.
To form the buckle, I split the material’s thickness in half past the bend line. Wetting the bend line and clamping aided in retaining the material’s shape. In the future, I will consider padding to create dimension.
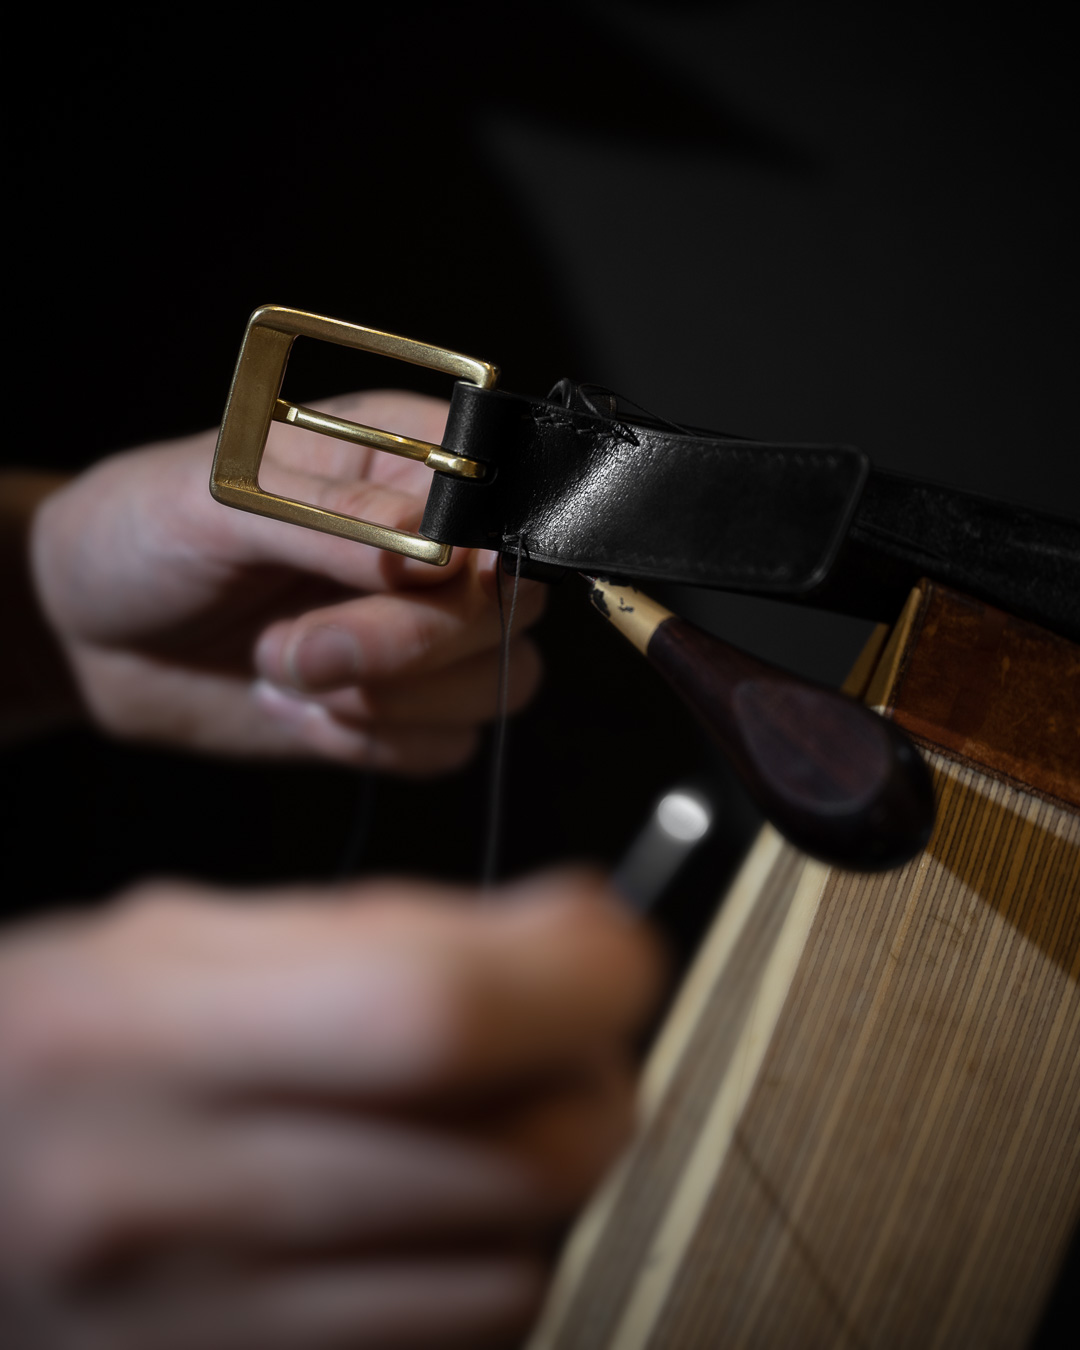
Stitching
Originally attempting an X-stitch, I found it added unnecessary complexity. Instead, I punched the top layer, temporarily affixed the folded-over piece with glue, then punched from the top layer through to the second layer, using the original stitch holes to guide the indexing. Due to the material’s thickness, expanding stitch holes with an awl when stitching became necessary to prevent thread twisting.
Edge finishing
The dense grain and wax-coated nature of the leather prompted additional measures to ensure proper adherence of edge paint. After roughly sanding the edge to raise the grain, I applied two layers of edge paint primer, followed by thick layers of edge paint. The width of the edge, coupled with surface tension, facilitated self-leveling, resulting in a domed finish.
While heat creasing the edge with an FN2 bit, interference arose due to the thick edge paint layer. To address this, I planned to experiment with cold creasing initially to shape the edge without affecting the paint. Subsequently, minimal heat could be applied to form the crease. Alternatively, exploring different crease tips might prove beneficial in refining this aspect of the process.
Notes
- Belt holes should be punched around 25mm apart. The distance from the end of the strap will depend on the overall length of the belt and the overall fit, but it should be reasonably spaced.
- The pointed end of the teardrop belt holes need to face in the direction of the buckle.
- Pattern needs to be revised!
- 22 stitches in two rows.
Posts
Crafting of…
Everyday belt made of wax-coated bridle leather with refined details: painted and creased edges, hand-stitching, and tear drop belt holes, providing a touch of sophistication for daily wear.
Details
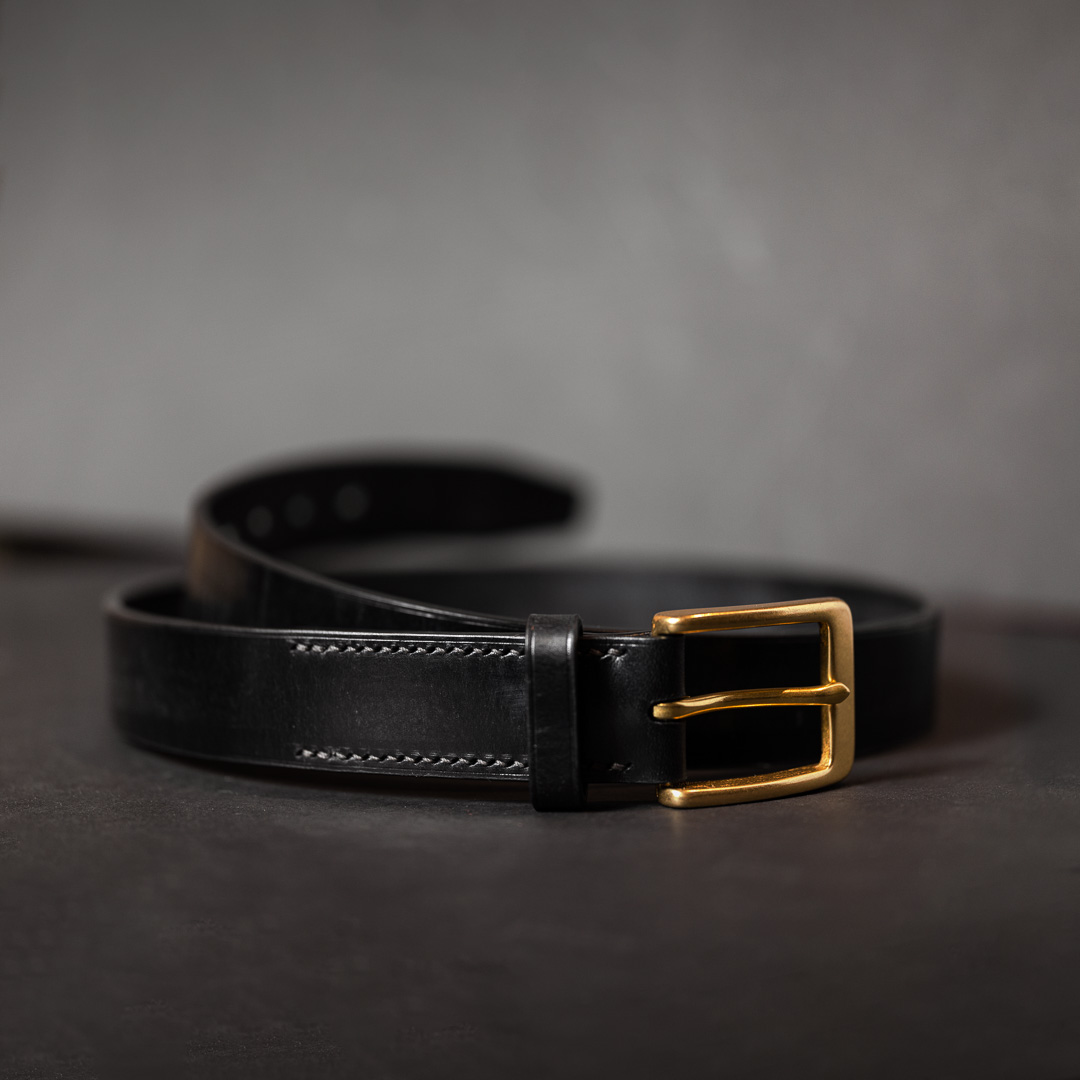
A versatile, refined everyday belt. Wax-coated bridle leather, solid brass buckle and meticulously hand crafted details: edge paint, crease, stitching and teardrop holes.