4 min to read
Ikea Gerton table top and Bekant Standing Desk
About
In 2015, my dad and I assembled a desk using the IKEA Gerton birch table top and Lerberg legs. Over the past decade, through four moves and several major life changes, this desk has served me for tens of thousands of hours: school, work, play and everything in between. It was first upgraded in 2020 with under-mounted drawers, followed by cable management trays in 2022 for a USB hub and KVM. Now, it’s getting new legs.
Throughout the years
2015: The original desk.

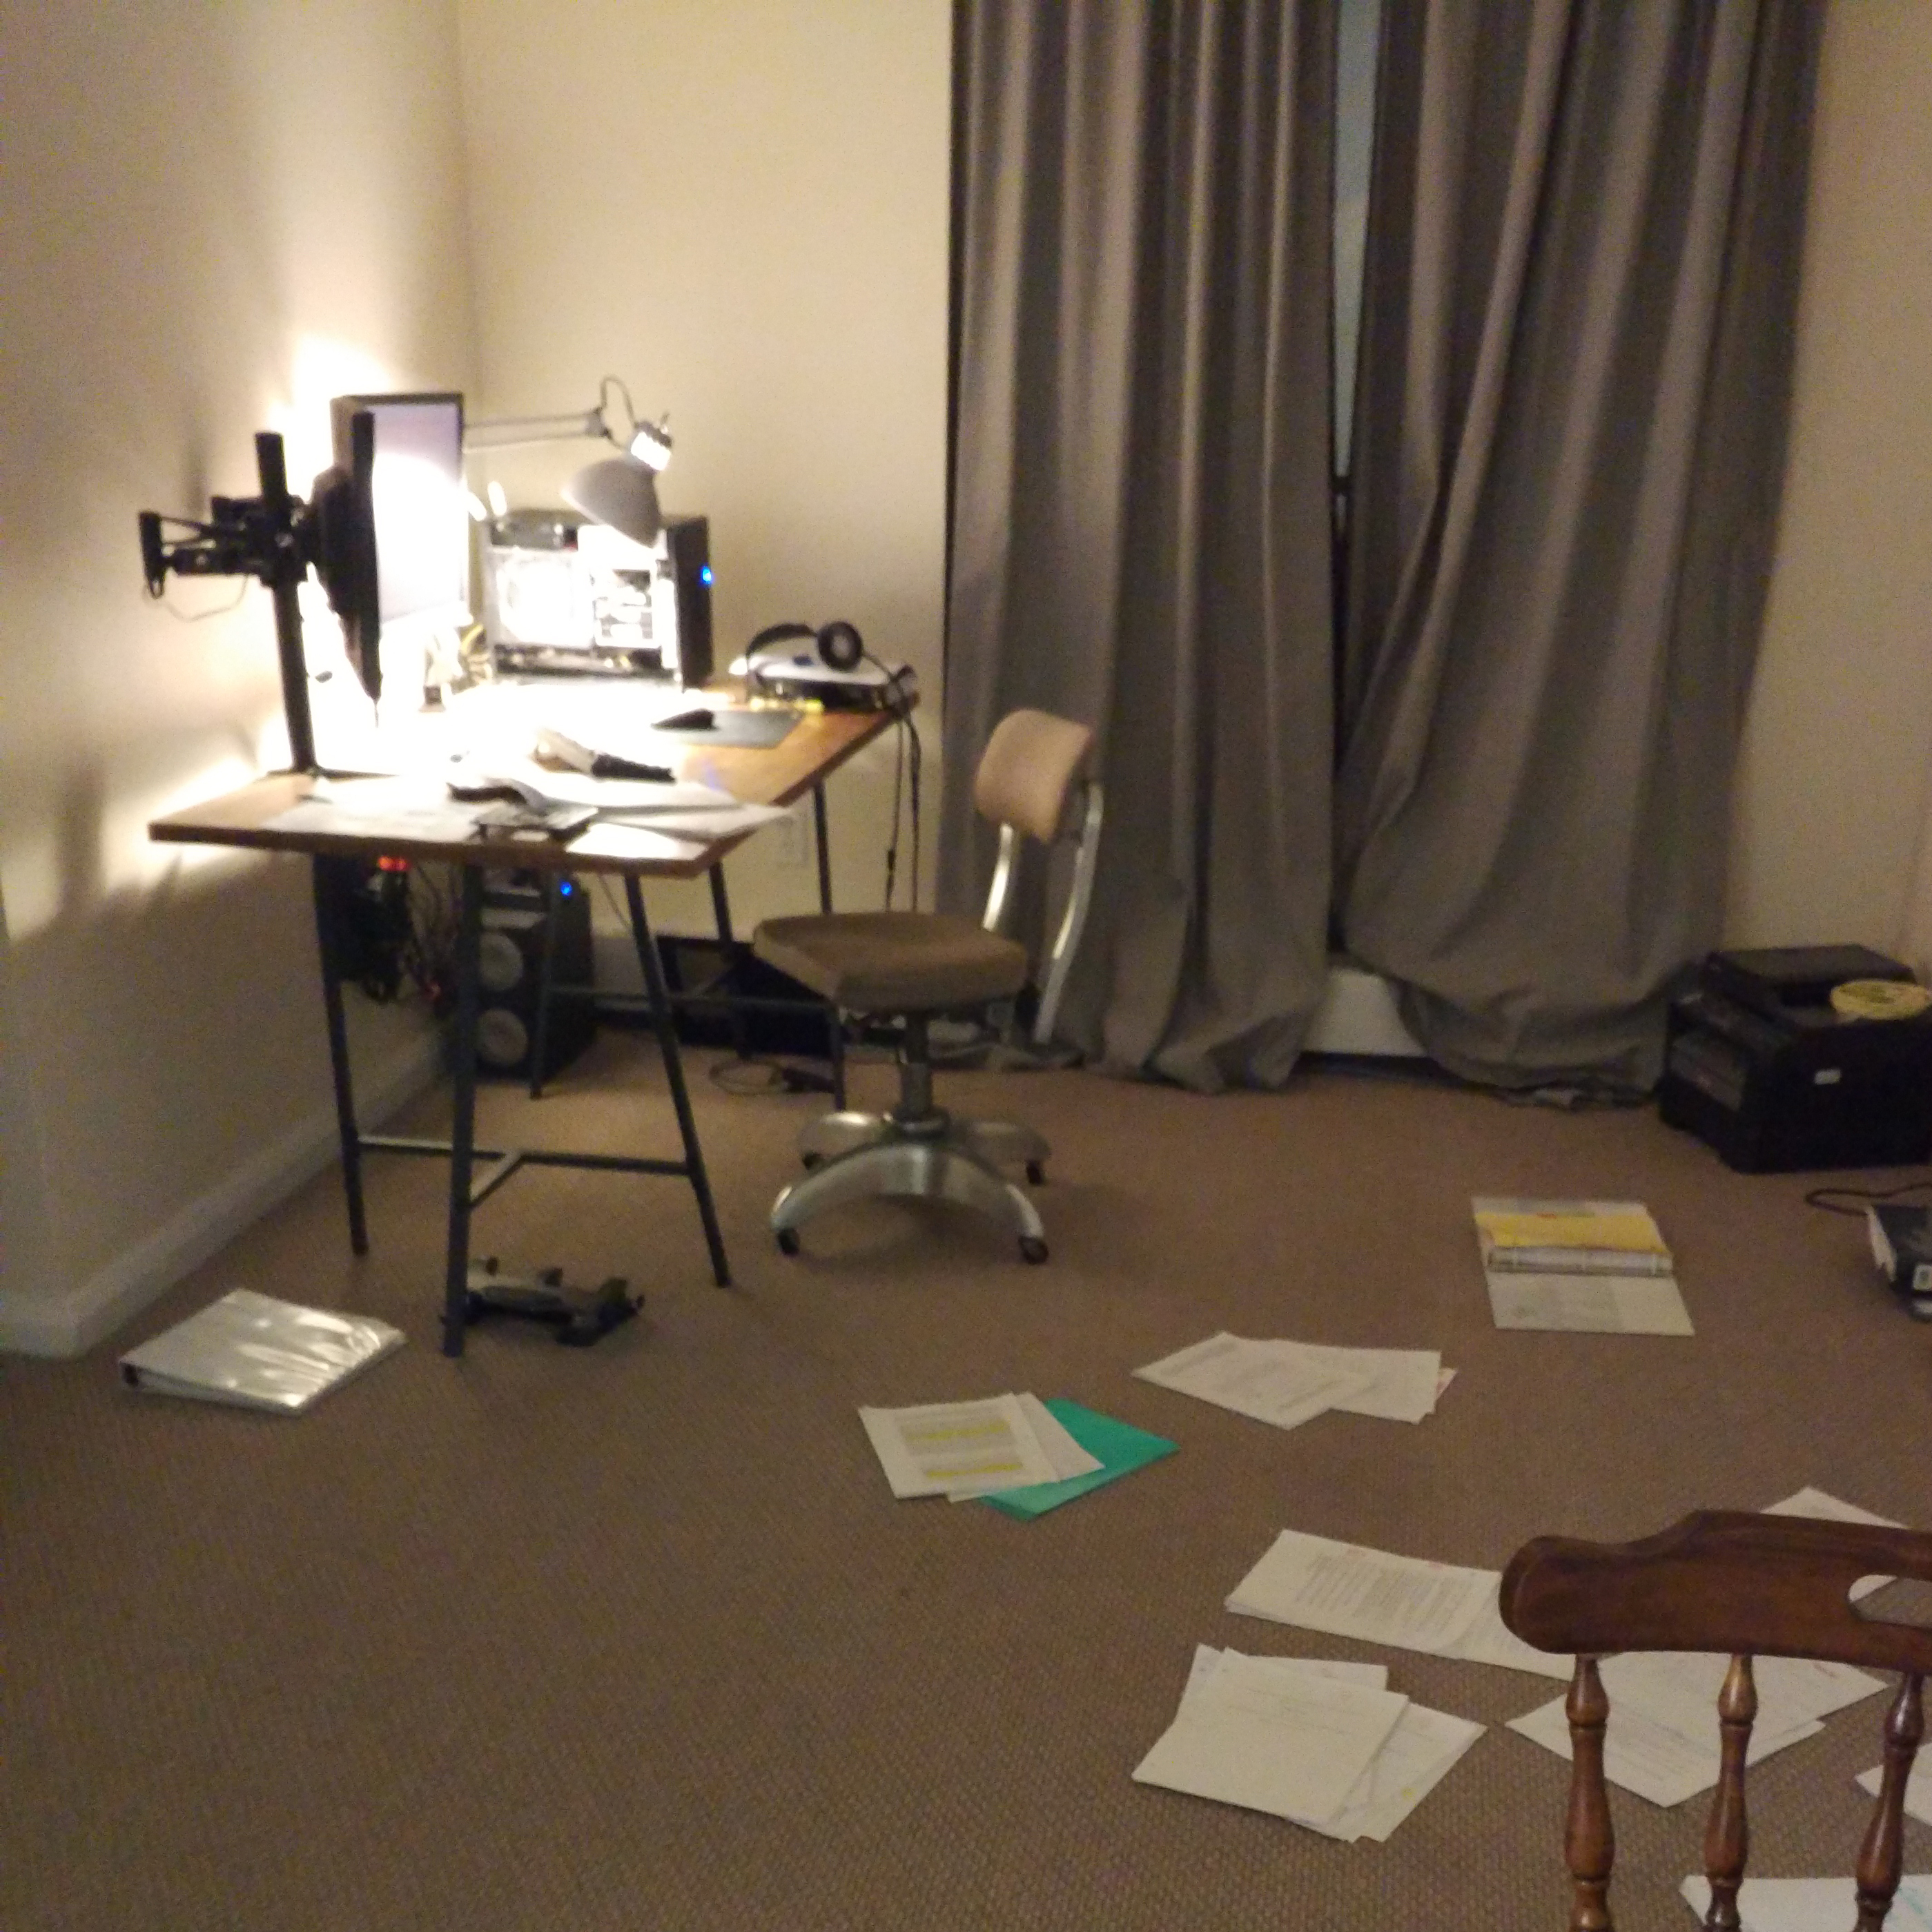
2017: Unchanged, but different appartment.
2021: Drawers added for leatherworking supplies.

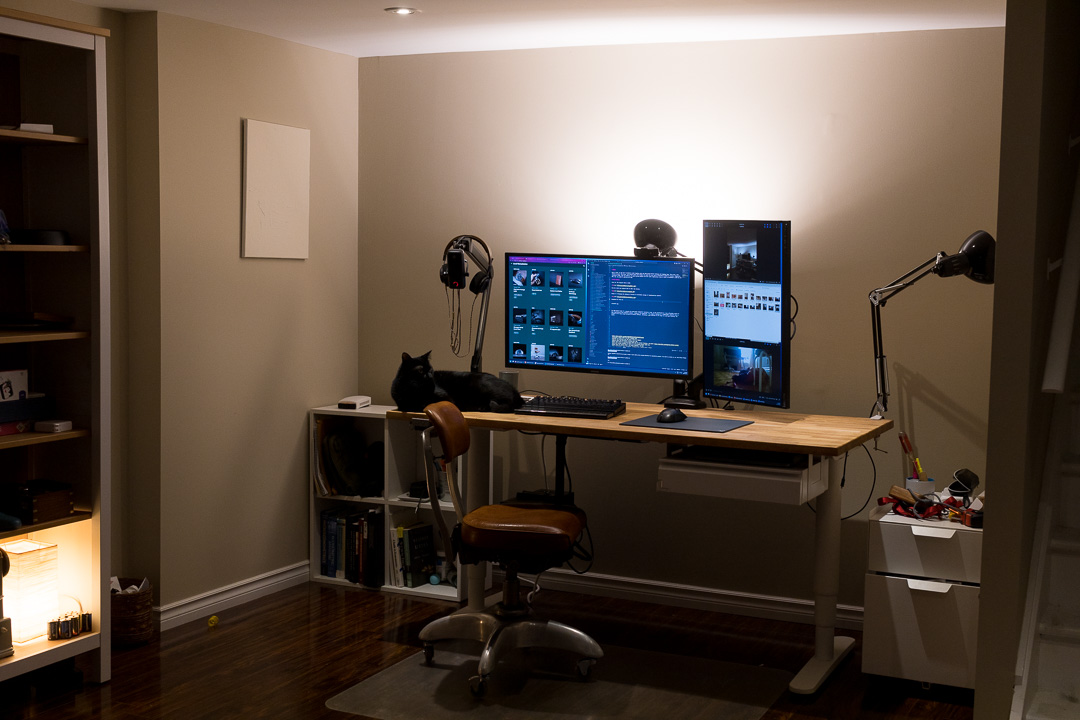
2024: Just before the current update.
The IKEA Bekant problem
The IKEA Bekant frame is a powered sit-stand desk introduced in 2014, gaining popularity for its affordability compared to higher-end models. However, many users reported stability issues. A contributing factor was the play introduced by the friction-fit plastic hardware used to secure the standard Bekant table top. This mounting system, designed for lightweight composite materials, lacks the strength and rigidity needed to support the added weight and stress of a heavier wood table top.
Assembly
Preparation
Assembly instructions for the Bekant frame can be found here.
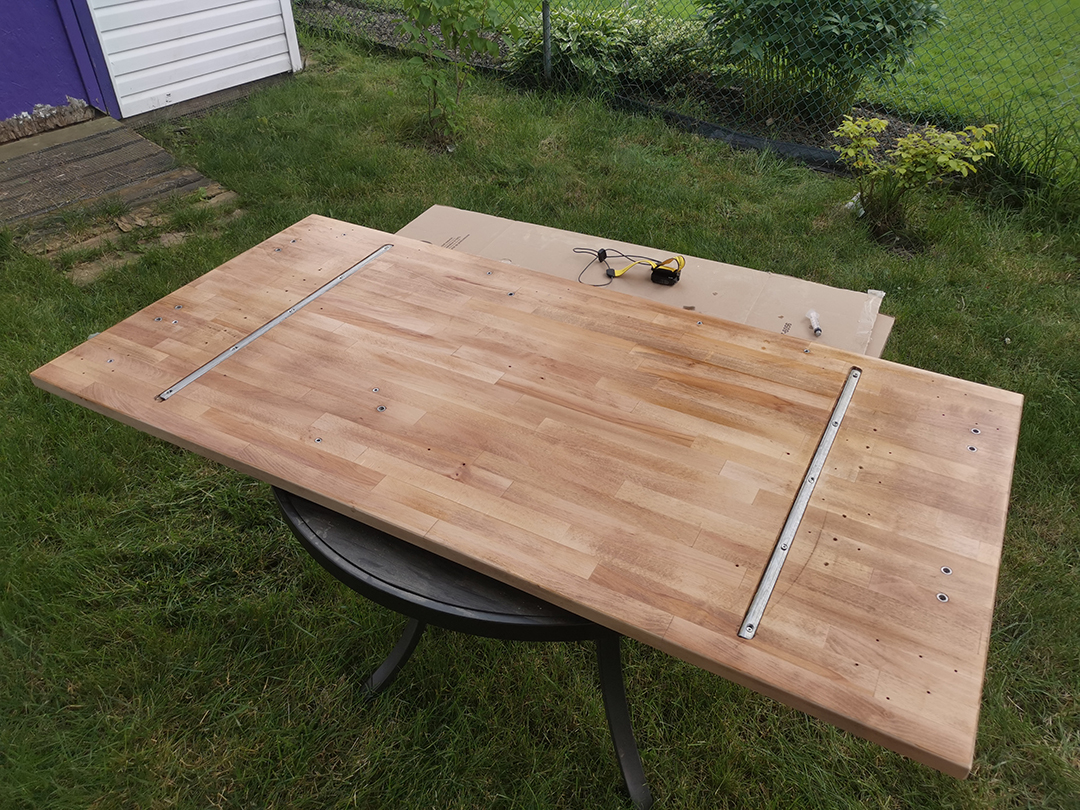
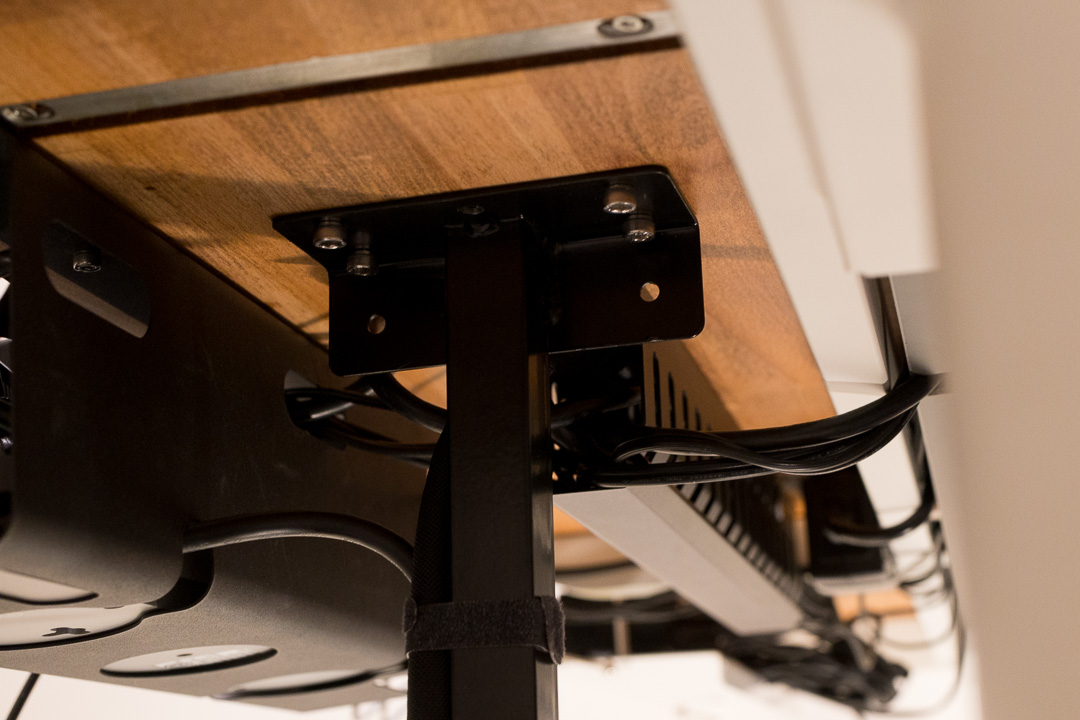
To account for the lateral load from the monitors and accessories, I mounted the frame as far off-center as possible while ensuring the legs stayed within the footprint of the table top.
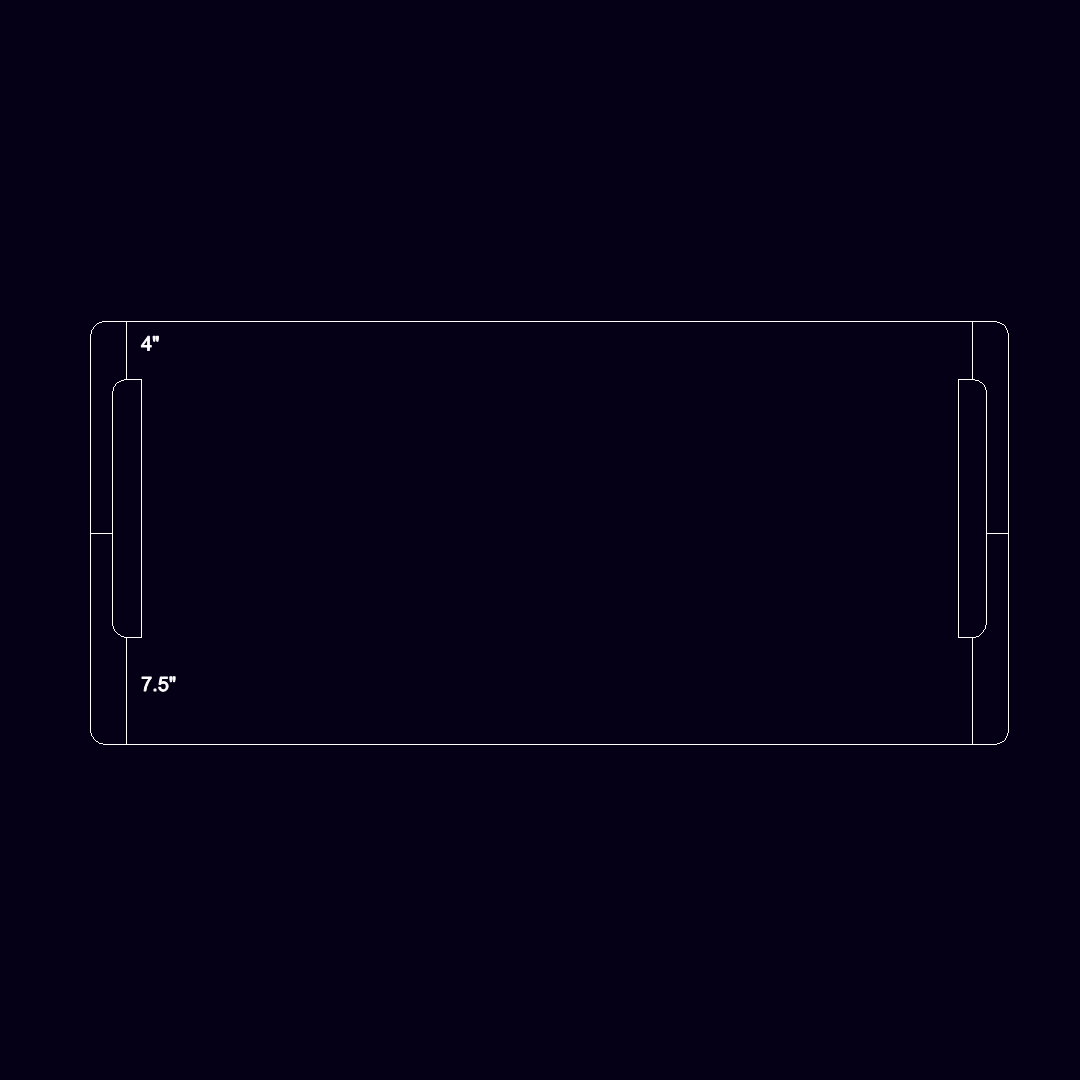
Masking tape, a long rule and a carpenter square are super useful for planning the hole layout for mounting the frame and accessories.
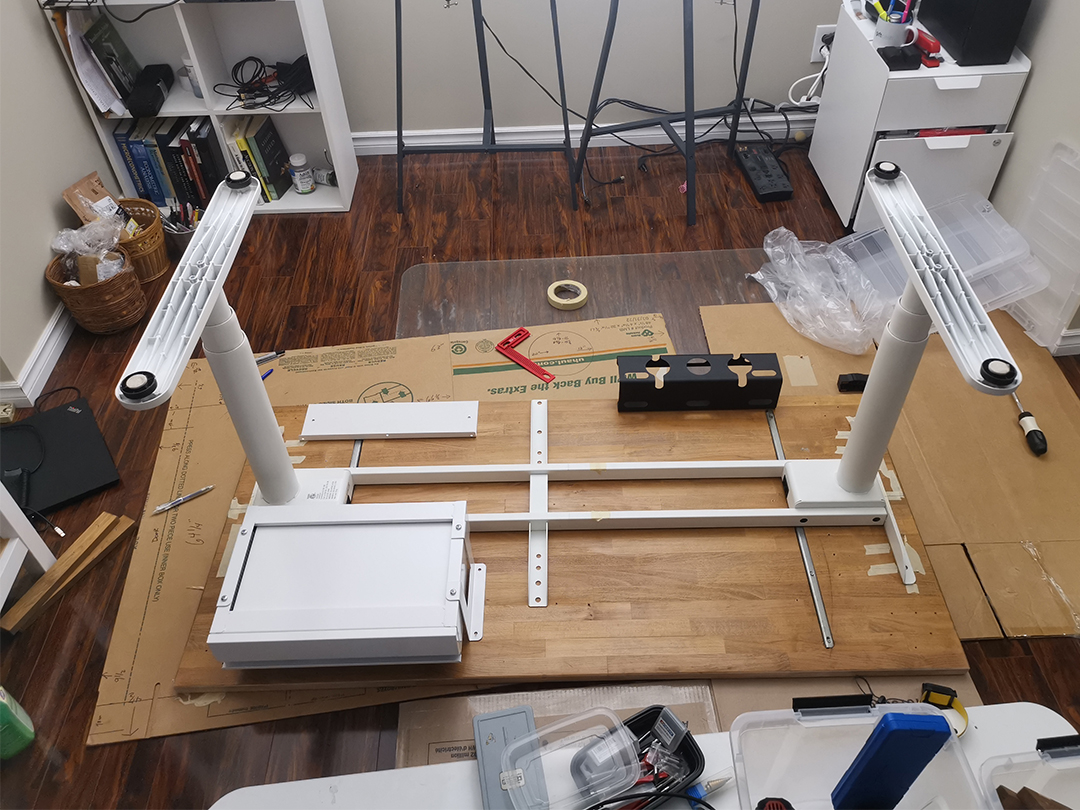
Due to the large pre-drilled holes in the frame, I chose to use flange-head M8 screws along with stainless steel threaded inserts to mount the table top. I used M6 screws for the smaller accessories.
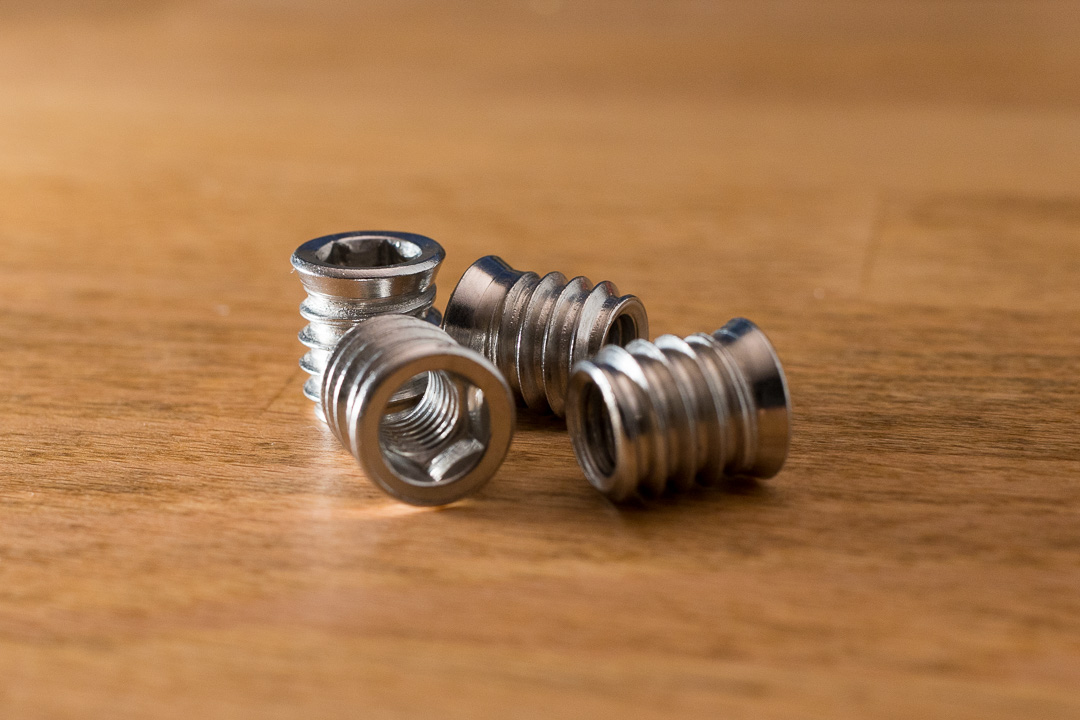
Driving the larger threaded inserts into the table top proved challenging. The coarse, single-thread design made it difficult to align the insert square with the surface, and the wood’s density required substantial downward pressure and rotational force to thread the inserts without stripping the hole.
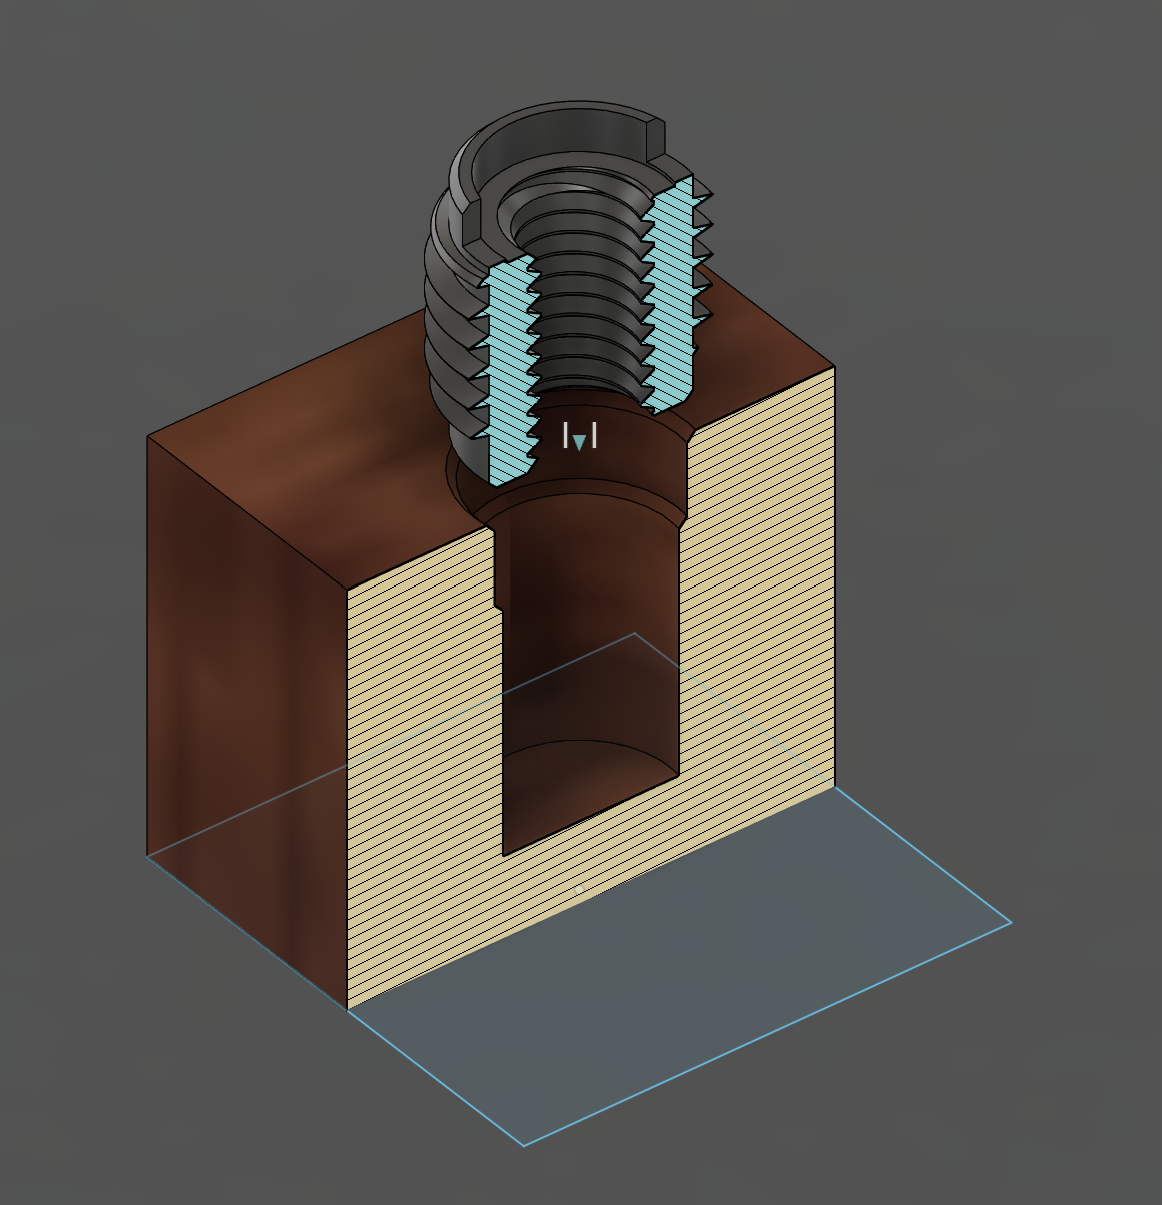
With some experimentation, I was able to find a reliable process
- Drill initial hole to the nominal diameter of the threaded insert
- Use a reaming bit to expand the top third of the hole by 1mm to form a taper
- Countersink the hole to form another taper
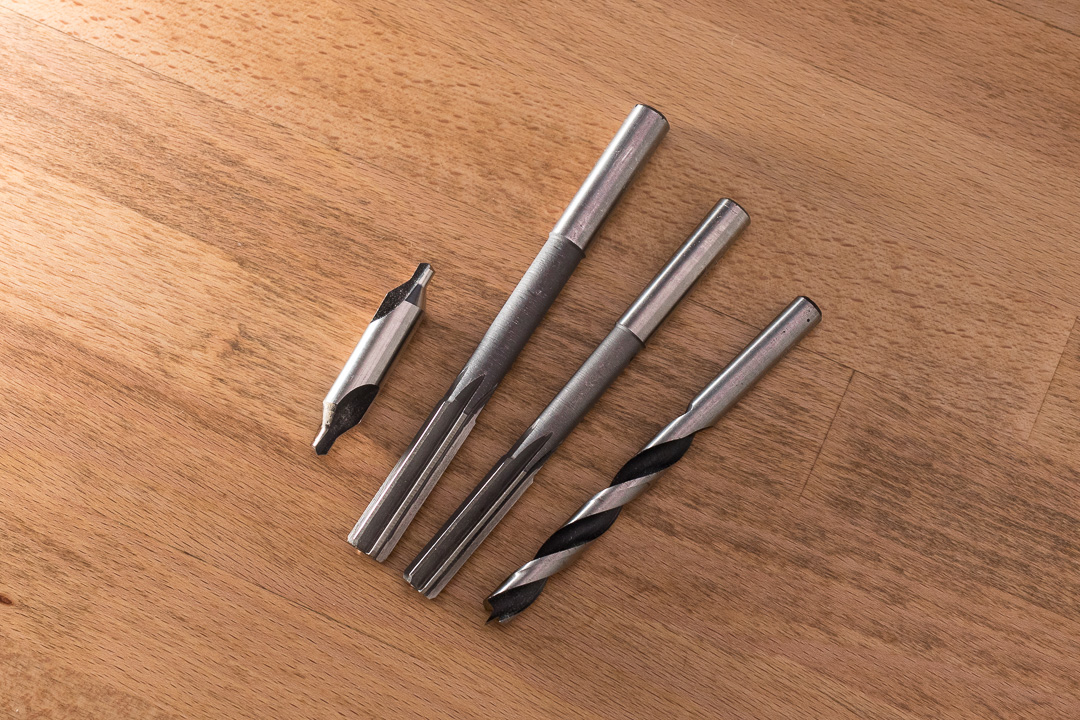
I used a drill guide to help keep the the initial hole perpendicular. Then, the two tapers make it easier to insert and establish the first few threads into the hole. This helps ensure that the insert is properly aligned before fully engaging with the wood. To secure the inserts, I applied epoxy.

Applying sufficient downward pressure while driving the insert is super important to prevent stripping the wood. A ratchet, T-handle driver or drill driver are better options for this than a screw driver.
Finishing
The table top was originally finished in polyurethane and while the finish was still in great condition, the wood surface had a number of uneven spots between wood joints. So, I took this opportunity to flatten out the factory surface as well.
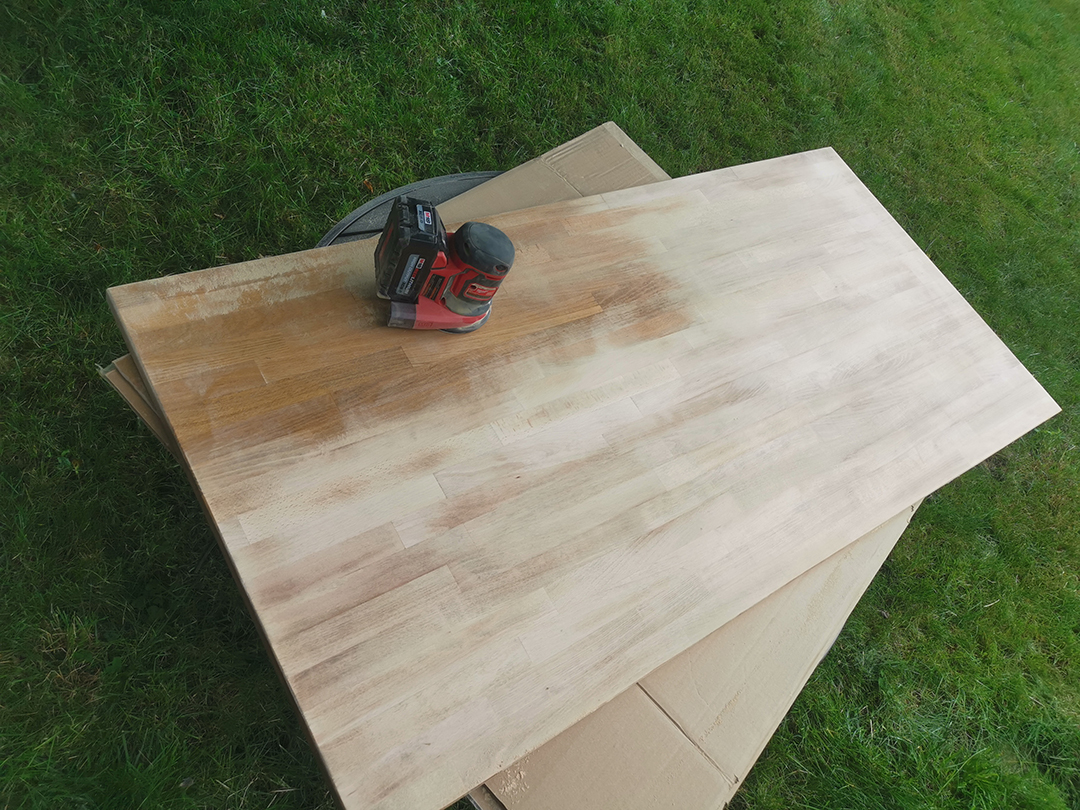
I used an orbital sander to smooth the surface to 800 grit, starting from 50 grit and progressing upwards.
This time, without a suitable dust-free environment, I used wipe-on hard wax oil instead of polyurethane. Hard wax oils are supposed to be easy and completely idiot proof (and it was). I used Natura Onecoat which is reported to be comparable to Rubio Monocoat, but half the price.
Application is super straightforward:
- Apply with a putty knife
- Wait a few minutes
- Wipe off excess
- Repeat after a few hours
- Buff the surface
Installation
For this update, I had a few specific requirements.
Drawer Solution
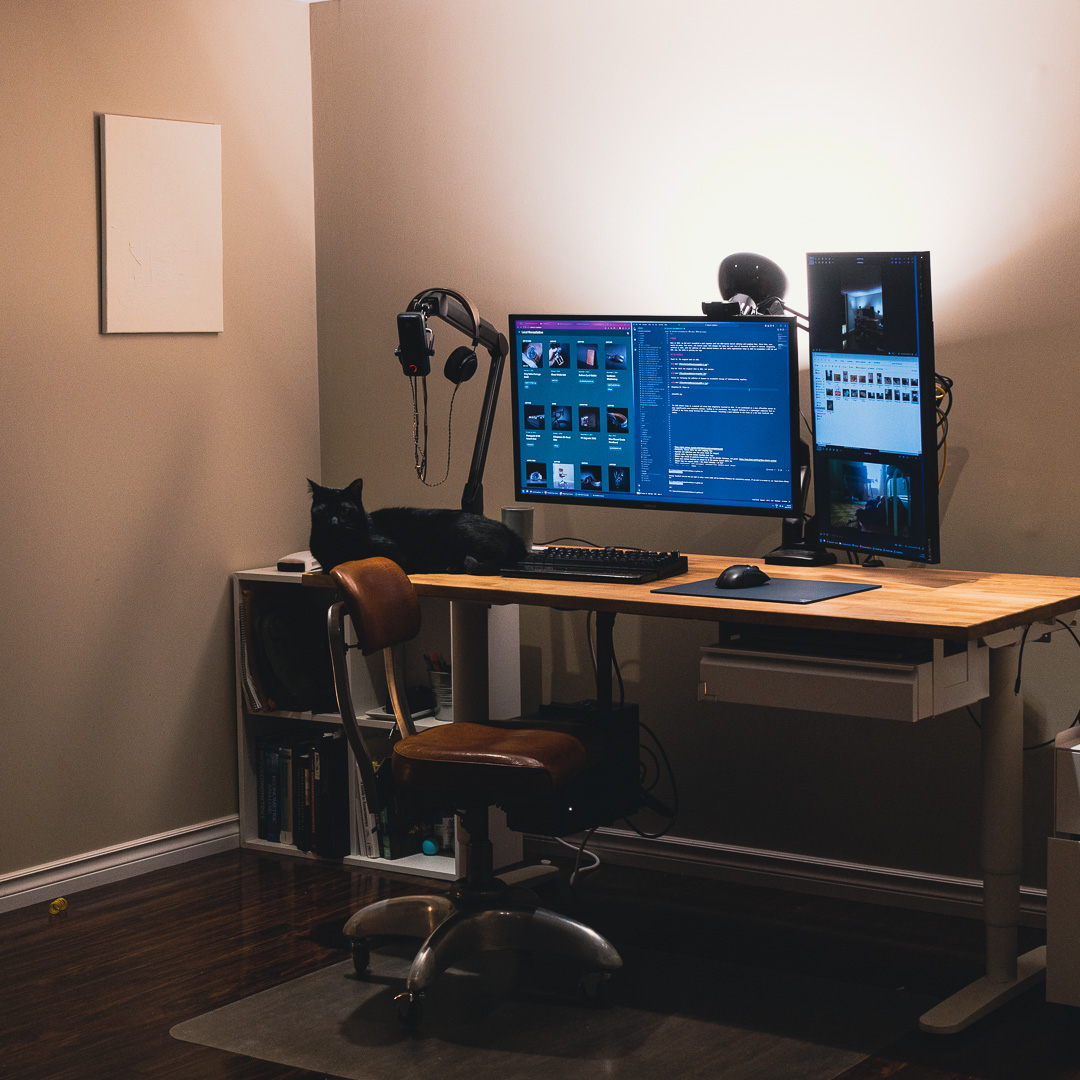
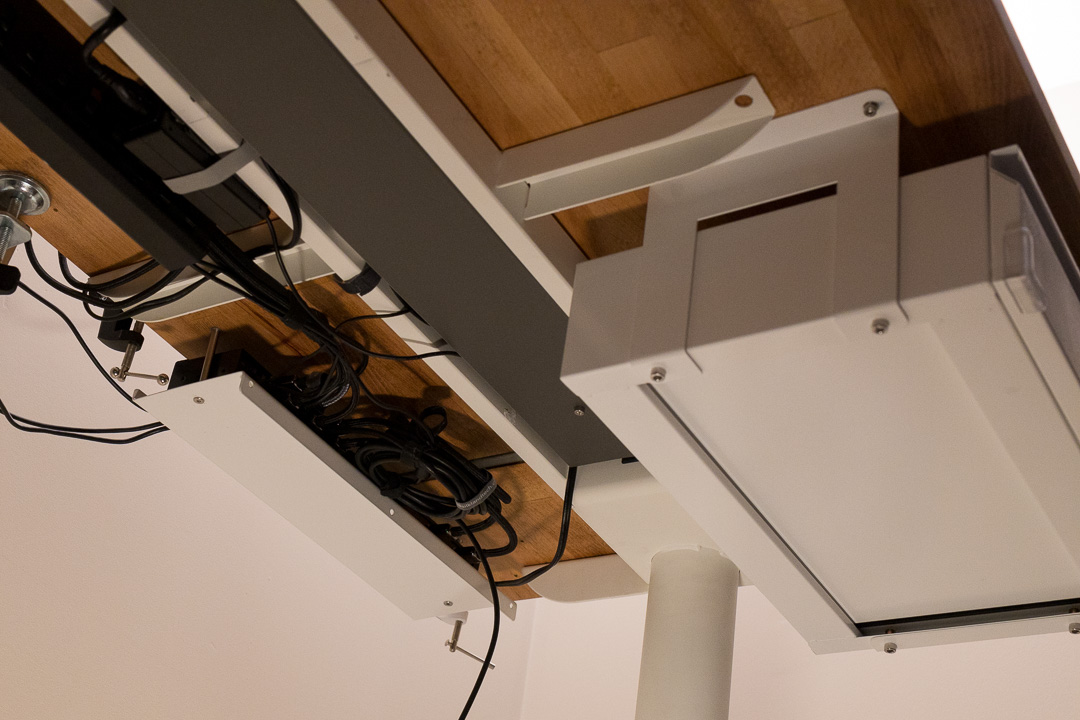
Due to the crossbar, my previous drawer can’t be reinstalled. Drawers with tall brackets are available to accommodate standing desk crossbars, and I used this space to store laptops.
USB Hub and KVM Switch Mount
Since my laptop only has USB-C ports, I used a USB hub to connect to the KVM switch, which allows switching between desktop and laptop inputs. This created a mess of cables that I concealed under the desk.
Desktop Mount
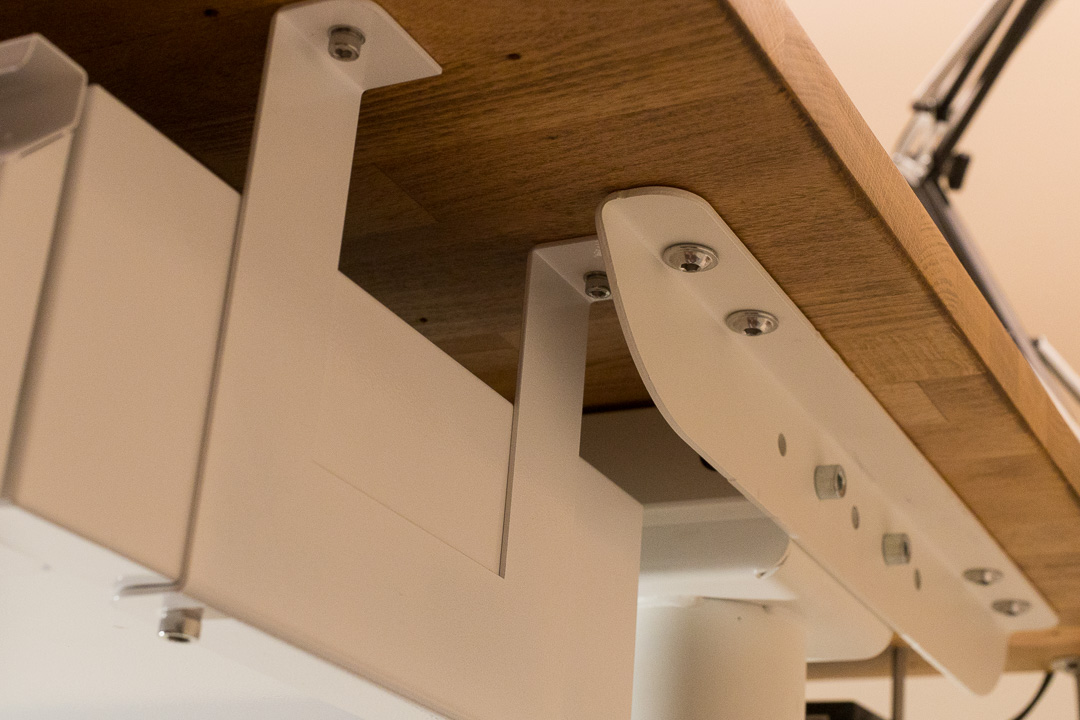
I mounted my desktop under the table using a bracket from AliExpress that accommodates small form factor cases.
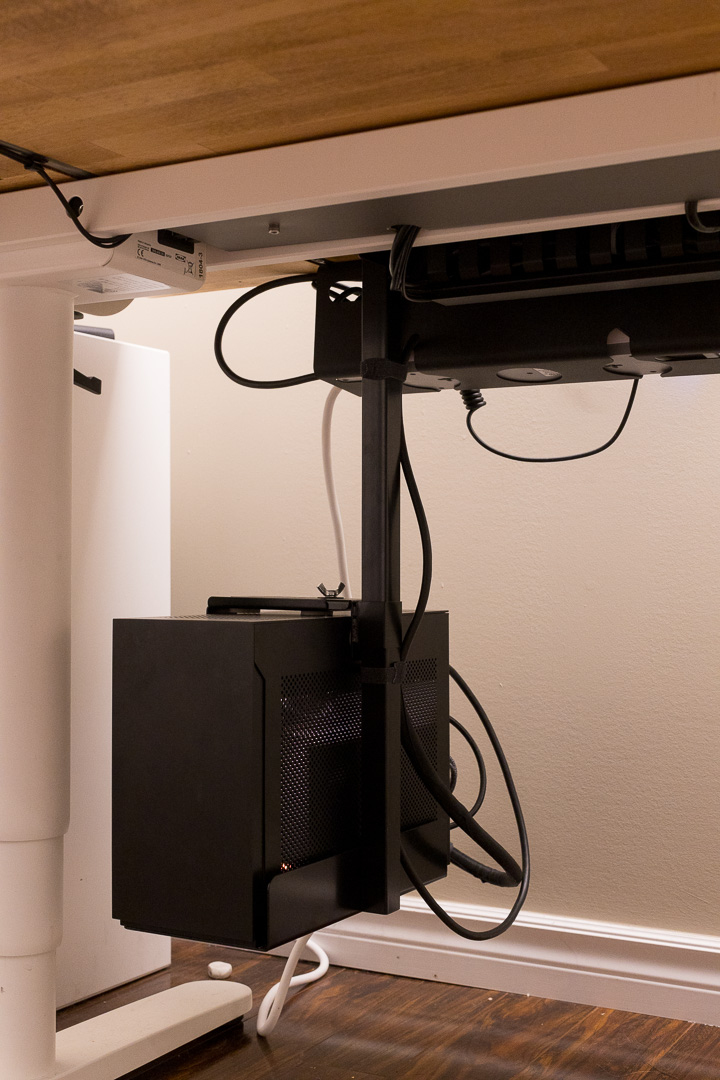
Being a standing desk, its generally a good idea for there to be only one and only one cable running from the desk. This can get a bit challenging especially when there are a large number of peripherals in play. To solve this, I also mounted a power bar and server rack cable management duct to the bottom of the table.
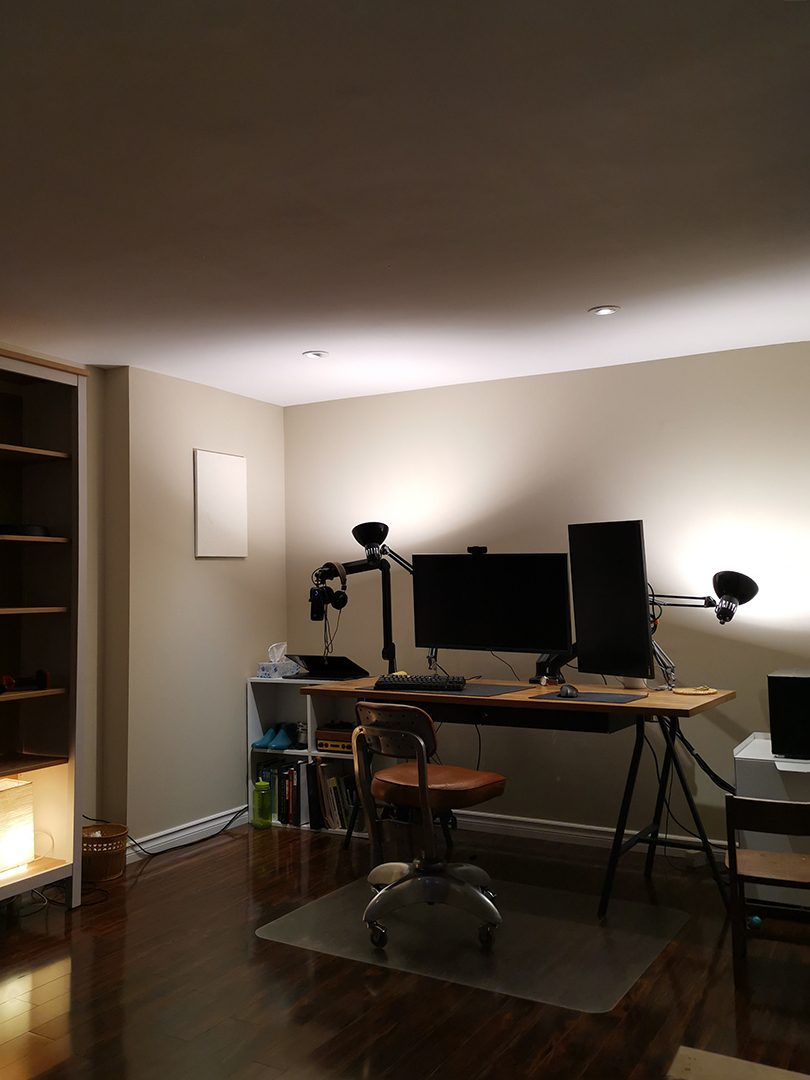
Finished