9 min to read
Boxing Gloves
Patterning work and material sourcing.
Inspiration
Winning Japan
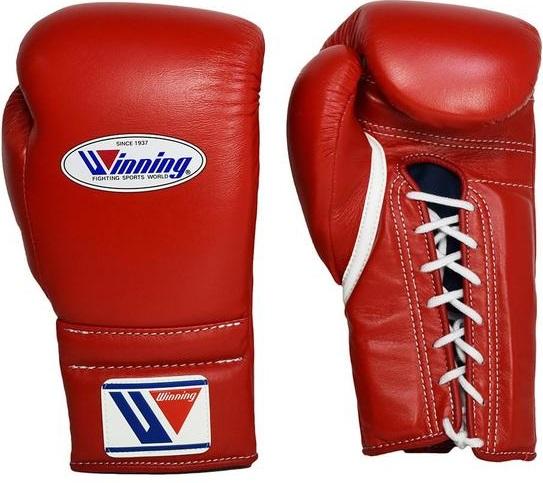
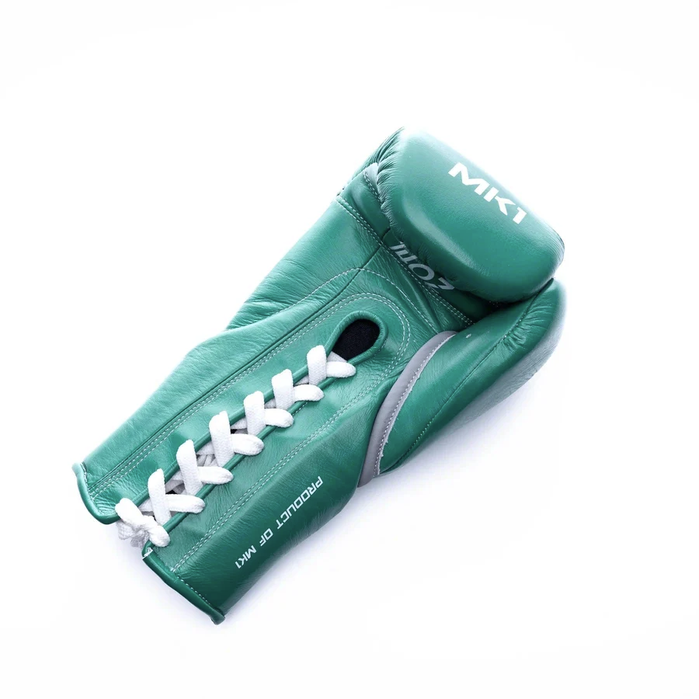
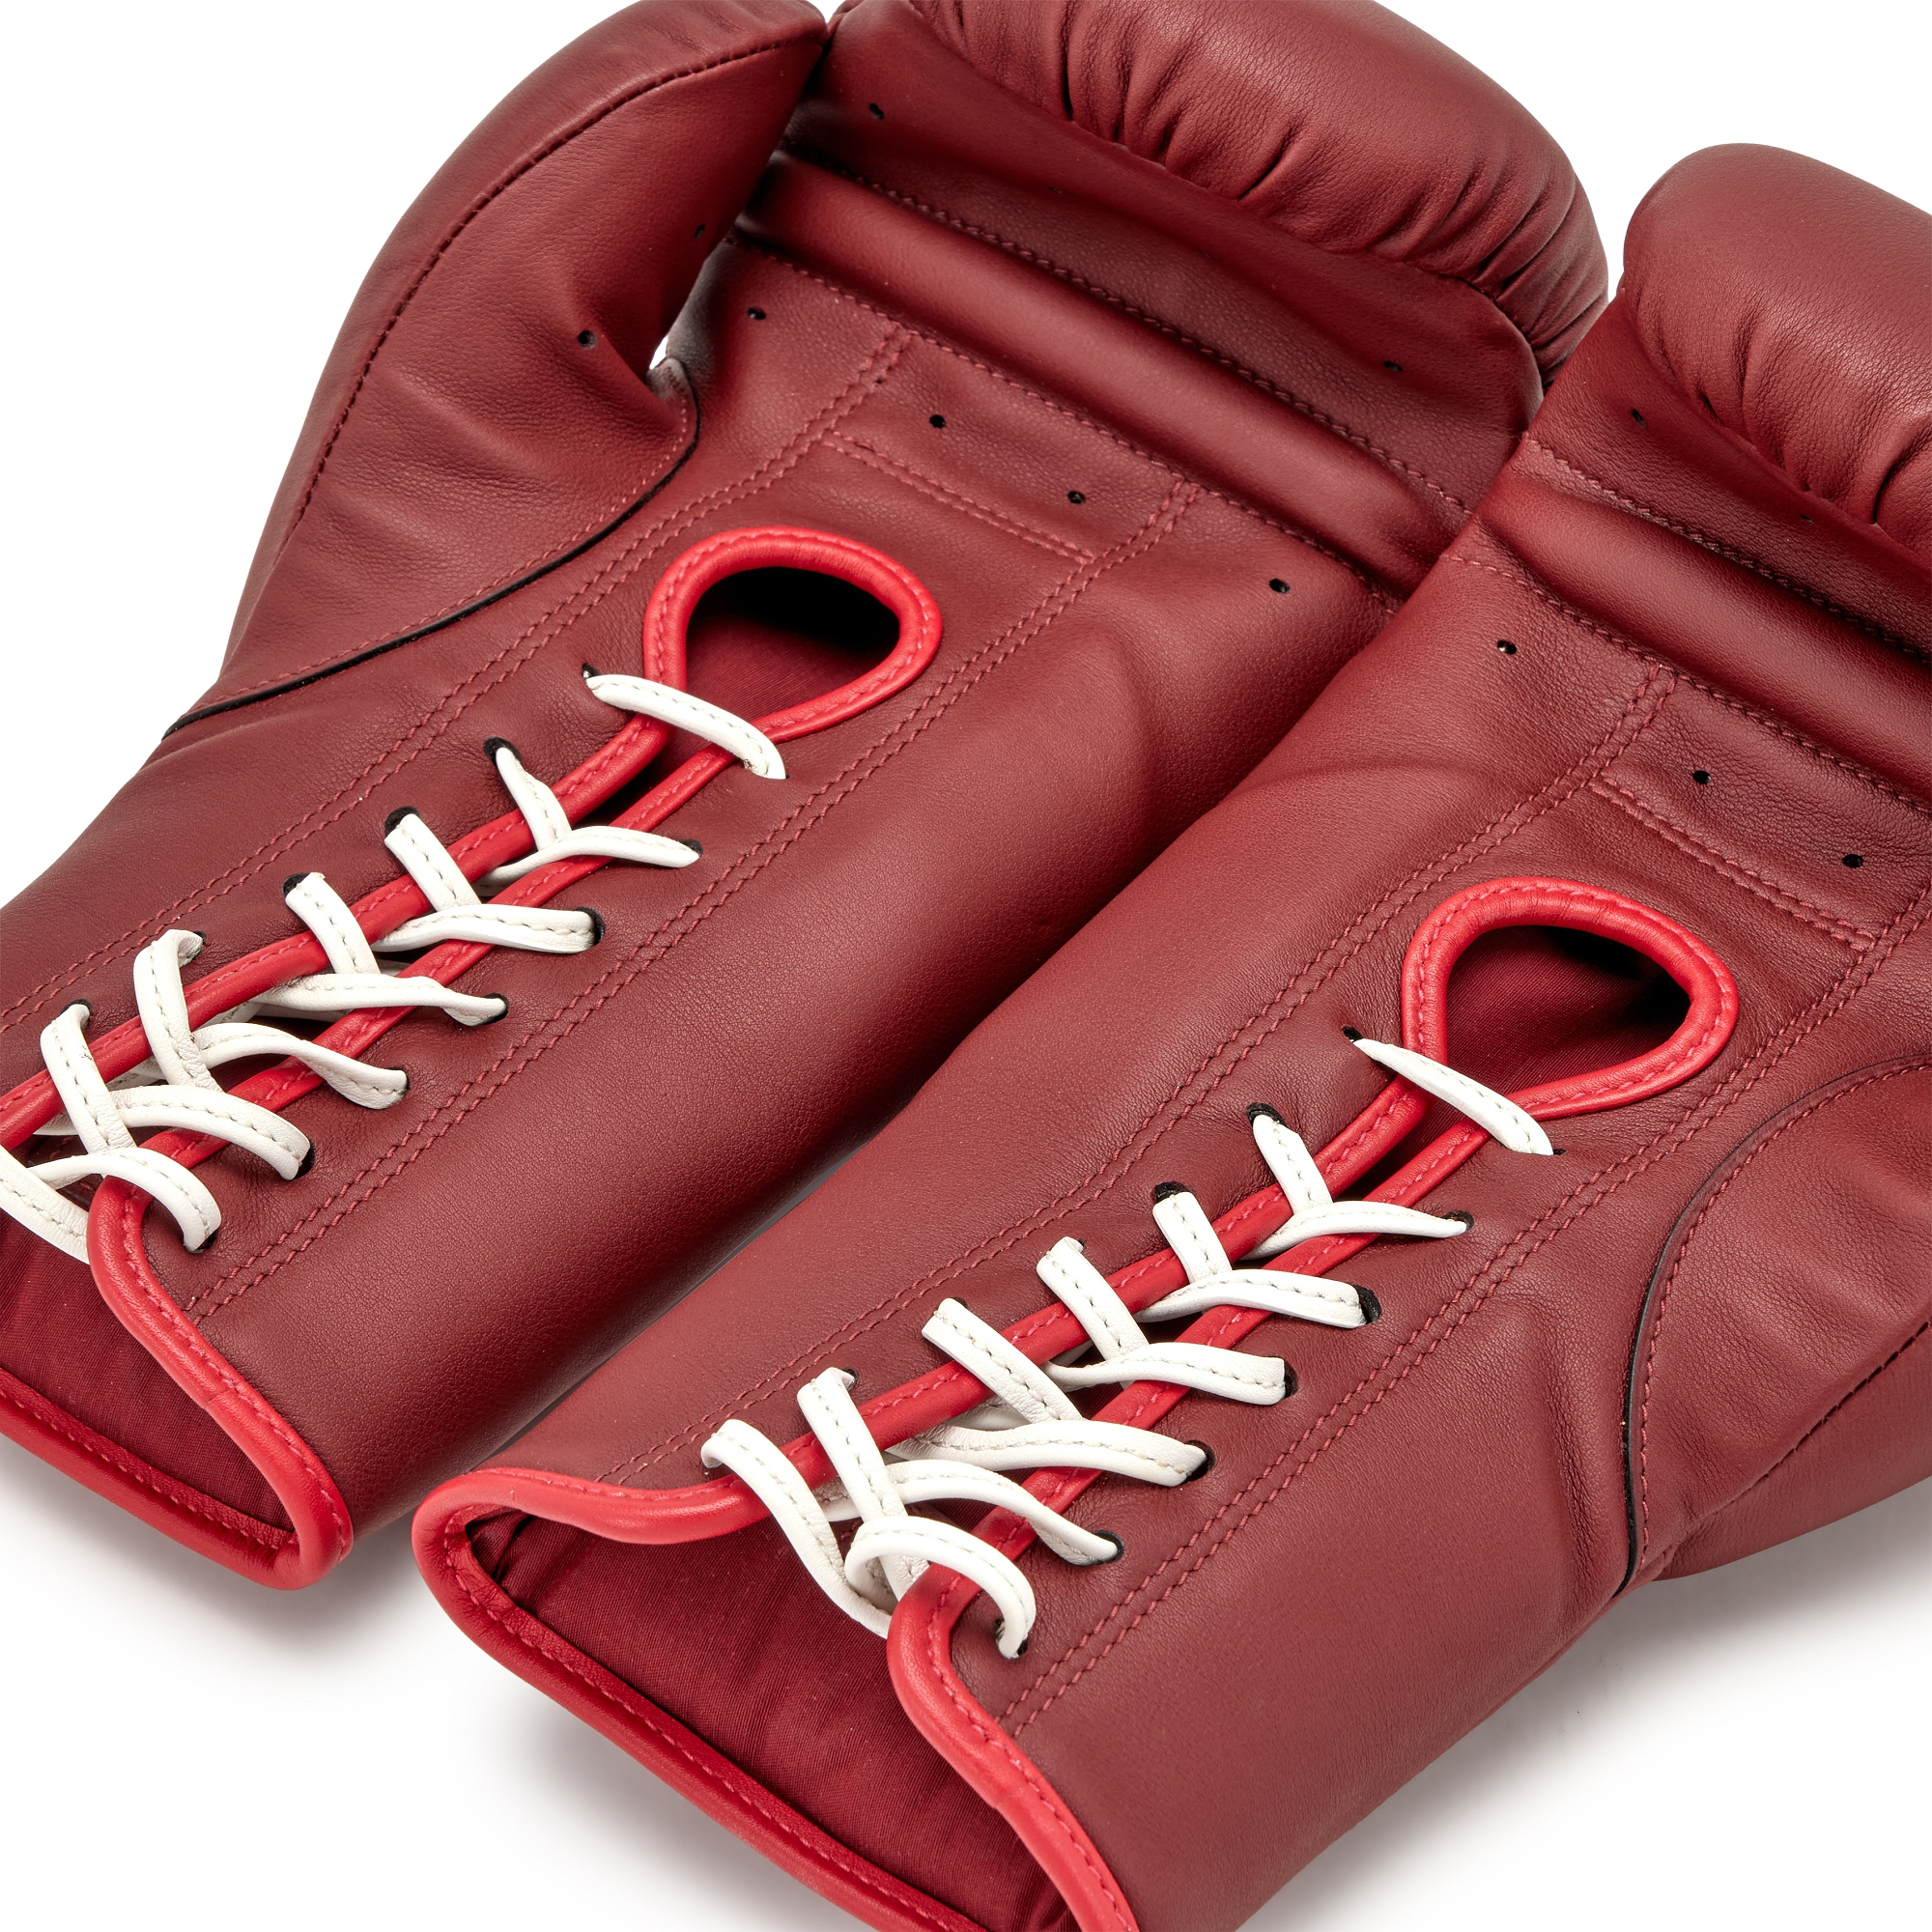
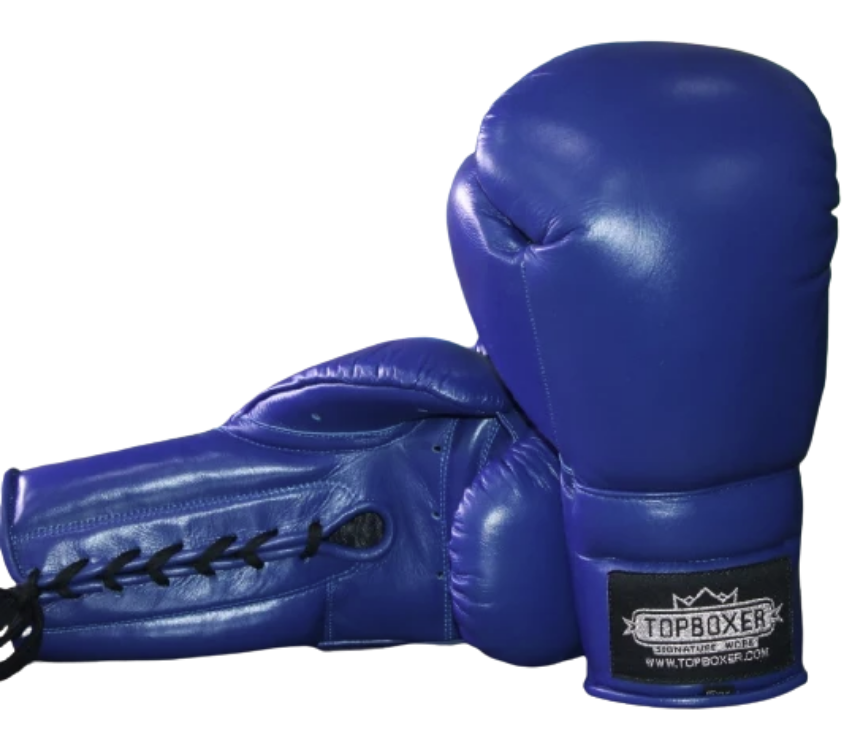
Construction Hints
From: 1v1 Fight Gear
- Overview of boxing glove constrction https://www.youtube.com/watch?v=QmhT9eMXNxs&list=PLVOVqkUhjK_I
- Connecting the two halves: https://www.youtube.com/watch?v=EHLR1DtUb9I
- Palm-side inner liner: https://www.youtube.com/watch?v=OL2AjsB1slg
- Directional, but outdated padding overview: https://www.youtube.com/watch?v=81612T3JvSQ&t=10s
Palm side
- Outer appears to be 2-3 oz leather
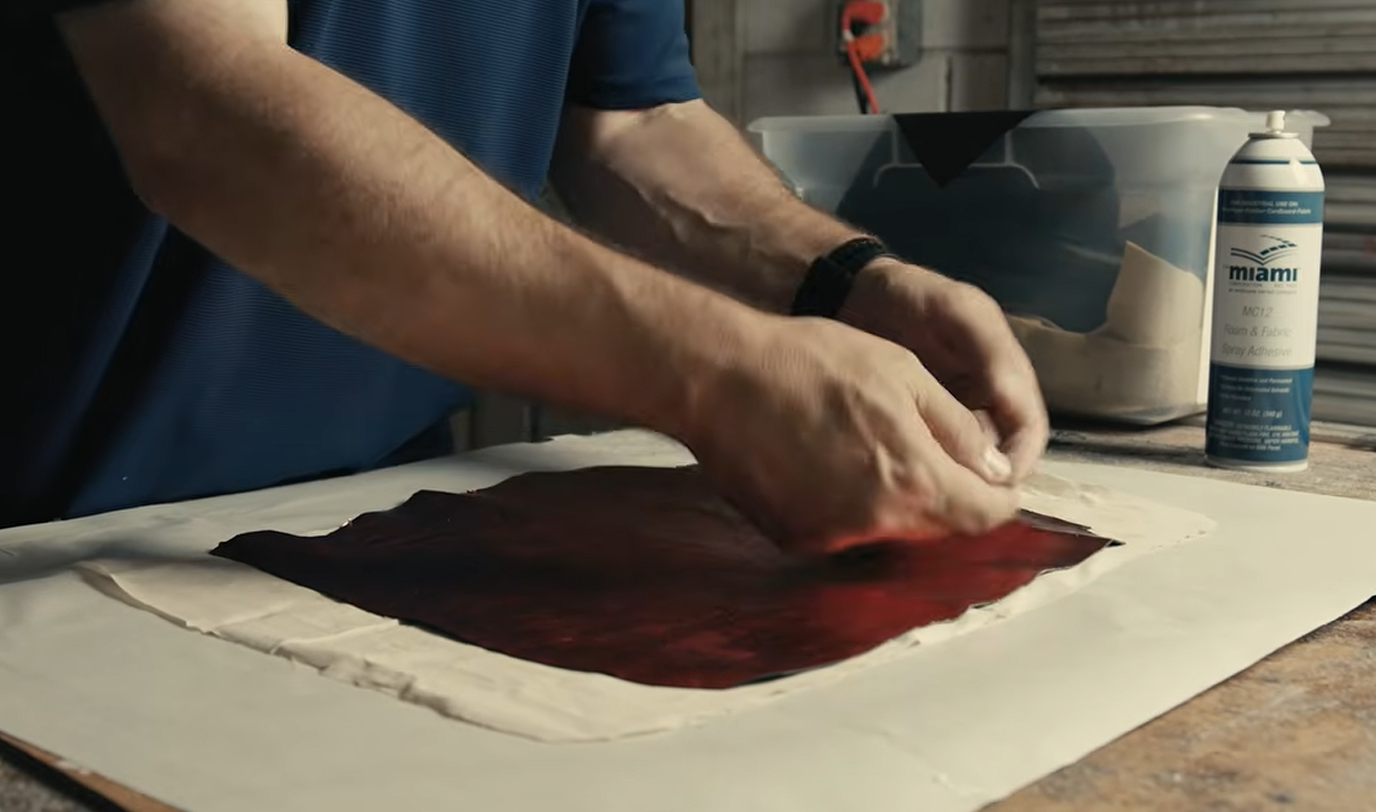
- Reinforced two layers of interfacing. My guess is that one layer is for stretch and general reinforcement, and the other is for water resistance.
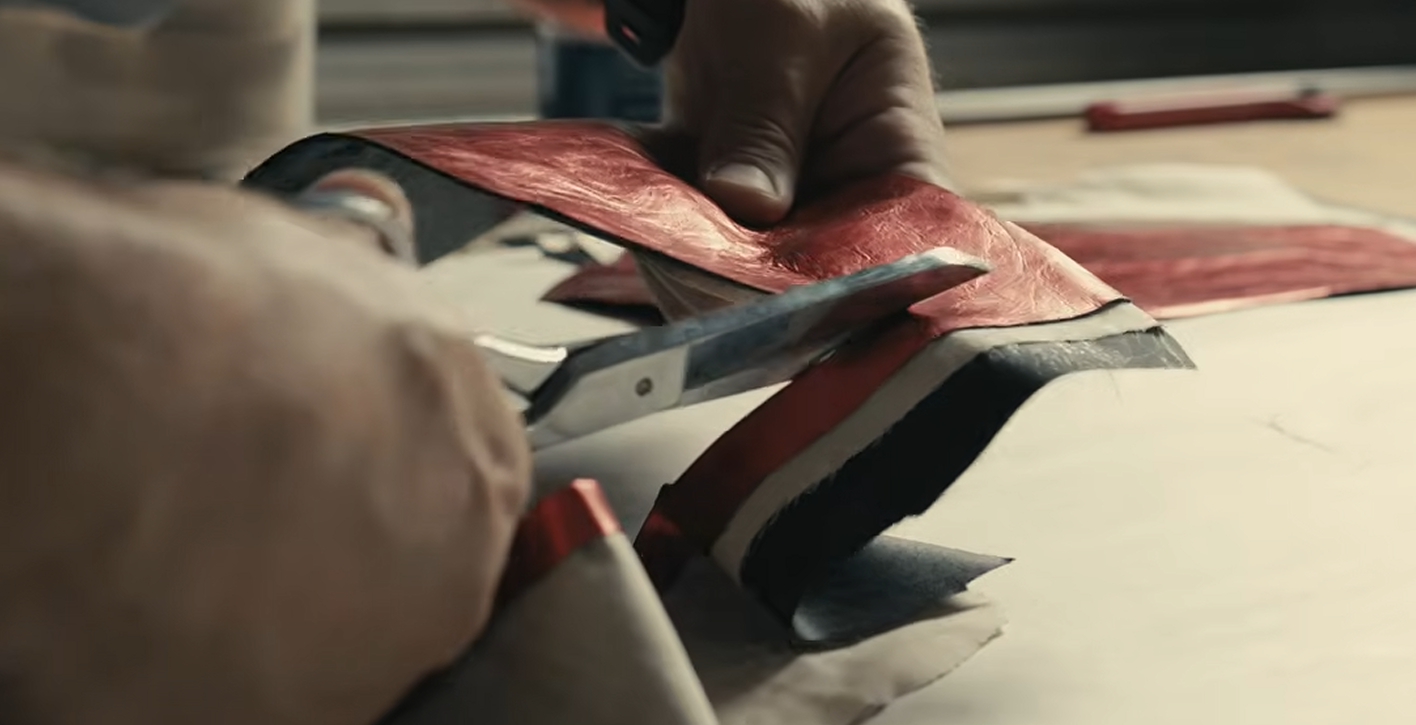
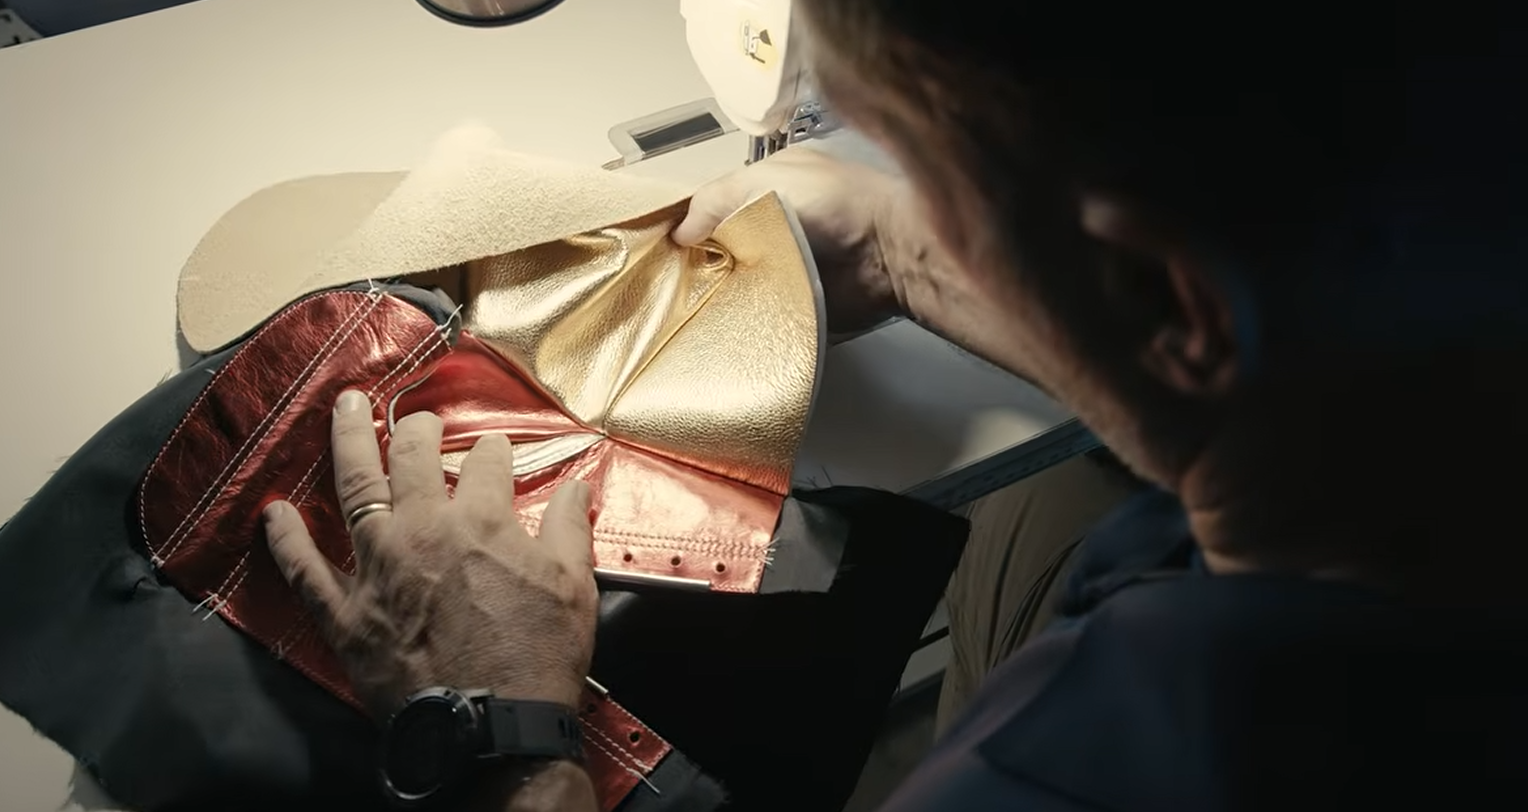
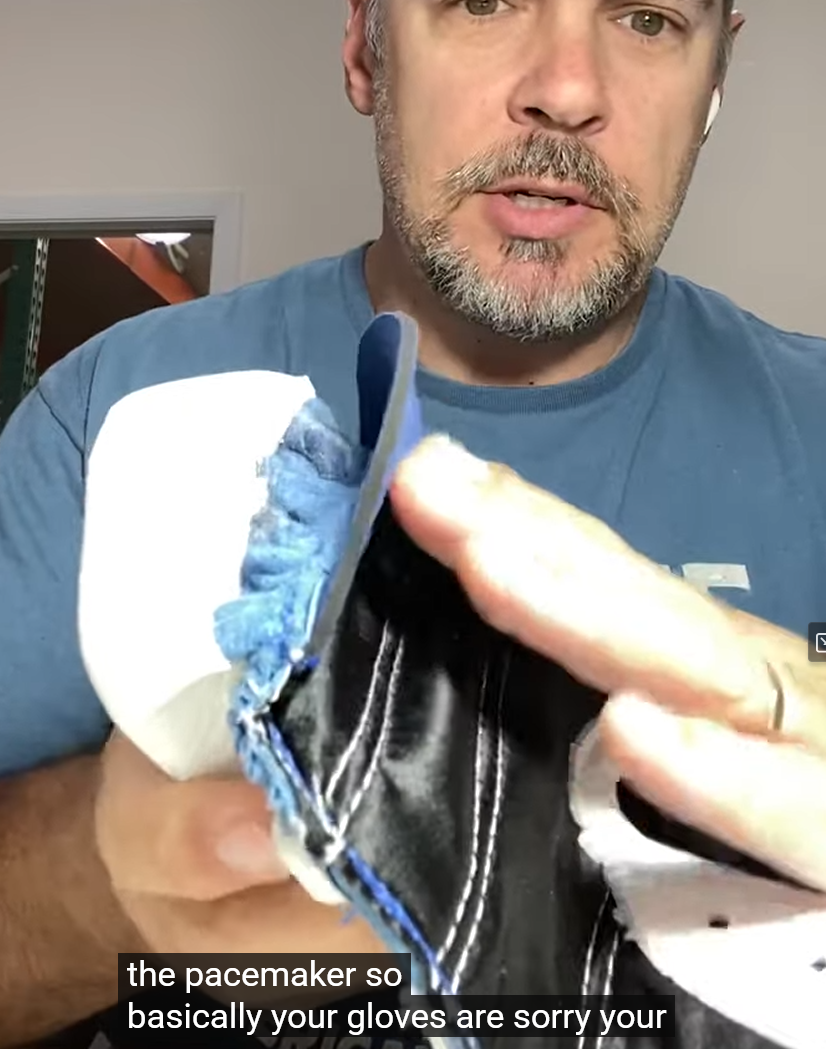
- Liner is sewn to the outer, leaving the grip bar area and the bottom, towards the wrist unsewn.
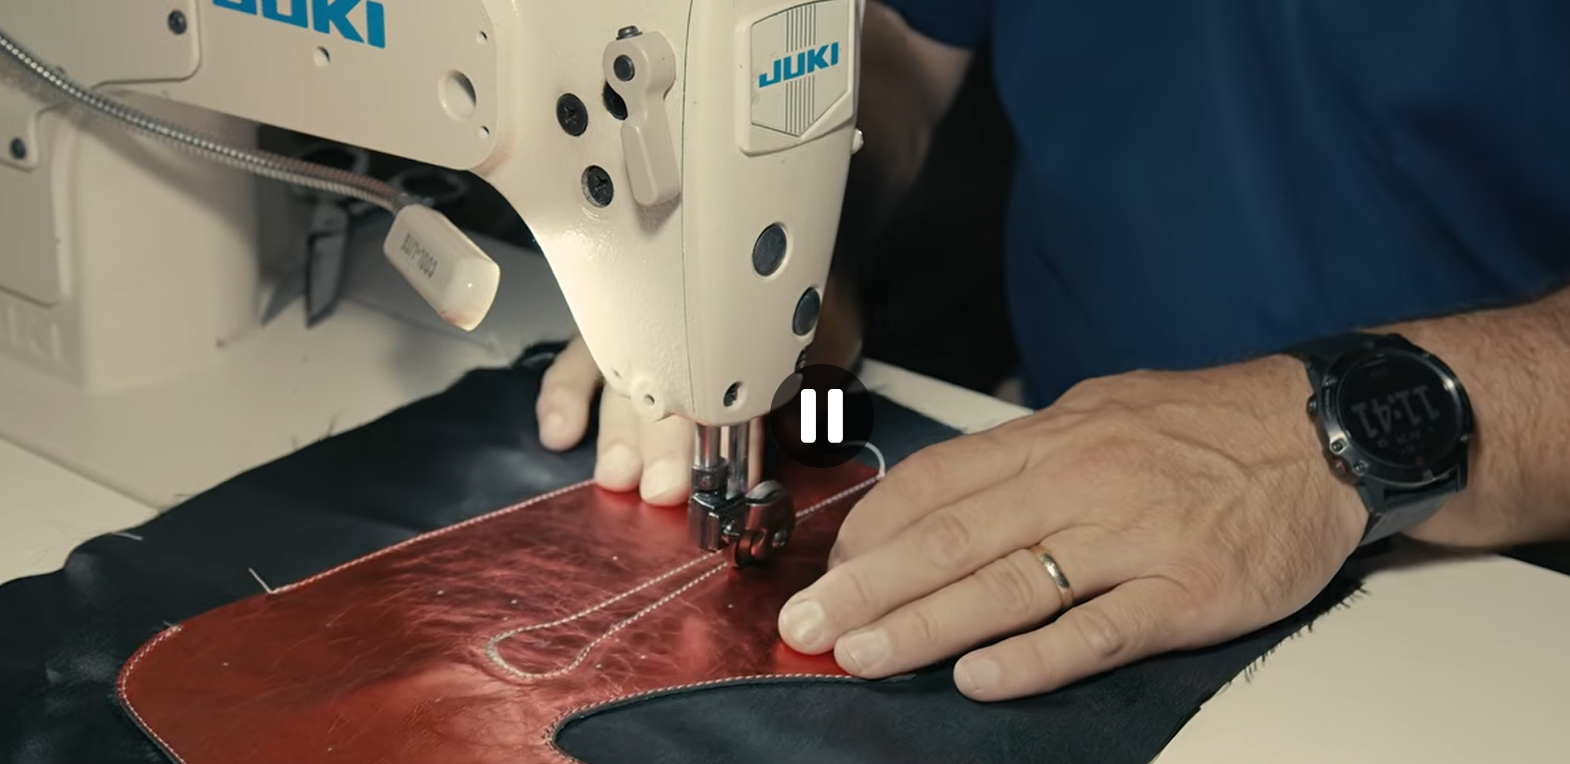
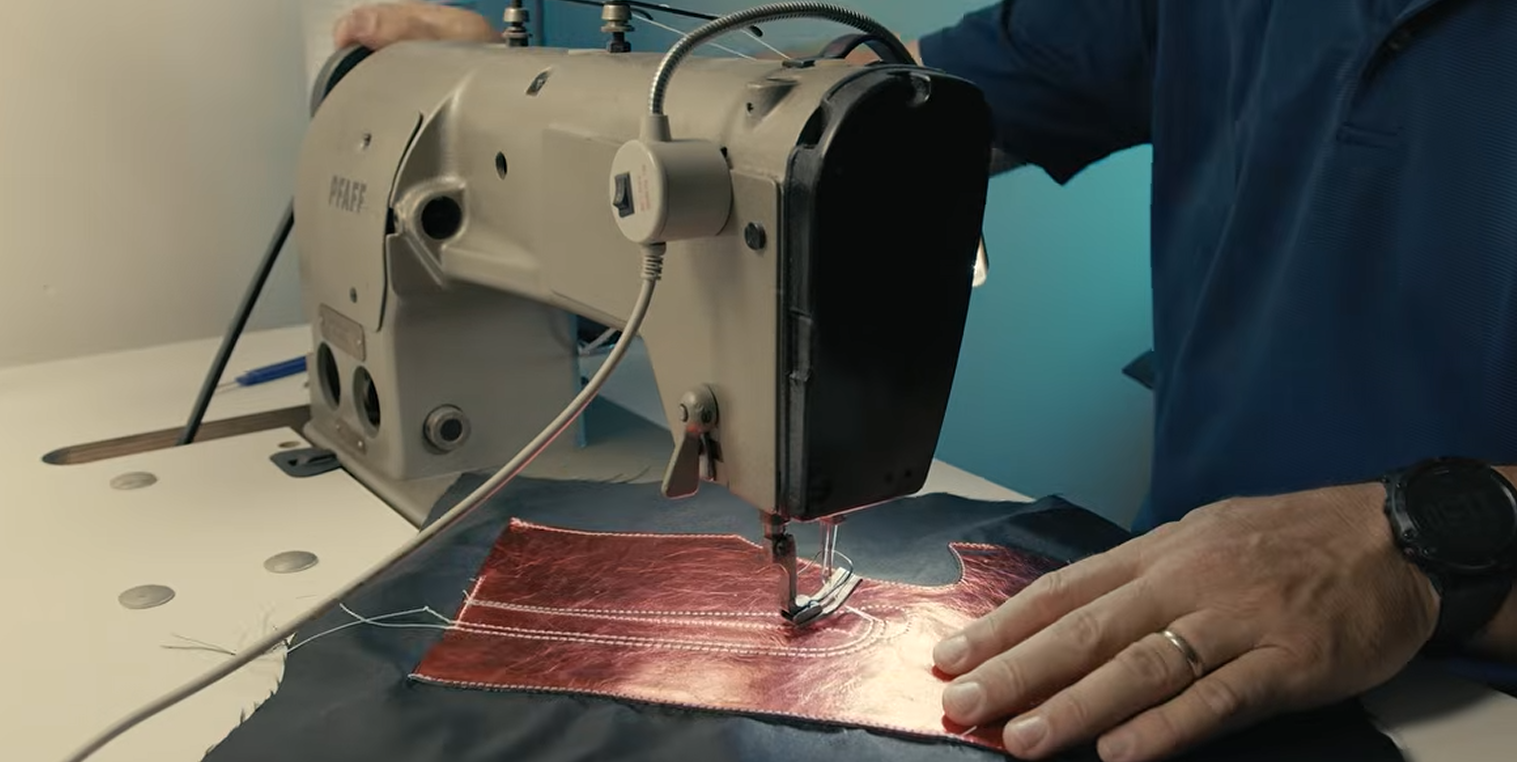
- Lace holes are reinforced with outer shell leather and the lace area is cut out after sewing.
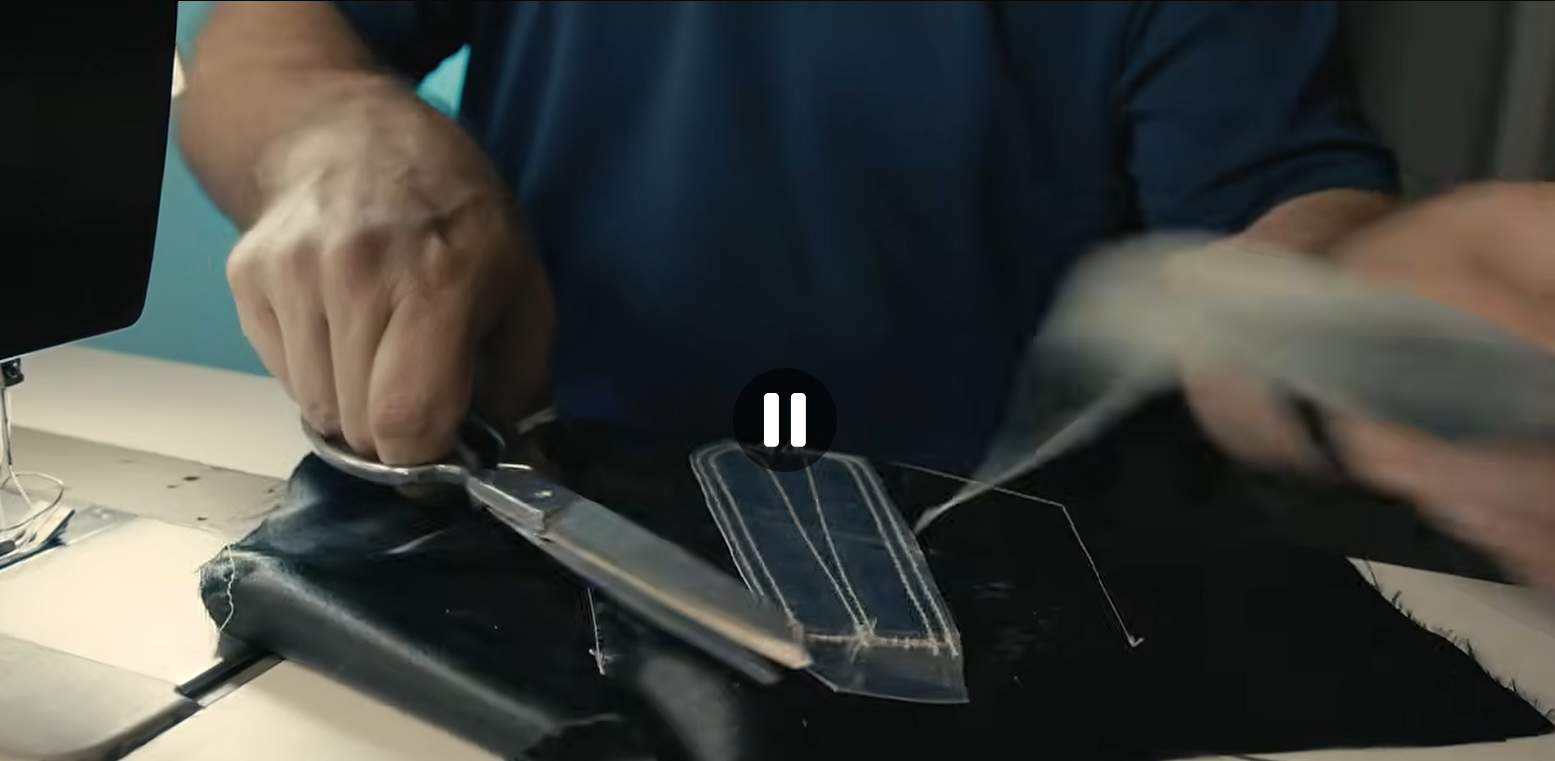
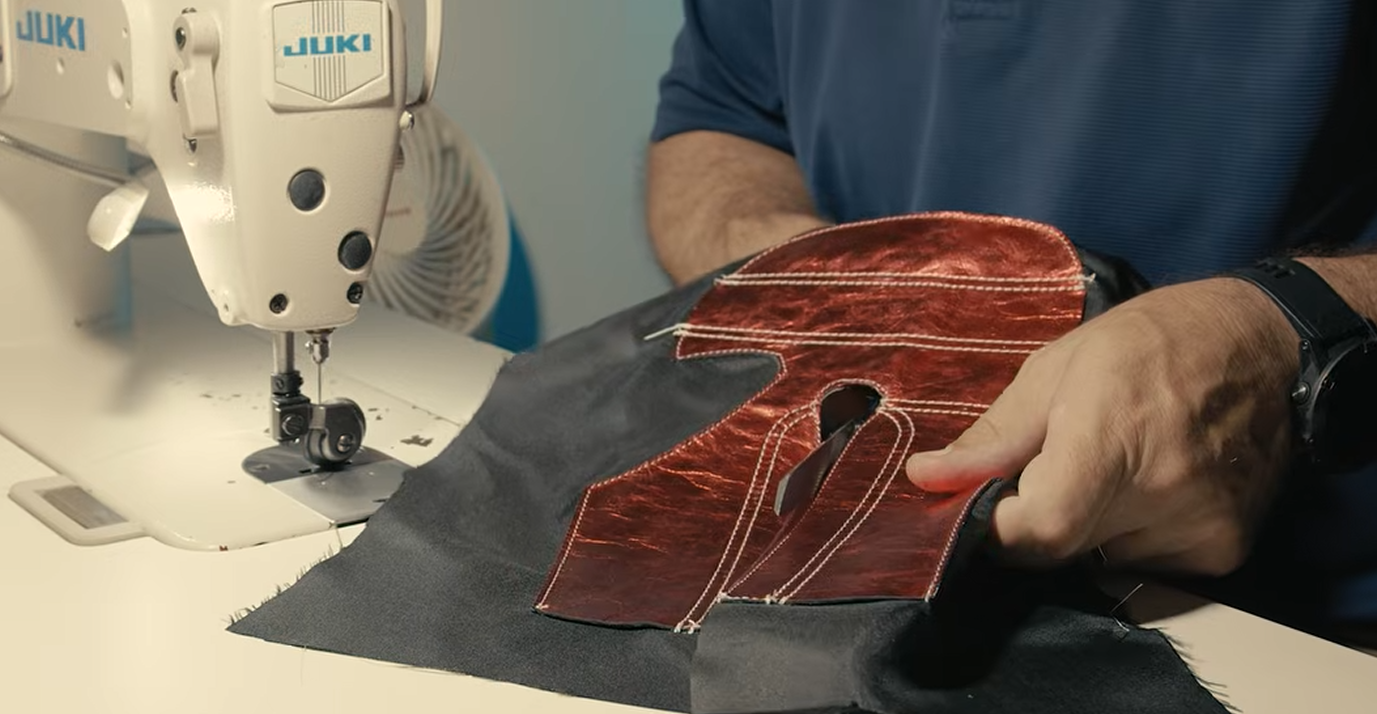
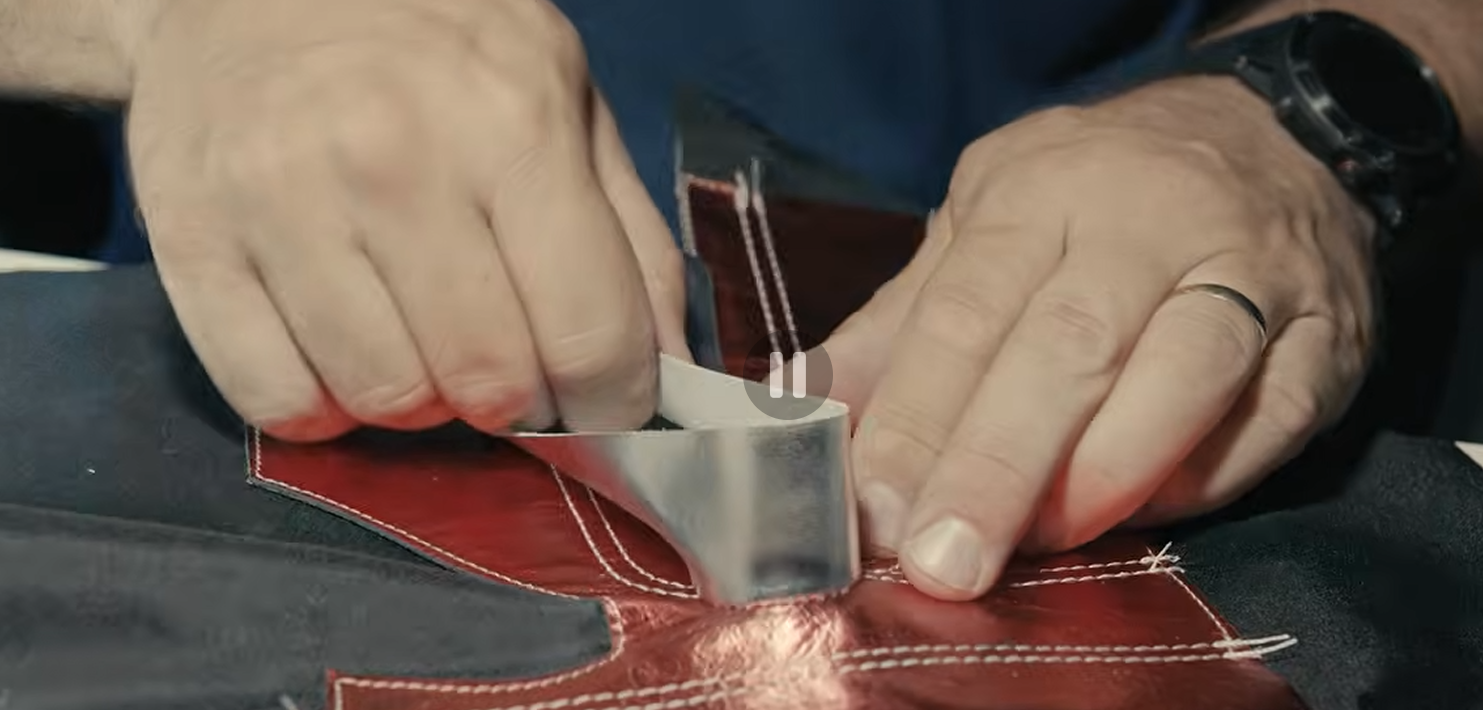
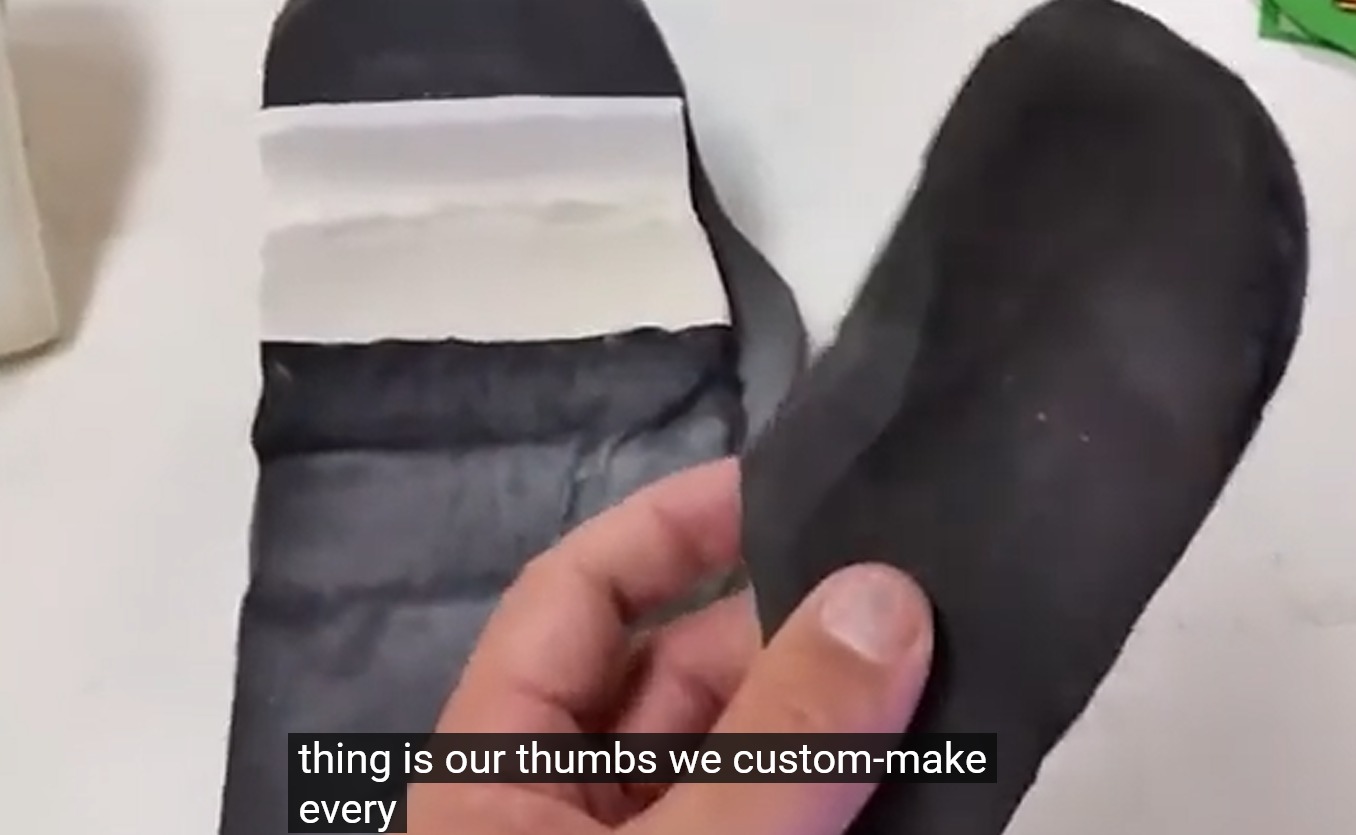
- Thumb is constructed in two pannels: inner and outer.
- Inner thumb is conventionally sewn to the palm area with piping added, overlapping the seam for reinforcement.
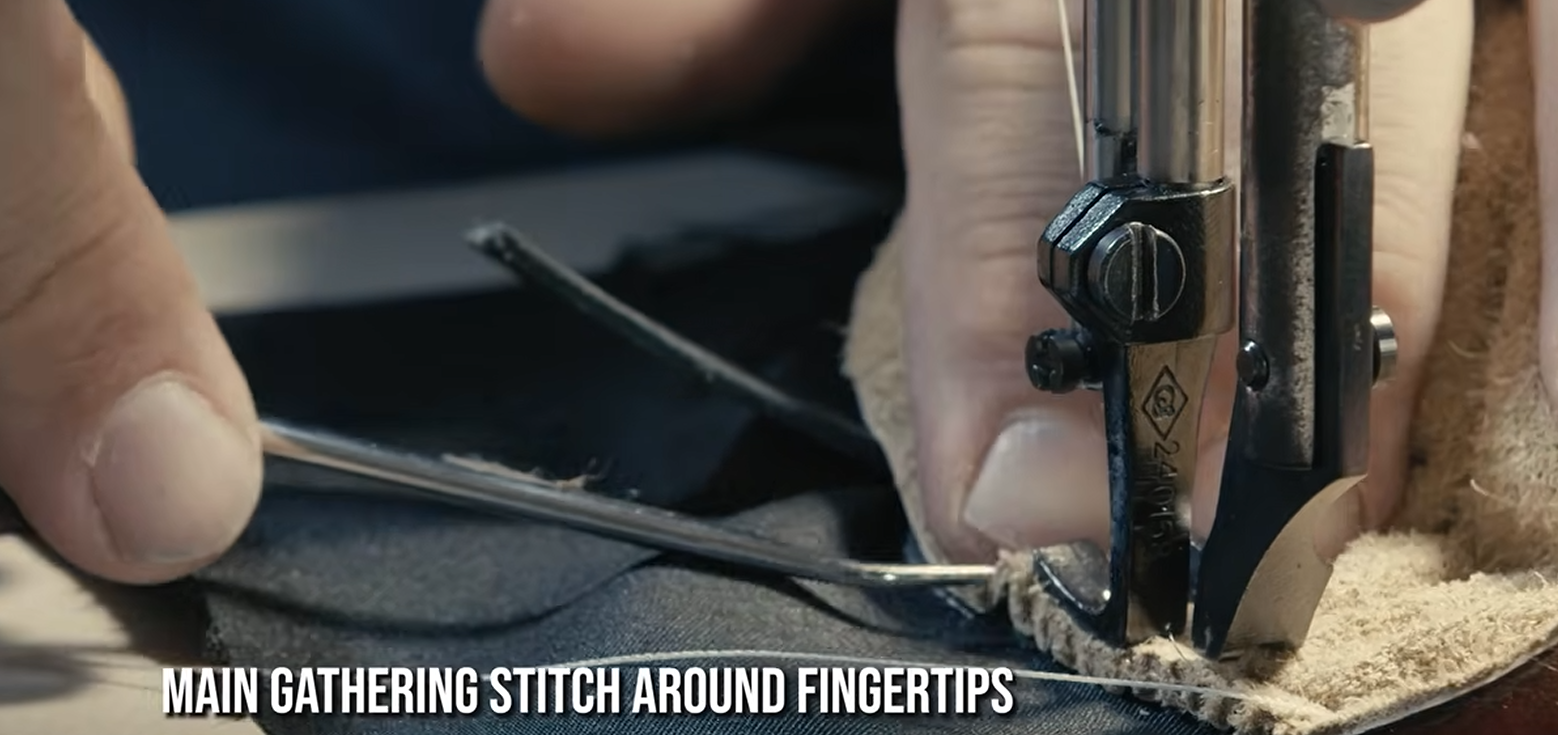
- Outer thumb is then attached. I believe the outer thumb is attached here because this requires a gather stitching which would be challenging to do later on when connecting the halves if the outer thumb was connected the impact side. Instead, doing it this way, later attaching the completed thumb to the impact side is easier.
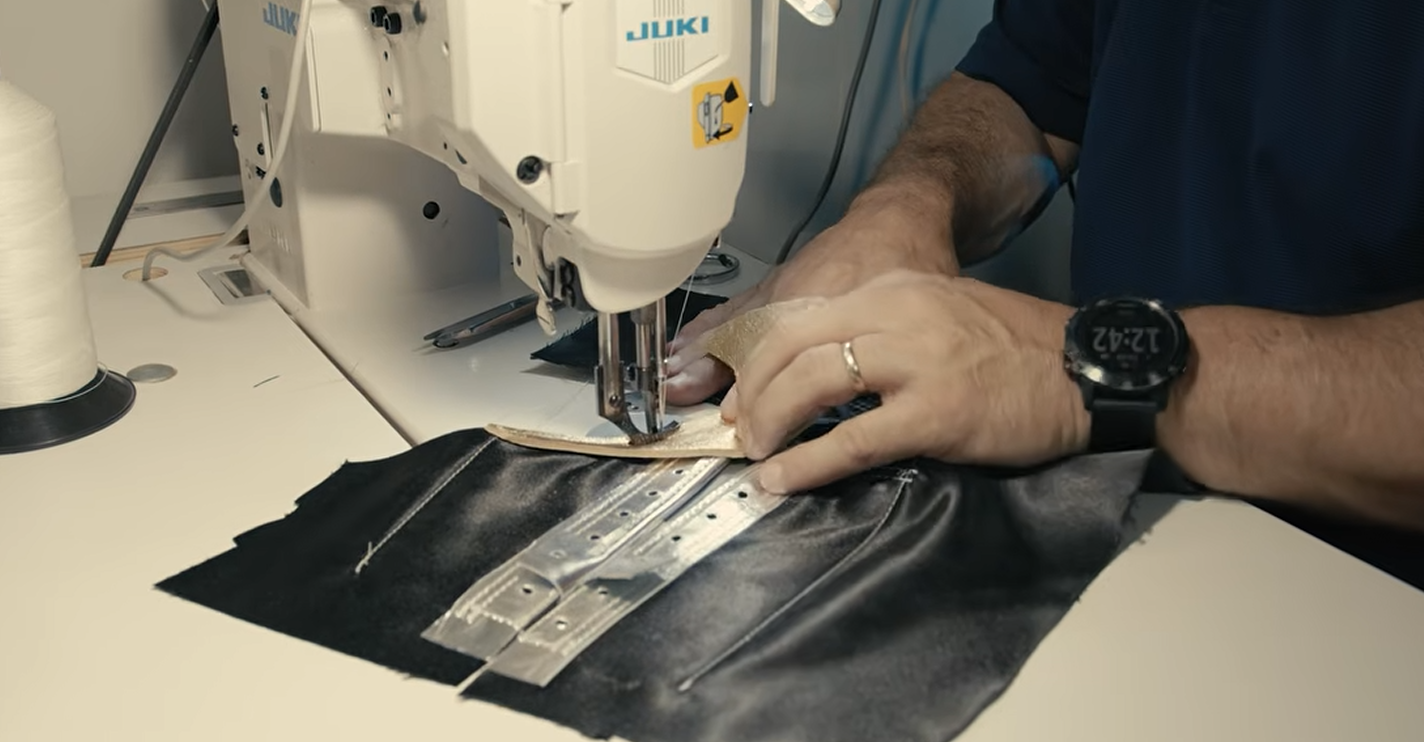
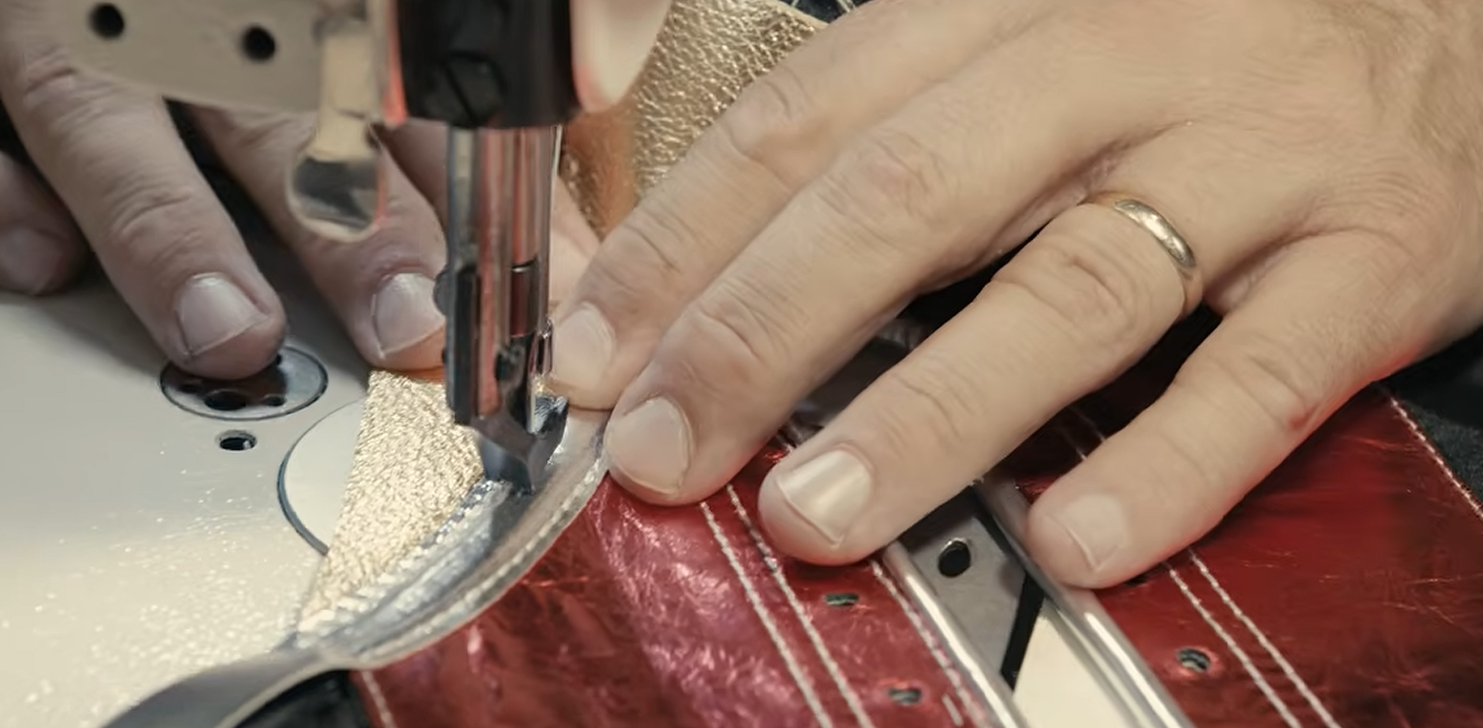
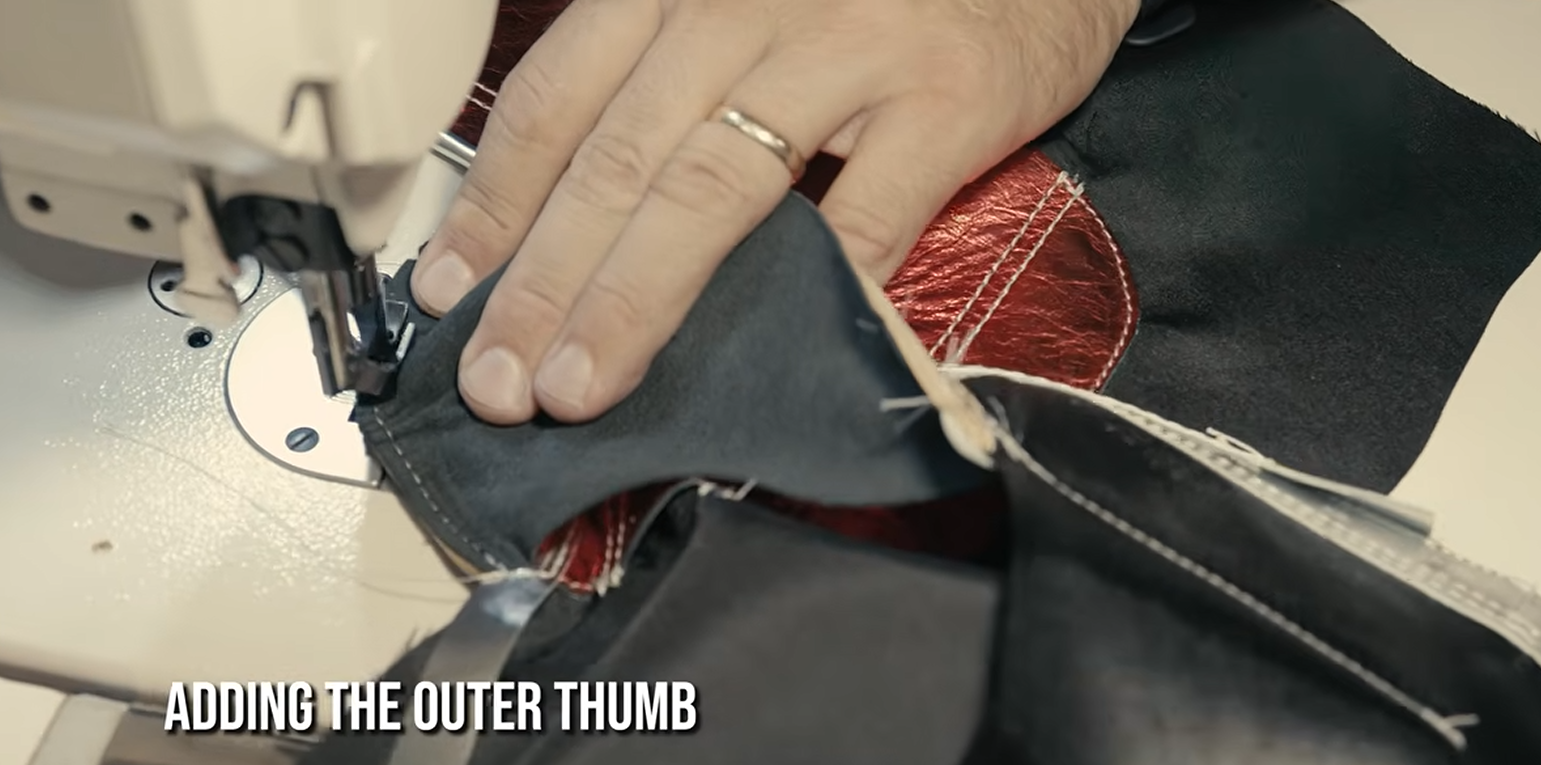
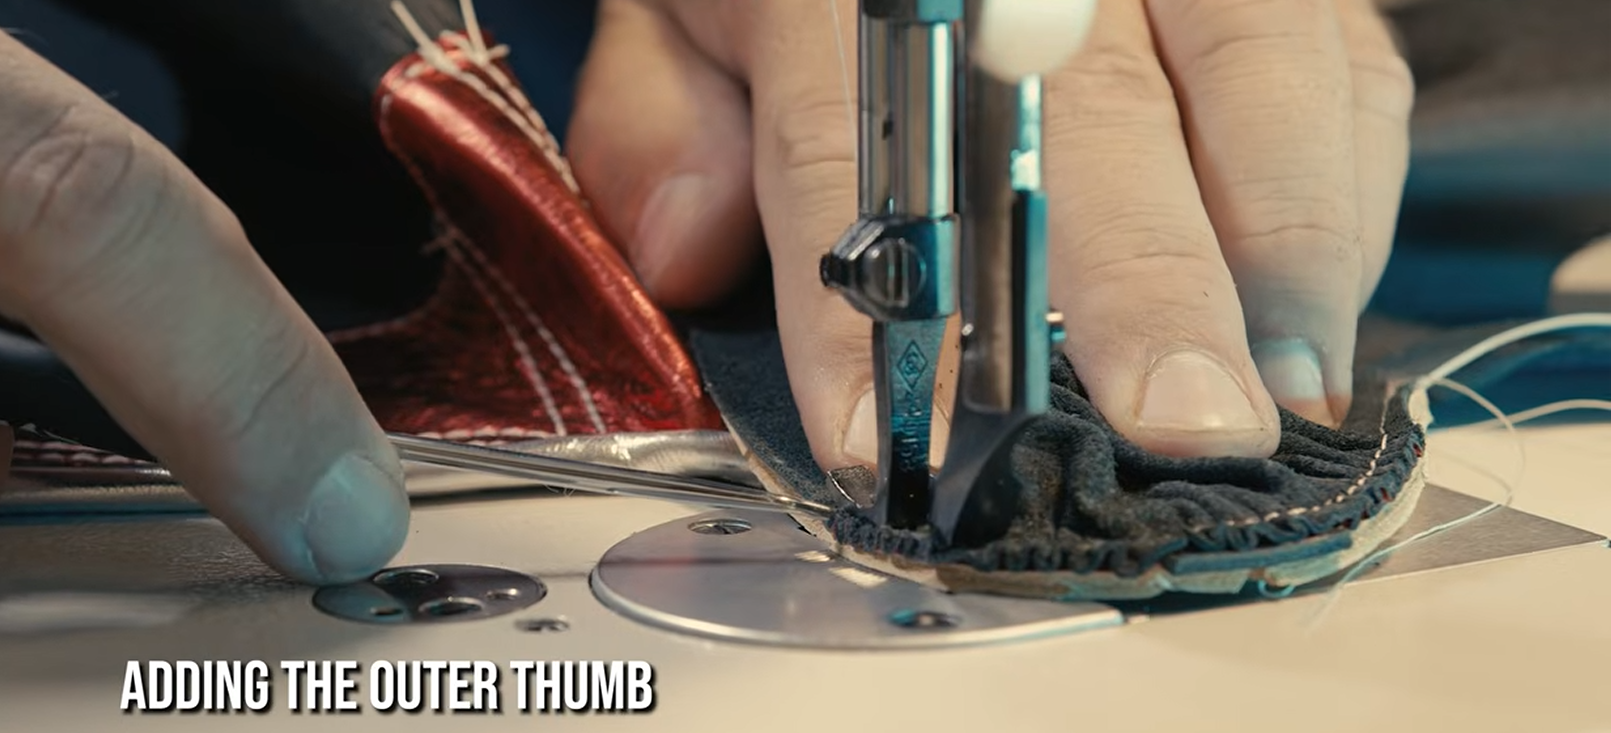
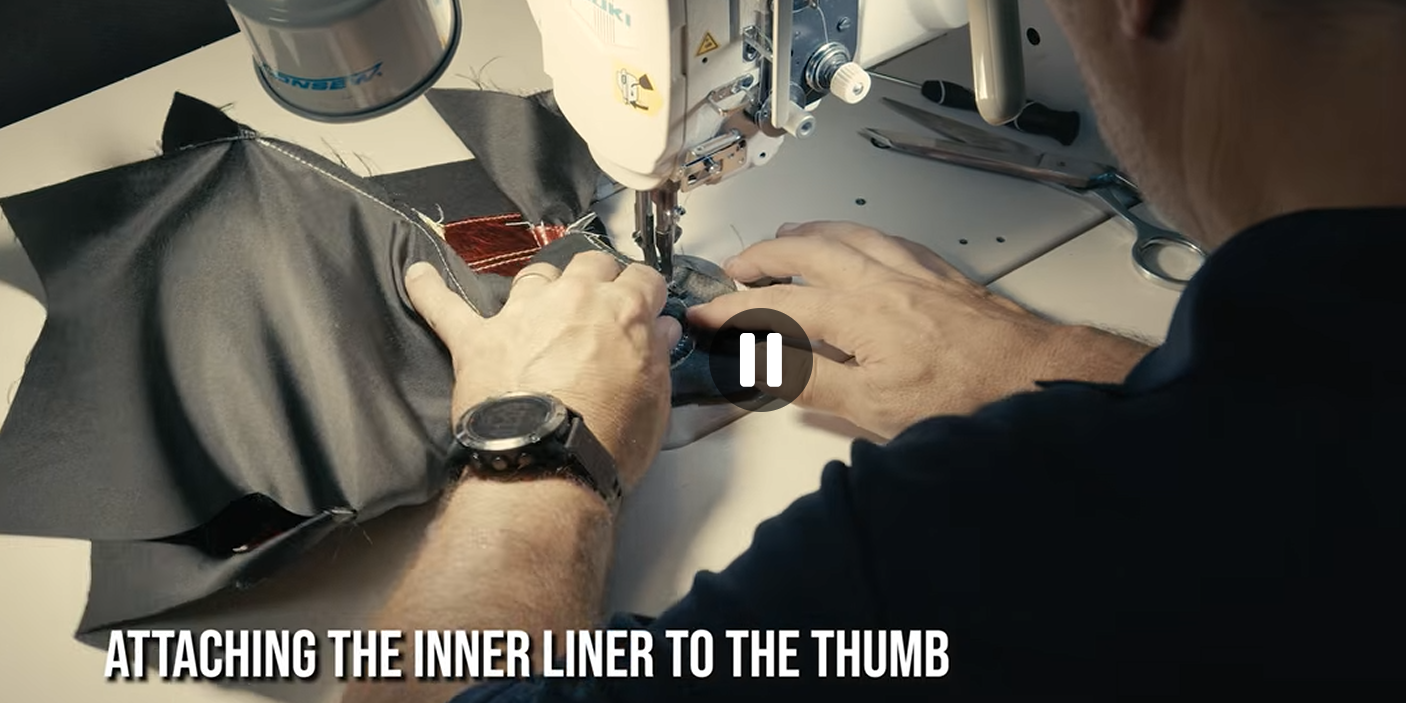
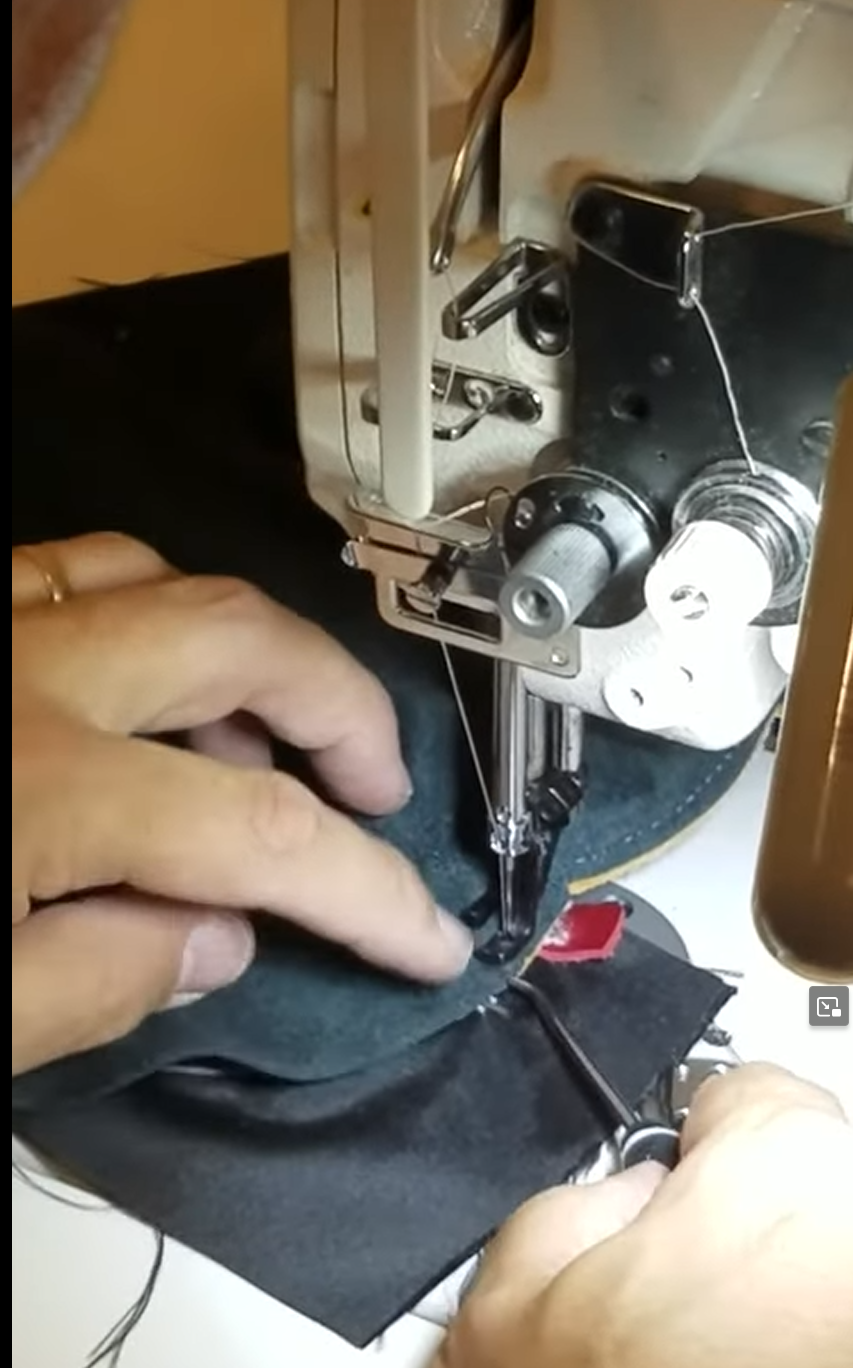
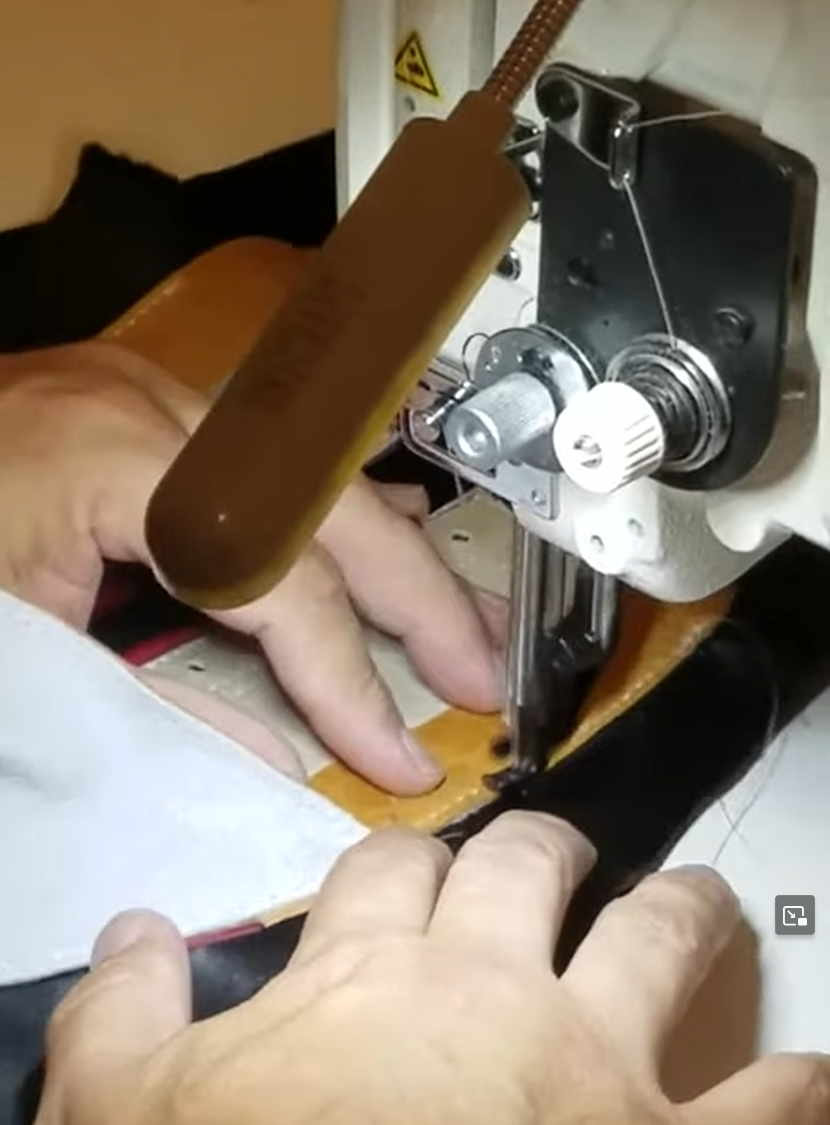
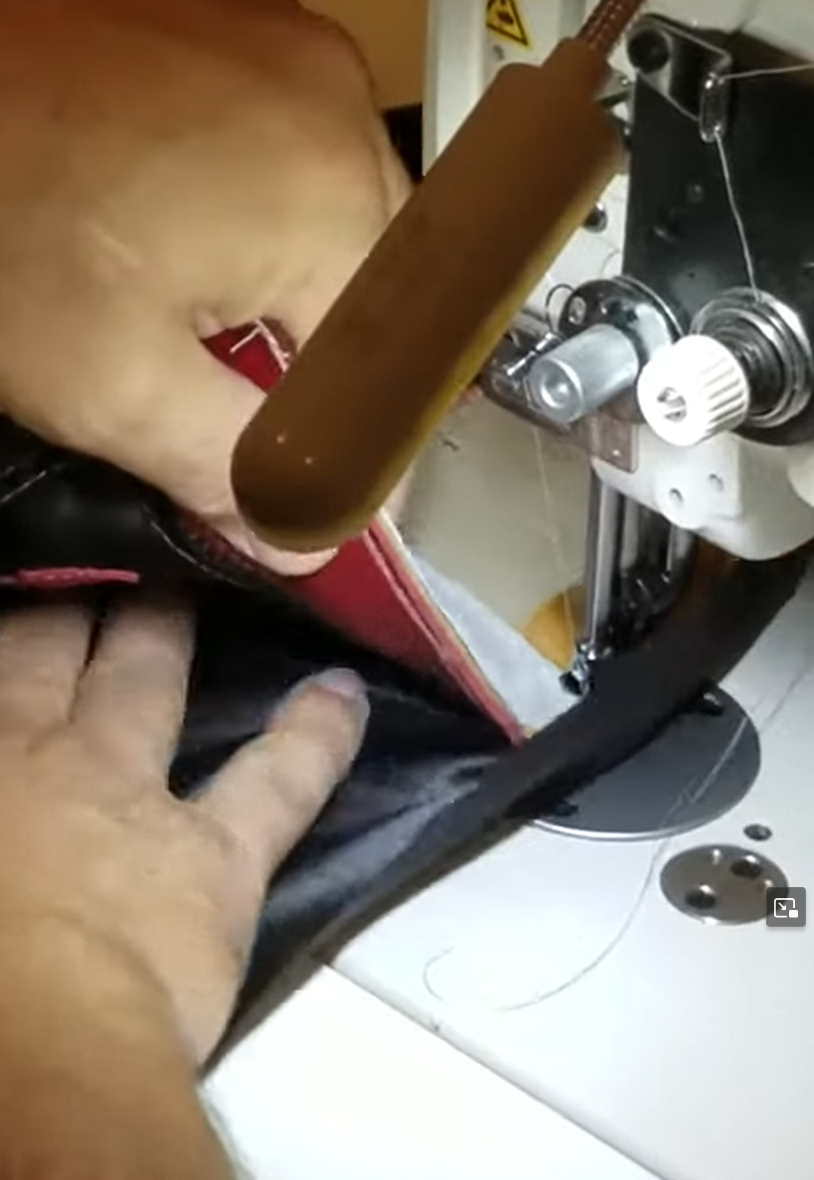
- Palm side liner appears to be sewn with no added allowance until the finger pocket area. The additional allownace is given by pivoting the material, notching it, then continuing to sew. No additional gathering is done here, the liner is sewn directly overlappingto the gather stitches.
Impact side
Assembly
Foam
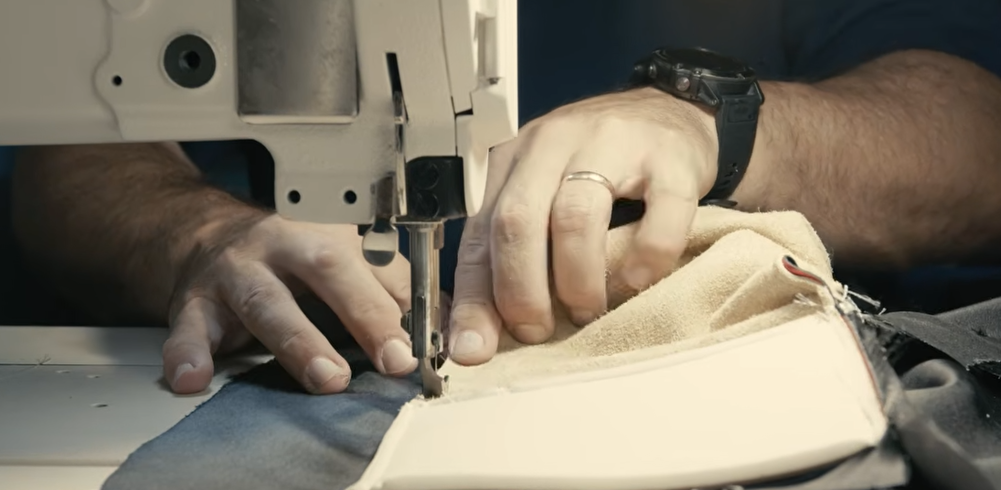
Alternative Construction
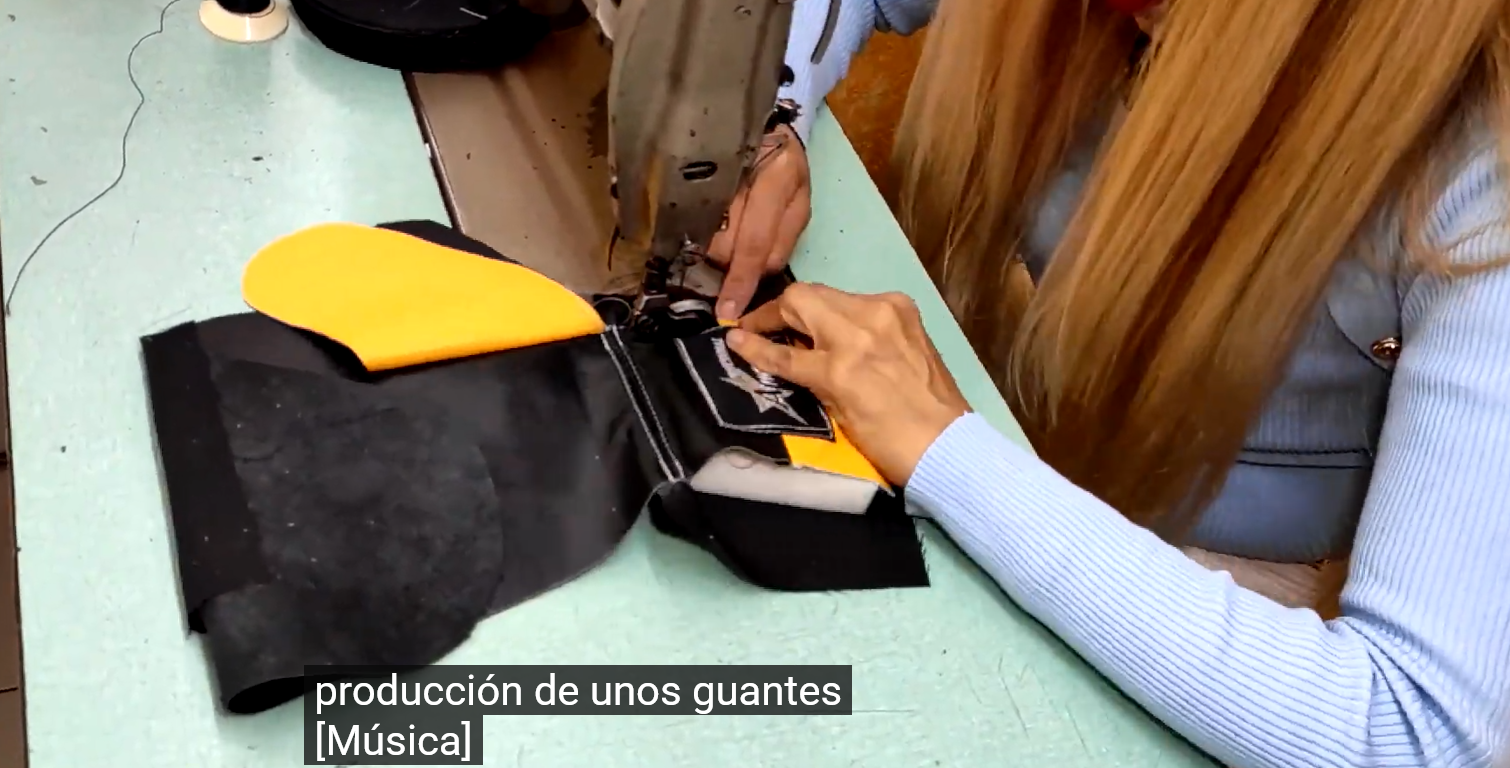
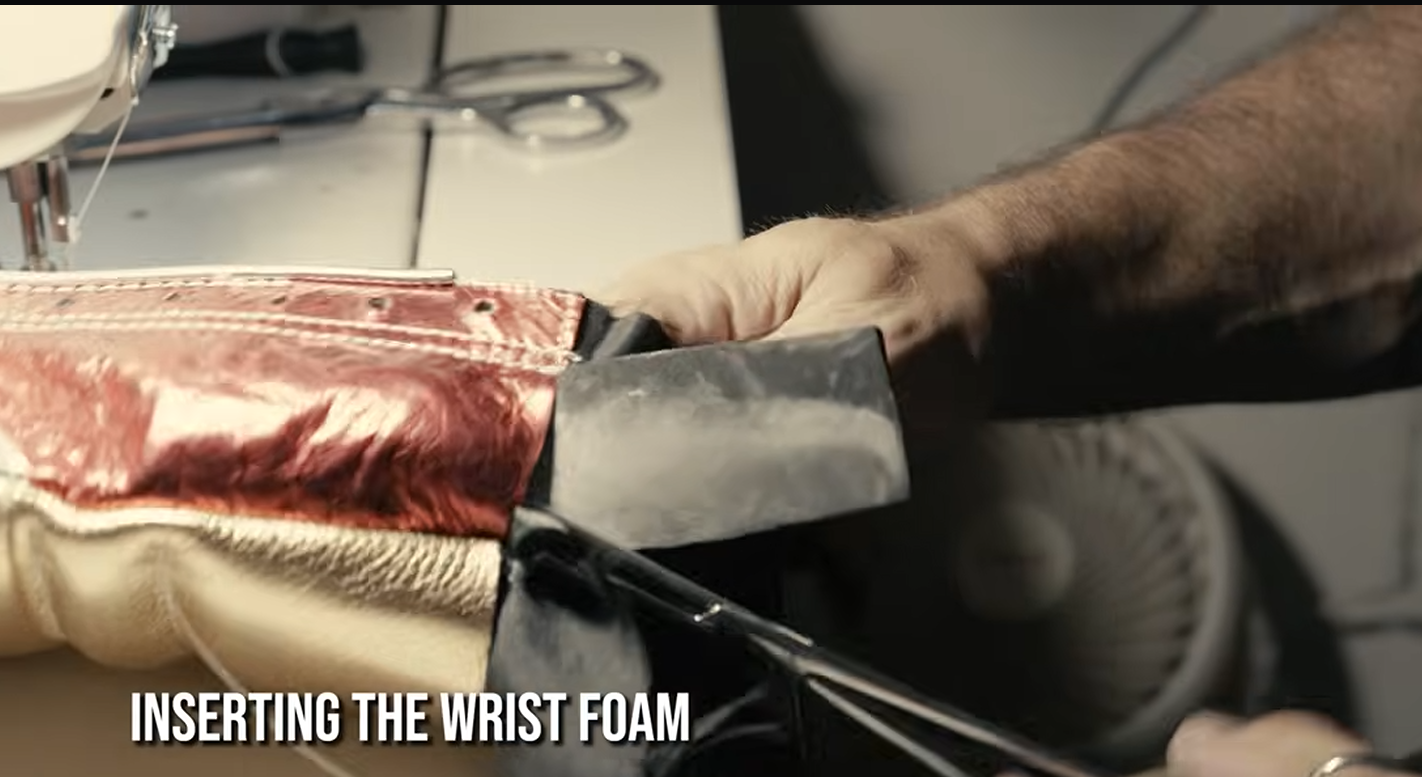
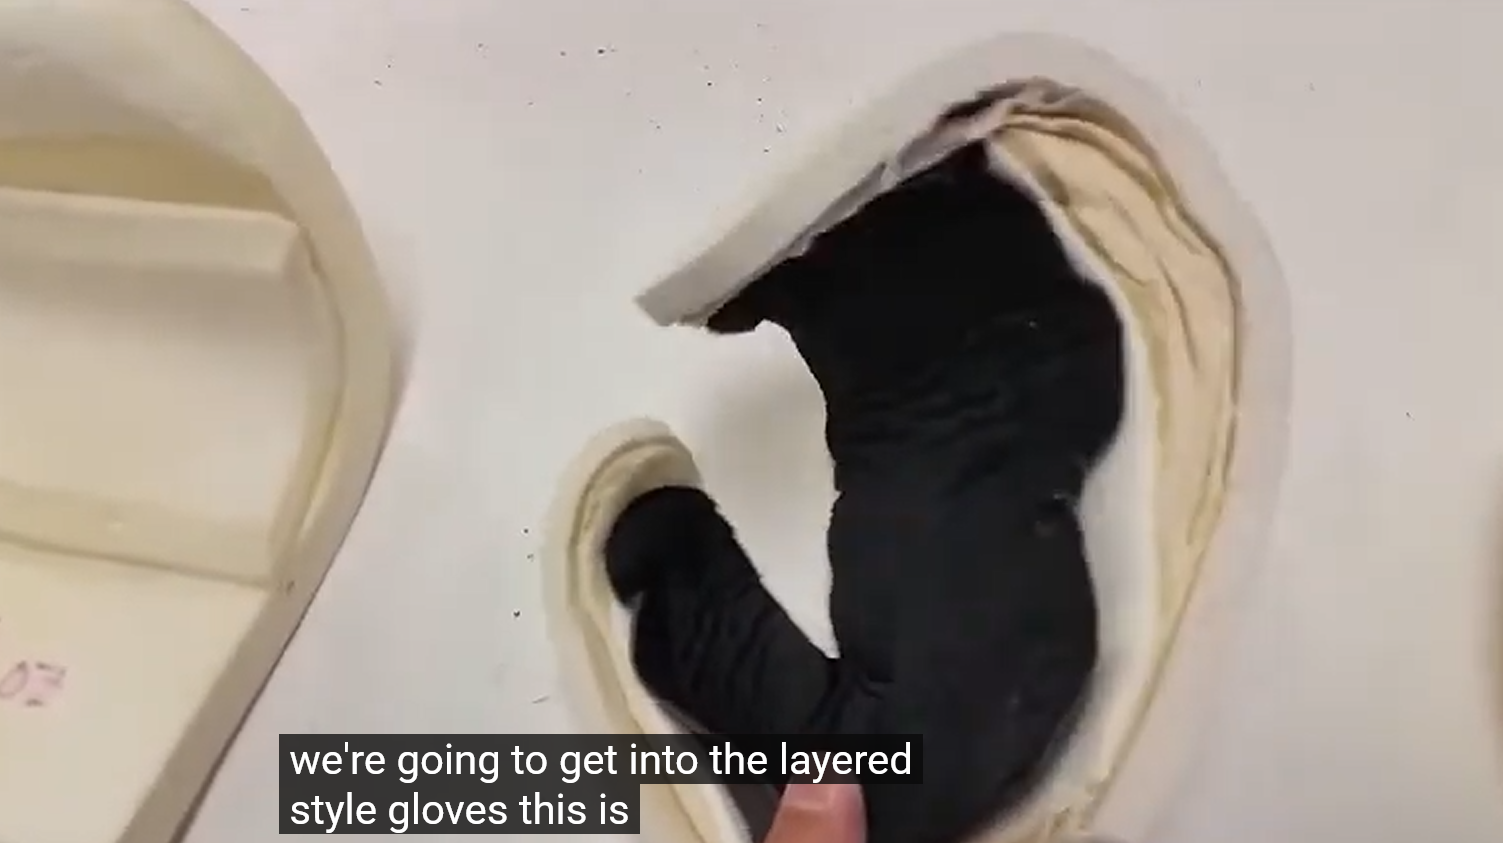
The wrist foam is a separate piece from the striking surface padding. That discontinuity decreases stiffness. This construction implies a different padding/liner solution. I think it’s probably done to simplify manufacturing, and isn’t necessarily a good way to do it.
In this construction, the striking surface liner is glued to the foam, then the whole assembly is stuffed into the glove. So the liner isn’t inherently sewn to the edges of the glove.
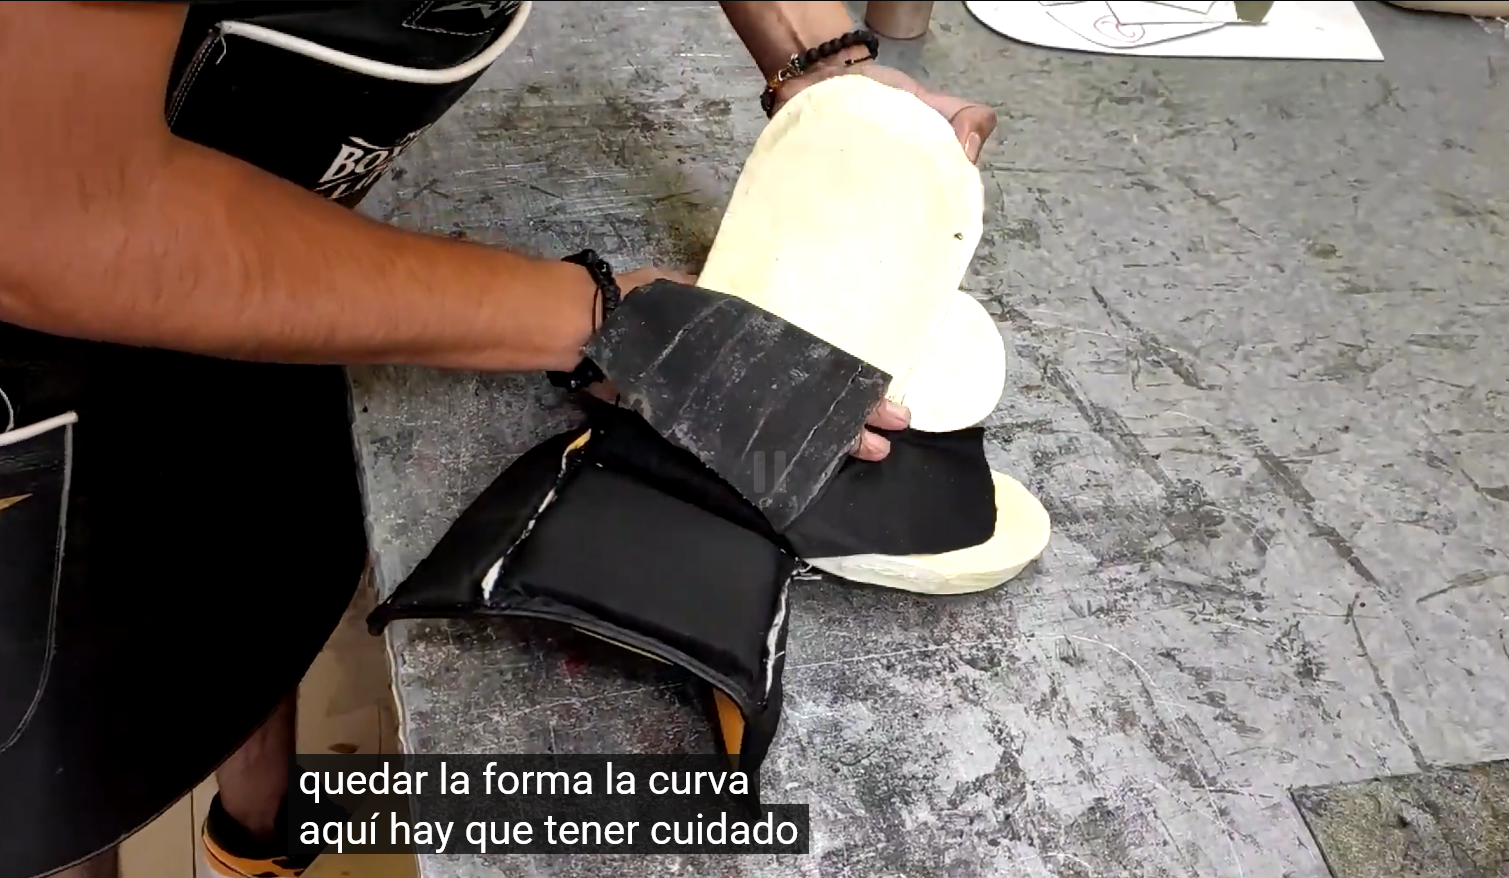
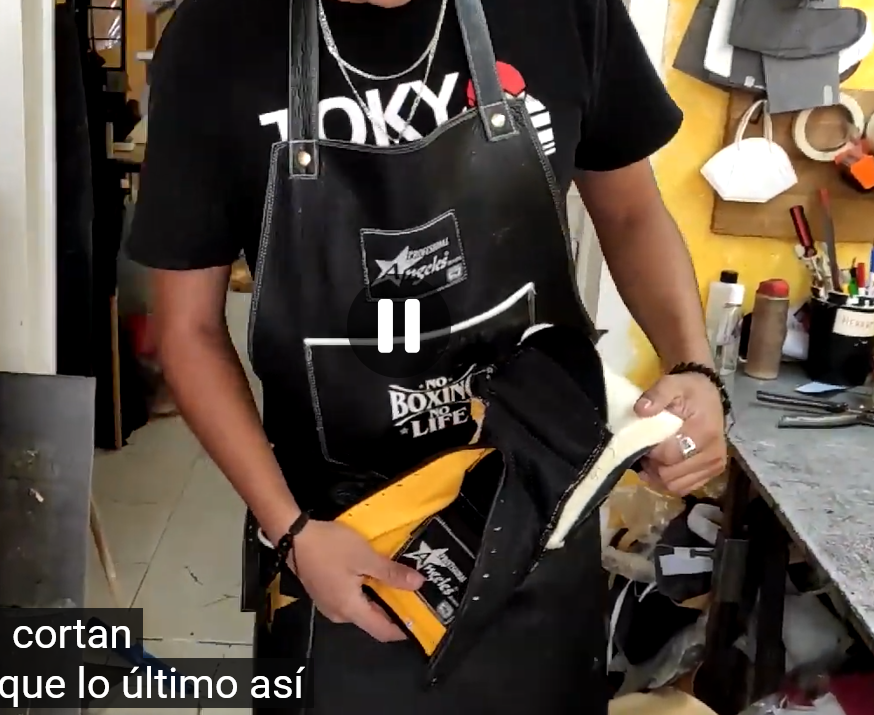
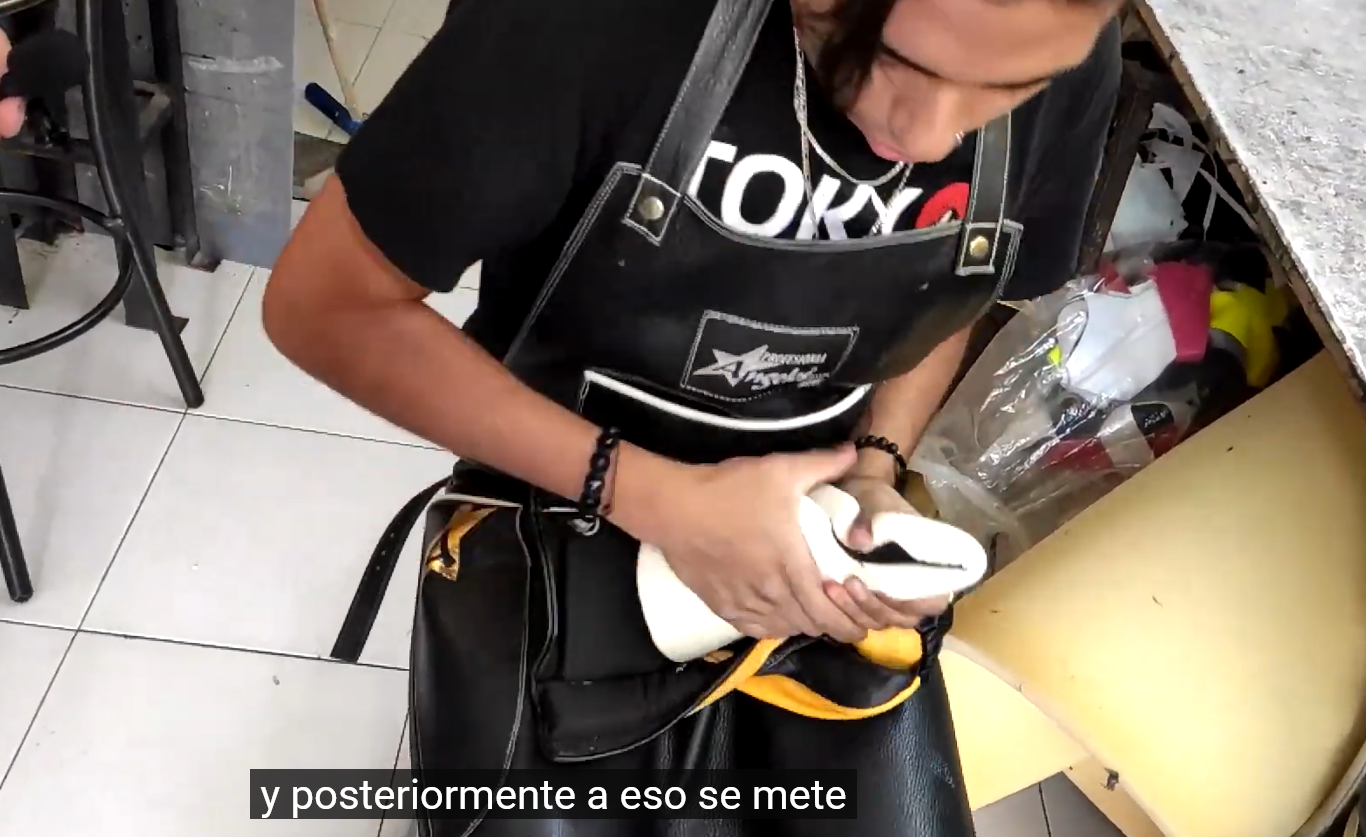
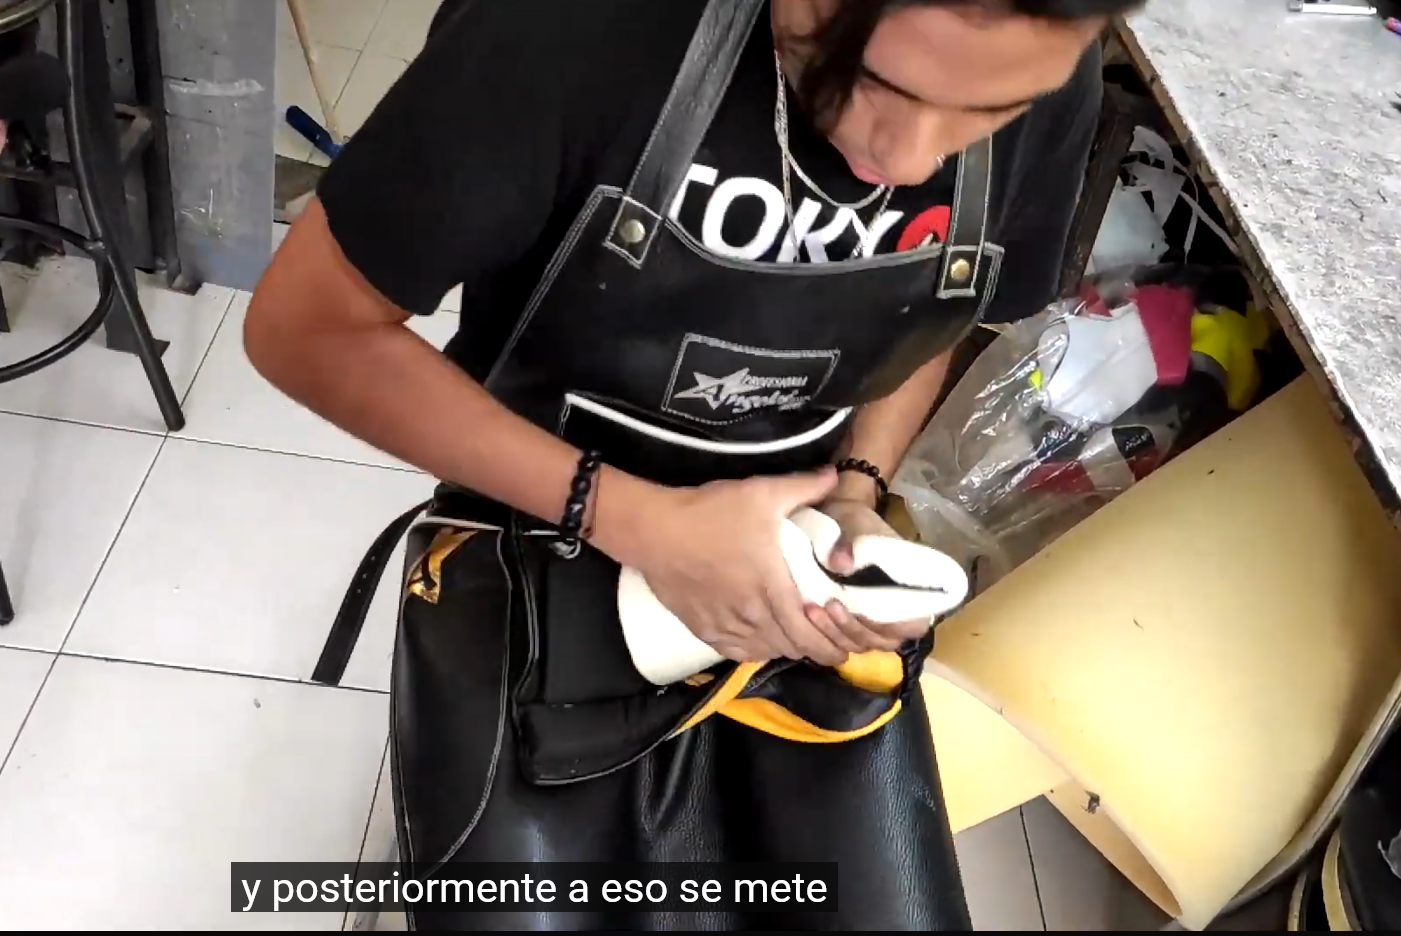
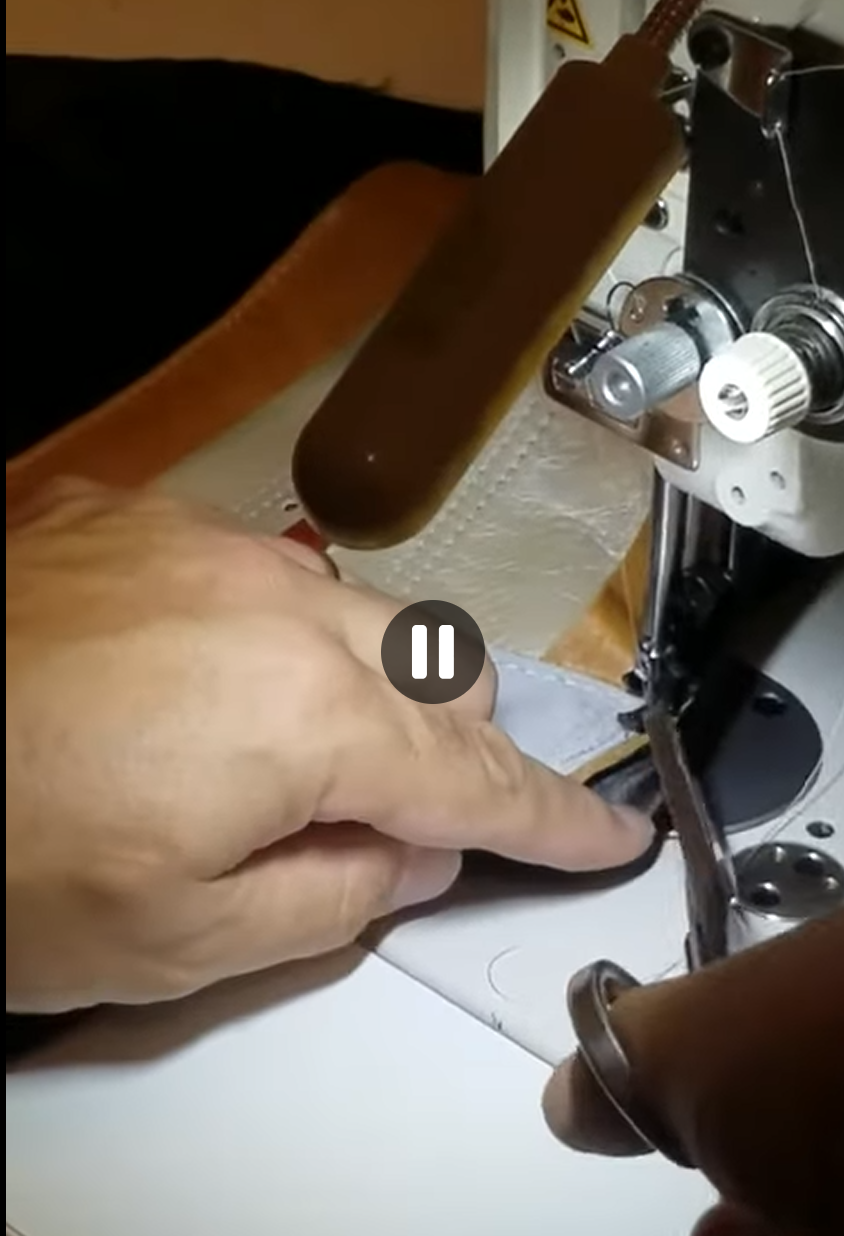
Liner to palm. Looks like extra allowance is intentionally added here. Sewn normally along the wrist first, then the material is “pivoted” into the hand area to add slack. Then a stress relief cut.
Pattern
Materials
Outer
1.0–1.2 mm leather.
- Cowhide: common, durable, abrasion resistant.
- Kangaroo: strong for its thickness and weight. Could use thinner leather.
- Horse: very strong, very good abrasion resistance, less flexible
Liner
- Heavy polyester tricot
- Goatskin/calf lining leather
Padding
Impact surface
Layers, outside → hand
| Layer | Thickness | Foam | Notes |
|---|---|---|---|
| Contact | 8–10 mm | Soft PU or latex | Soft initially, quick rebound, not mushy |
| Main | 18–22 mm | Medium PU or latex | Takes most of the impact; progressively firmer |
| Support | 6–10 mm | Firm EVA or PU | Spreads load, prevents bottoming out |
| Comfort | 3–4 mm | Soft PU | Separates knuckles from firmer foam |
Target total over knuckles: about 35–45 mm.
Material choice
- PU: easiest starting point, lots of firmness options.
- Latex: durable, good rebound. Possible main layer.
- EVA: mainly for support.
- Avoid memory foam / slow-recovery foam.
Foam priorities
- Firmness (IFD/ILD): force needed to compress it.
- Compression curve: soft initially, then firmer.
- Rebound: immediate recovery.
- Compression set: shouldn’t stay crushed after repeated use.
- Density: useful for comparison, but isn’t firmness.
Wrist (back)
Soft. Not sure how thick yet.
Wrist (front)
For wrist support. I’ve seen dense padding and pillow stuffing used here.
Thumb
Grip bar
Something for the fingers to close around and keep a consistent fist shape.
- 15–18 mm diameter. Oval, D-shaped or anatomical rather than round.
- Soft foam alone may collapse; a rigid bar may cause pressure points.
- Leaning toward a semi-rigid core with a soft surface. Supportive, with some give when squeezed.
- Options: dense EVA/TPE, solid TPU, TPU lattice, or a light rigid core wrapped in foam.
- TPU lattice looks promising: holds its shape but still compresses.
Fingers
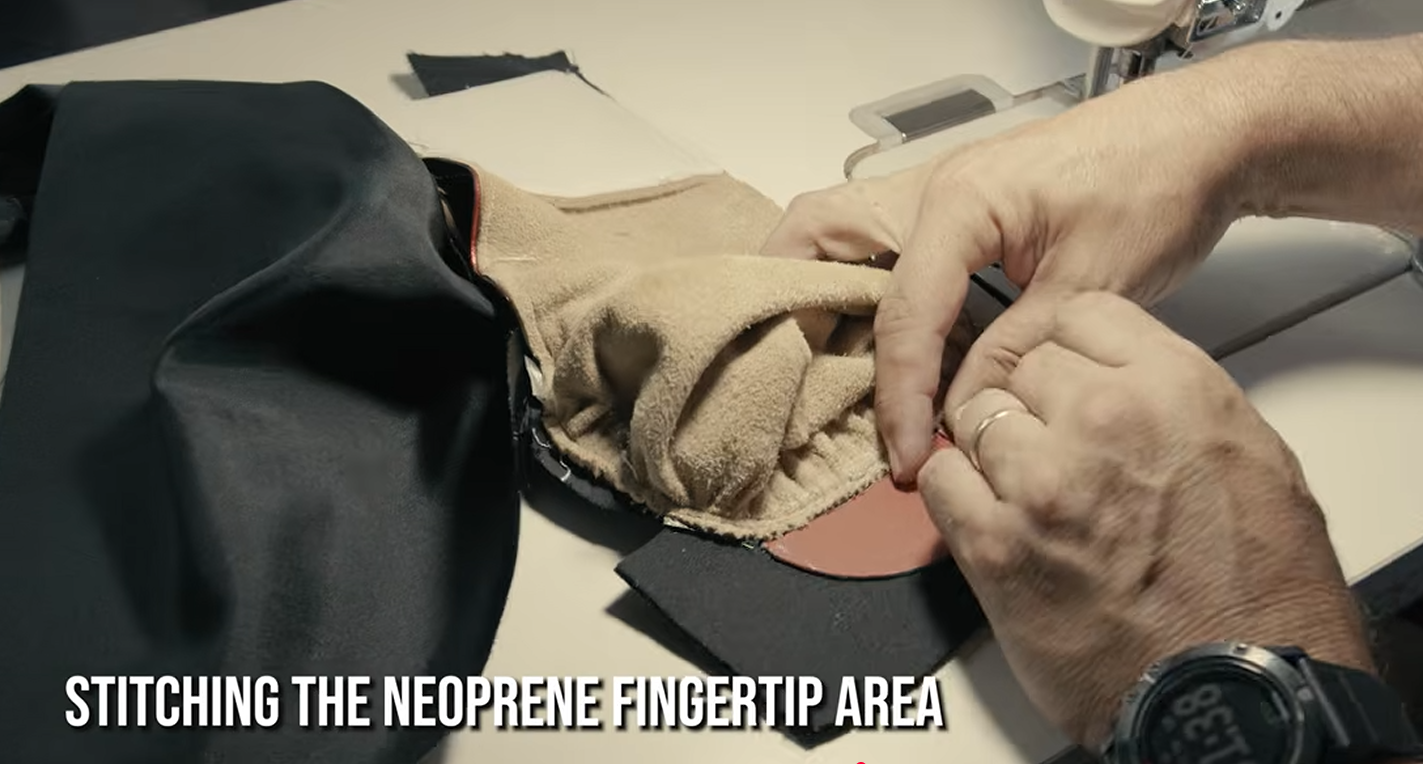
2–4 mm neoprene at the fingertips.
- Something soft to grip; fills gaps and cushions fingertips/nails against seams.
- Adds friction to help keep fingers curled, without stiffening the pocket.
- ONX mentions dead space as a fit issue. 1v1 users describe neoprene helping them grip and close their fist.
Misc
Grossness control
- ElimiShield HUNT Scent Elimination Spray: quaternary ammonium; marketed to bond to fabric for odor control.
- ElimiShield HUNT X10D: soak-in quaternary ammonium textile treatment.
Closure
- Lace-up converter method I like best
- Salomon Quicklace